
Kitchen Tips: 'Countryfying' Your Kitchen
If you prefer a more traditional or ‘English Countryside Chic’ kitchen to a modern sleek one, there are a few things you can consider when designing and decorating your kitchen to ensure it’s every bit of what you first visualise!
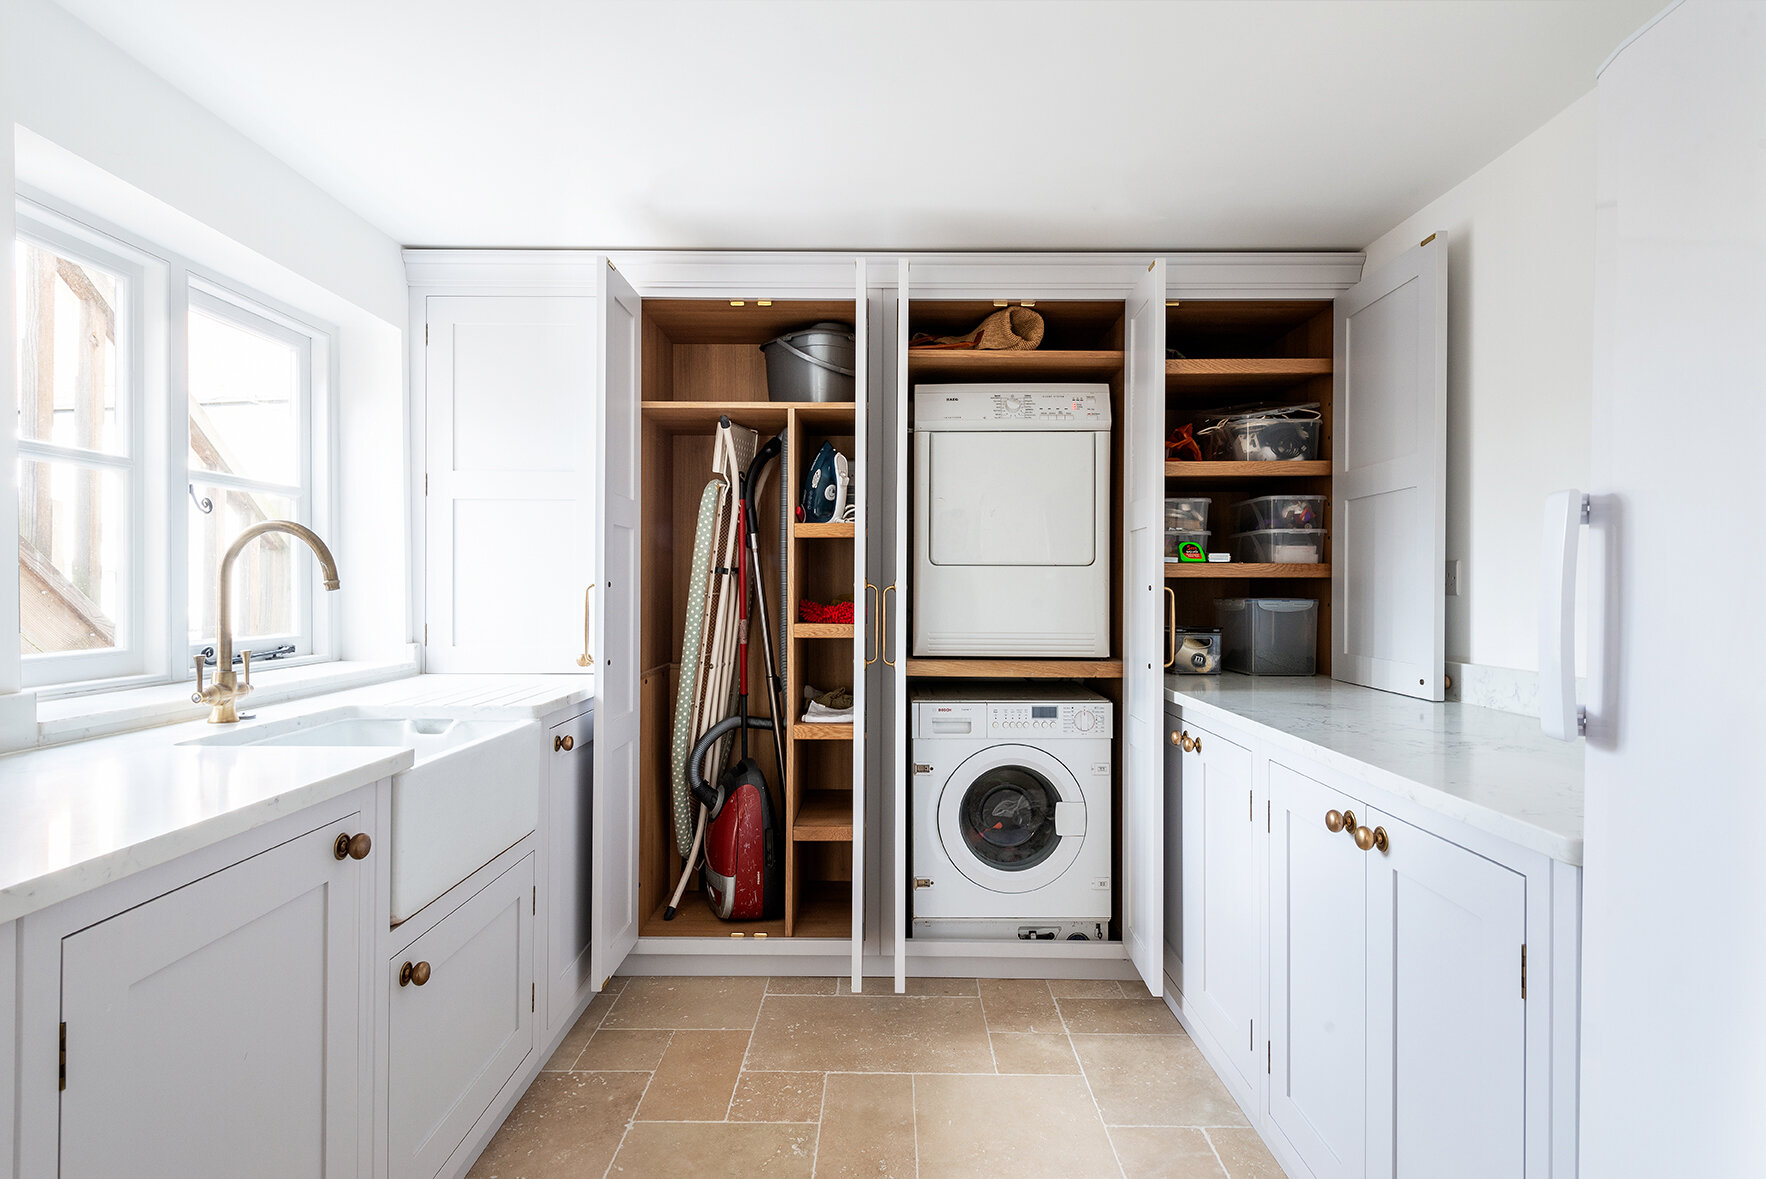
Mixing & Matching Burnished Brass Handles and Knobs
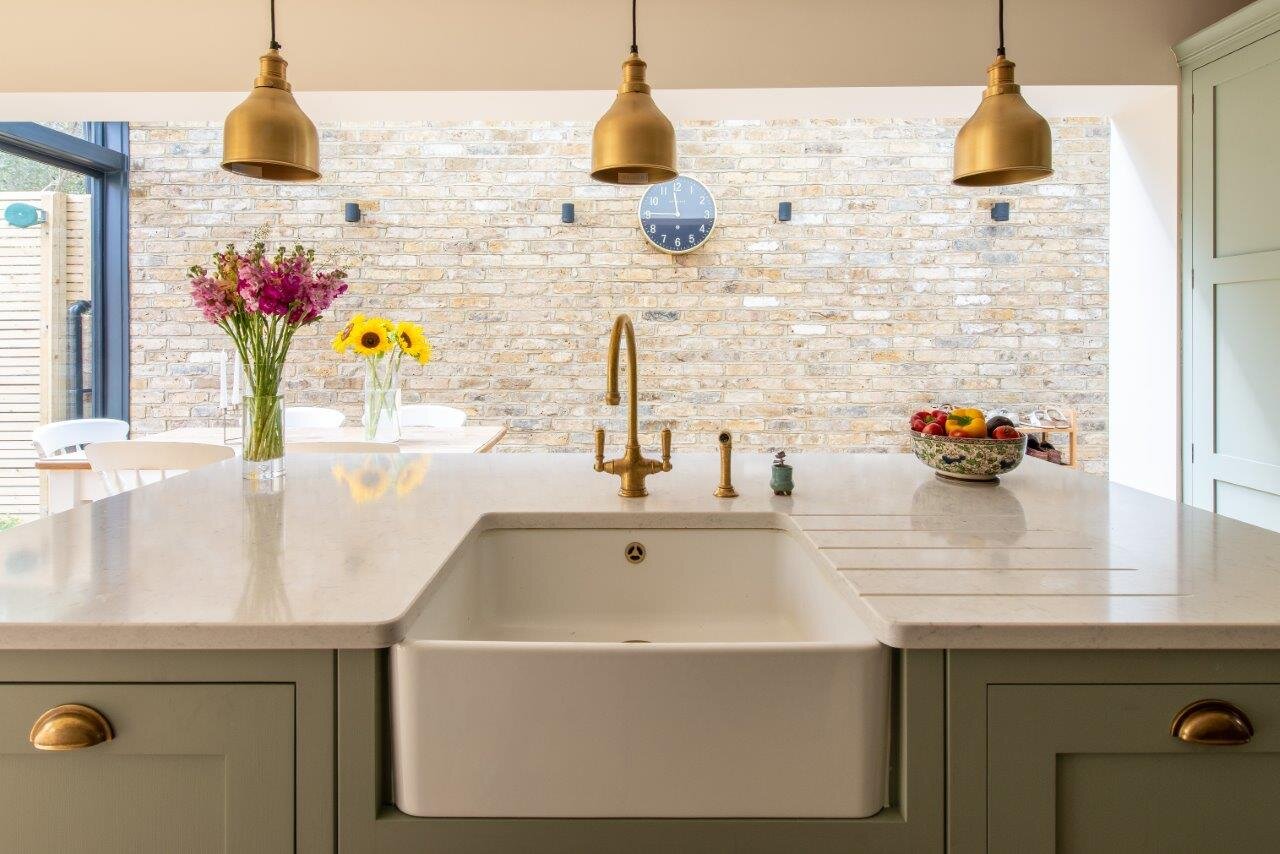
Mixing up the shape and type of hardware in your kitchen will offer a traditional yet stylish look to your space. Keeping all the handles the same will offer a more modern and sleek look. Another thing to consider is the harshness of the shape. Squared off, geometric designs lend themselves to more contemporary kitchens. If what you’re after is a softer, more organic country look, think gentle, rounded shapes! An antique-esque burnished brass finish is perfect for adding that old, golden warmth so many farmhouses have.


Belfast & Pie-Crust Sinks
A big Belfast sink screams country kitchen! These ceramic beauties are not only beautiful but very practical because of their depth. You can get them as a single or a double (or an 1000mm if you want that extra bit of space!). A ‘pie-crust’ sink offers the same charm as the conventional Belfast sink but gives an extra bit of * spice *.


Keep Your Beams & Expose Your Brick!
If you’re lucky enough to have beautiful old wooden beams or an exposed brick wall, keep them just as they are! These natural textures and warm tones really aid that feeling of cosiness that a traditional shaker kitchen has. Try adding touches of wood throughout your kitchen to really amplify this with your stools or chairs, worktops or even displaying a lovely heavy wooden chopping board or pepper mill on your countertop.


Dresser Units
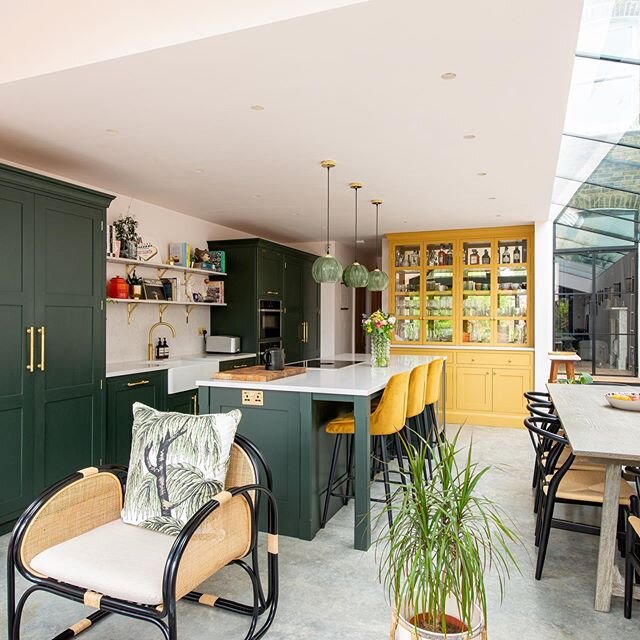
This isn’t your Nanna’s sideboard with all her fancy china, it’s a new and improved version! A dresser unit or side board unit is a classic piece in any English kitchen. Bi-fold doors and glass fronts can make it a really special piece that you will love using each day. We love seeing the beautiful oak or walnut on the inside as well as a cold shelf which makes cleaning much easier! If you want to take a step further, paint this unit an entirely different colour to the rest of your cabinetry or even consider exposed wood.


Table Seating
With kitchen islands and peninsulas truly stepping into the spotlight more and more, they can sometimes be a replacement for a kitchen table all-together. Keep a kitchen table for a more nostalgic and traditional feel (bonus points if it’s wooden).

Colours: Off-whites, Creams & Soft Greens
We all know of a country kitchen in an off-white or cream, and if it ain’t broke don’t fix it! Warm neutrals, beautiful sage and olive greens will bring a cosy and natural feel to the space.

Window Bench Seats
If you’re thinking of adding some banquette seating or even a bench to your kitchen, consider placing it under a window if possible. These little nooks are wonderful places to curl up with a cup of tea and a book, where kids can do their homework or simply gaze into the garden.


Tiled Splashbacks
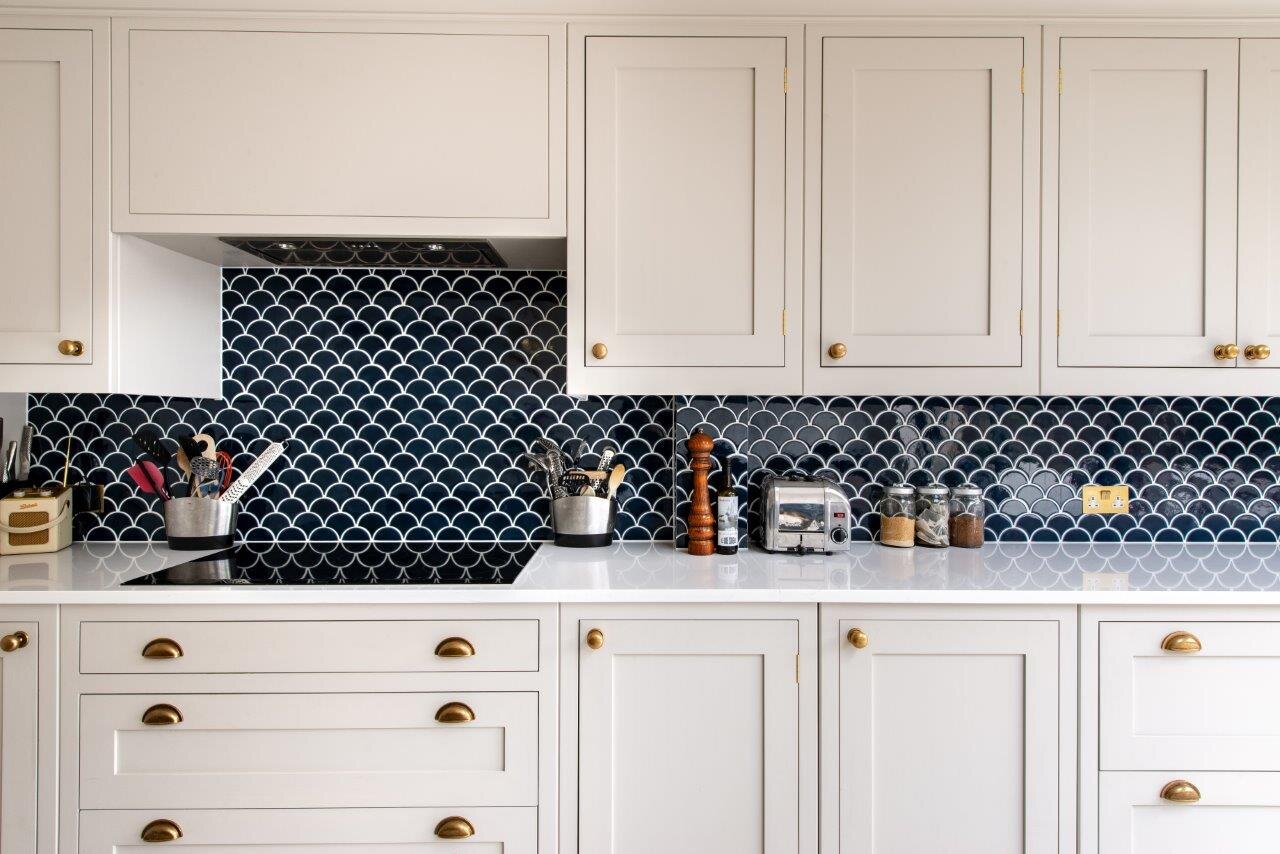
More modern kitchen designs have been leaning more towards quartz splashbacks to match the worktops or glossy, white metro tiles. Try a small, square porcelain tile for your splashback for a more traditional look. Play around with colours, patterns and textures to find what works best for you and your space; maybe try a terracotta tile!

Leave us a comment telling us what your dream country kitchen would look like!
More Blogs From Herringbone…

Kitchen Tips: A Guide to Kitchen Extensions
After 6 years of working with clients through the extension process and working on hundreds of kitchen extensions, we have learned some tips along the way. We’ve put together this guide to help clients and others who are thinking about a kitchen extension and have asked for some help. This is by no means an exhaustive list, but an ever growing one!

PLANNING
A brief discussion with your planning department won’t harm as a first step, but in most cases, you will need to consult with an architect to produce initial drawings for planning (planning takes around 8 weeks - if you have cooperative neighbours). Getting a recommendation for an architect is crucial. In some cases, you won’t need an architect and you can work with an architect technician or a surveyor.
The kitchen is normally the reason for the extension, so you want to make sure it can accommodate everything you are dreaming of. It is a good idea to get an initial design and quote from your kitchen company early in the planning process, after you have planning permission ideally. This ensures you won’t run into design limitations further down the line.
It is normal for builders’ quotes to vary massively. It will depend on how busy they are, what else they have in your area, how much they want the job and how well they think you’ll work together. Remember - cheap is not always best! It is important to have a good relationship with your builders and strong communication, this will help during the issues that will inevitably arise during every project.
During the project it is best to move in with family or into rented accommodation if possible. It is much less stressful - especially as it is common to experience delays to the project. If you’re staying at home during the build, think about setting up a temporary kitchen if you can. Lots of builders will do this for you, or there are companies that do this. Or you can set up the fridge, microwave and a camping hob and a slow cooker somewhere in the home.

DESIGN
Having a carefully considered kitchen design that works for you and your lifestyle is key when planning your extension. Your kitchen designer can help to advise with simple things that will make a huge difference to the design of the kitchen - like moving windows/doors, plug sockets and where to put the boiler.
When doing substantial building works like an extension, it’s normally possible to move the waste, so don’t let this worry you about where to put the kitchen. If you’re having under floor heating, think about where your manifold should go (a massive pipe junction that takes up a lot of room).
Your kitchen designer can show you different ways you can design the kitchen/living space, but there is usually one way that will quickly become obvious to your designer once you tell them what you would like in the space.
Our personal top 5 must-haves for a kitchen/family room extension are:
1. An island/peninsular
2. Large doors (sliding/crittal /bifold) leading out to the garden. But this does not have to be all the way across, sometimes it’s nice to break it up with a sink run
3. Underfloor heating – this removes the need for radiators which can take up a lot of space and will feel like heaven on cold winter mornings!
4. Skylights or roof lanterns
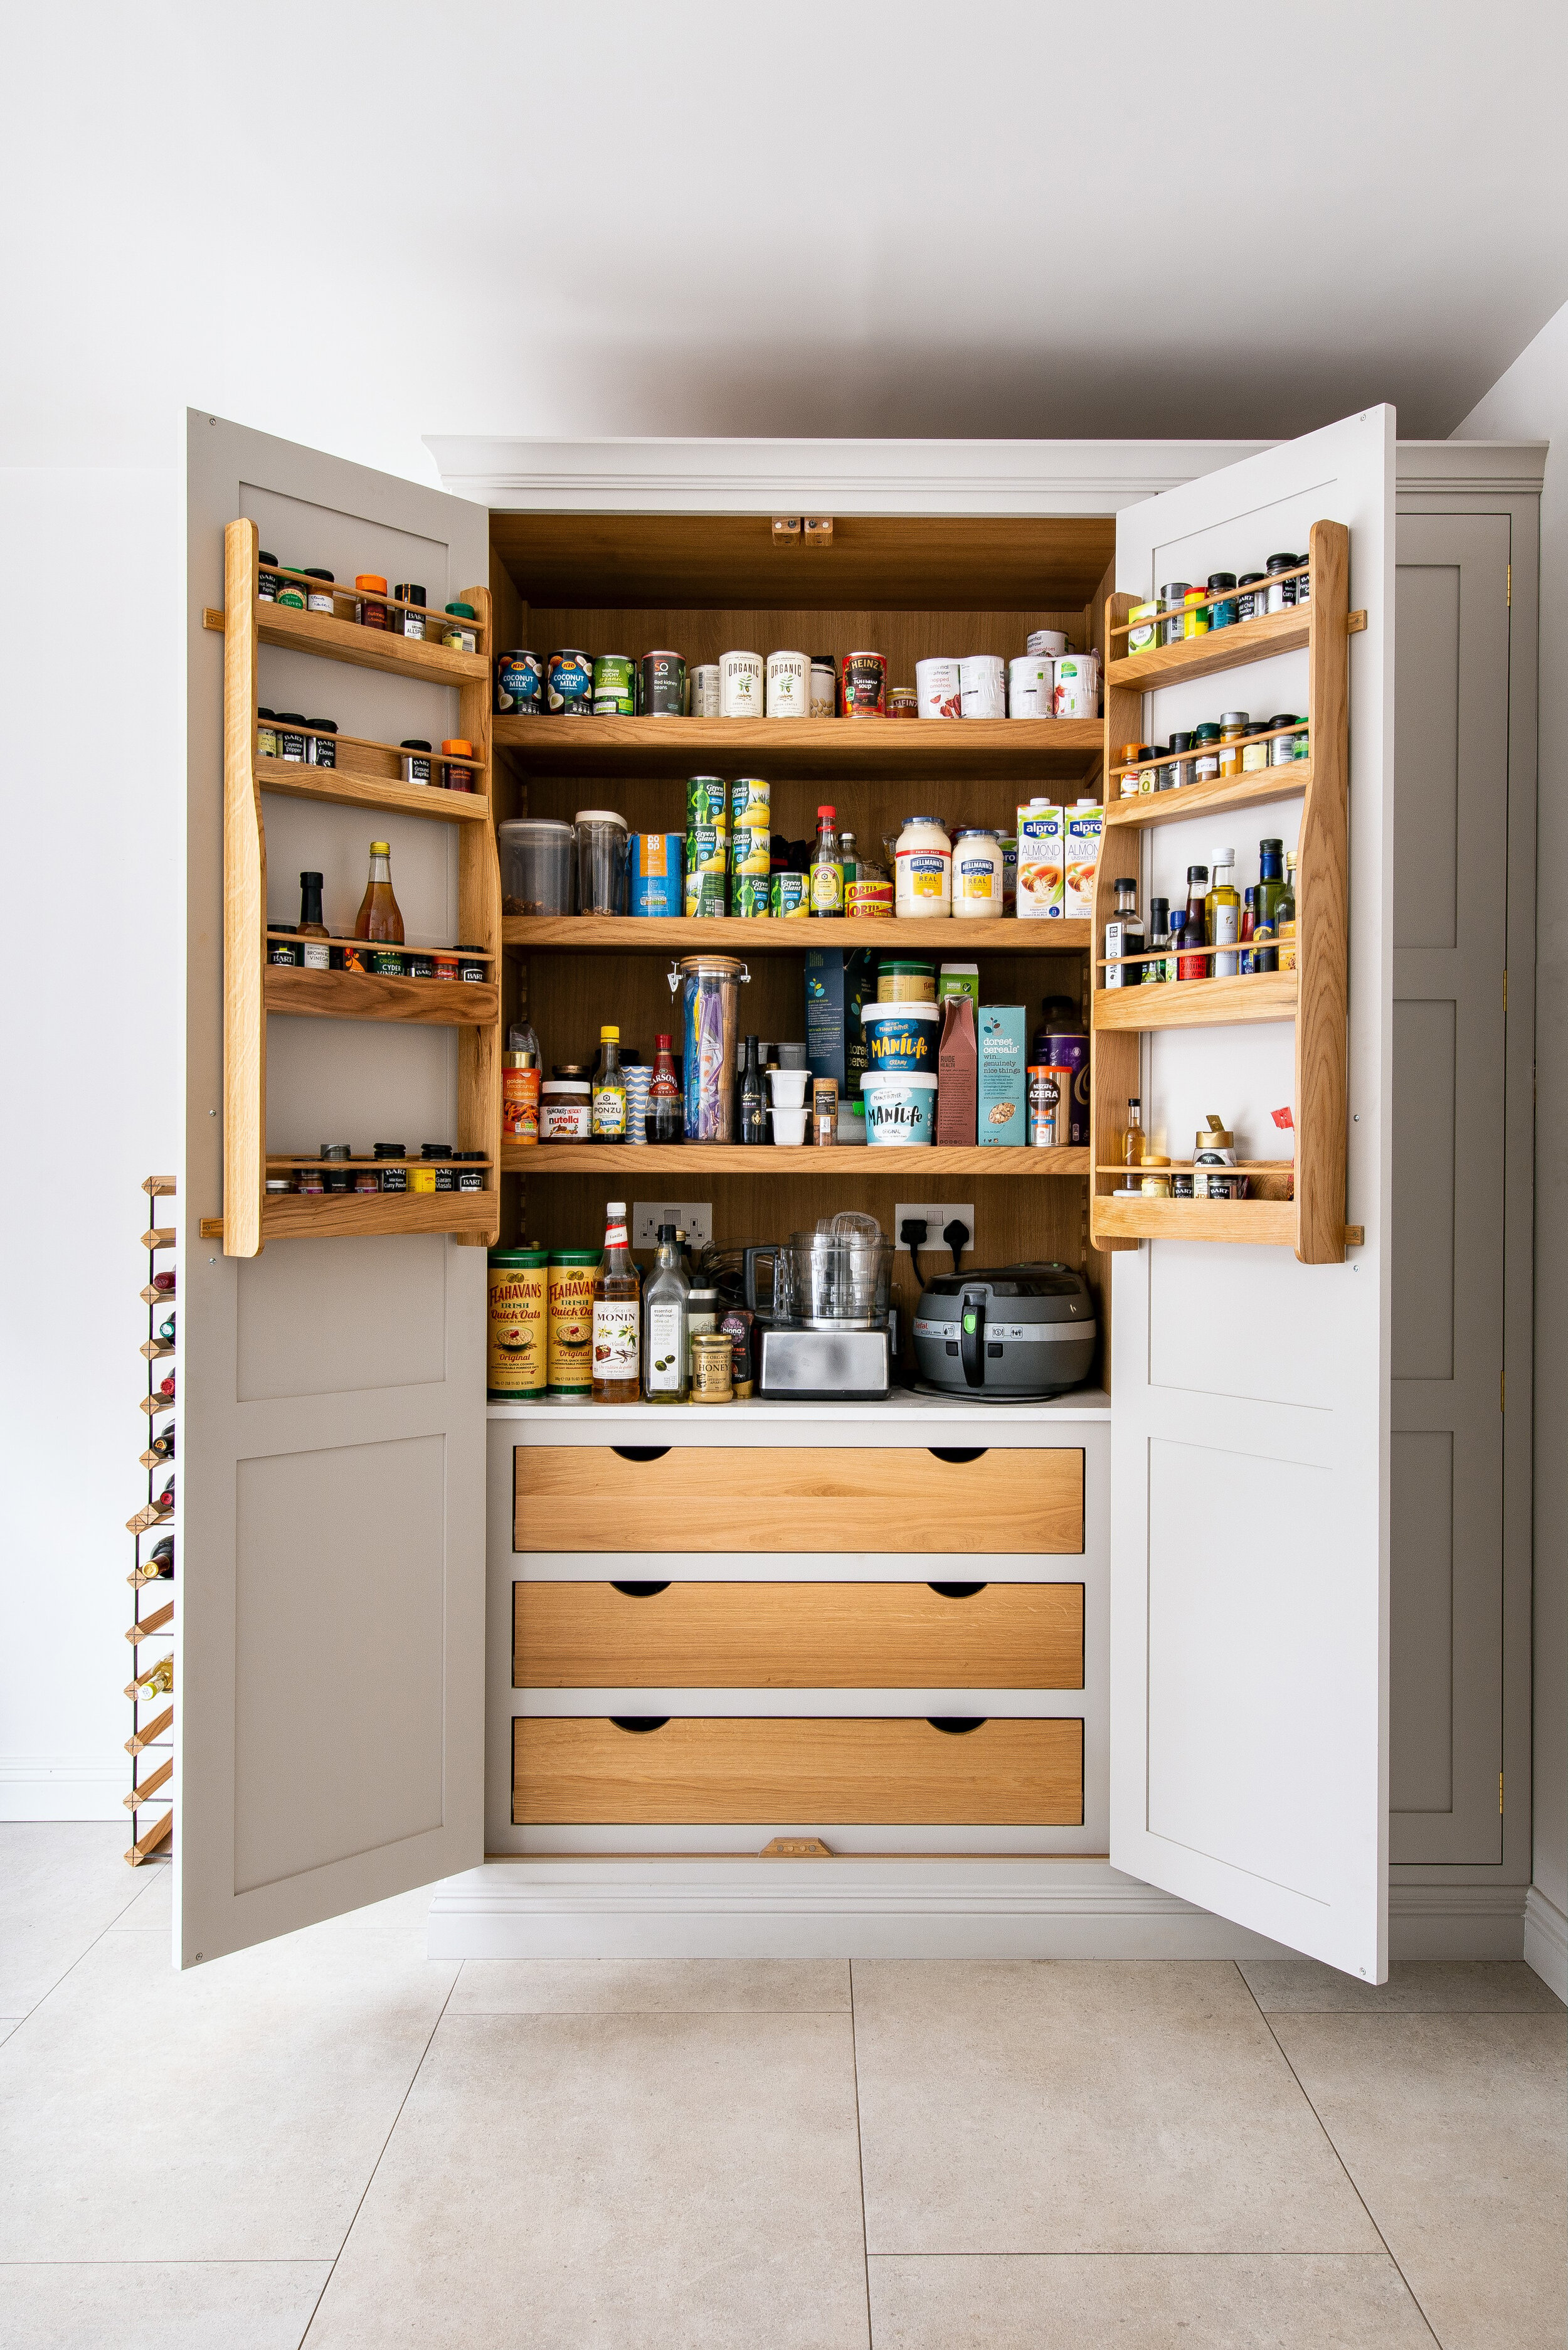
5. A larder
When sitting at the island, you want to face into the kitchen, not out into the living space - it feels more natural to be facing whoever is cooking. The ideal distance between an island and units is 1000mm, but aim to keep it between 900mm and 1200mm.
If you want to have a clear island with no hob/sink, you can put the hob and sink on the same run – but, this can make designing the space difficult. You will need quite a long run and you’ll need space somewhere in the kitchen for your tall units.
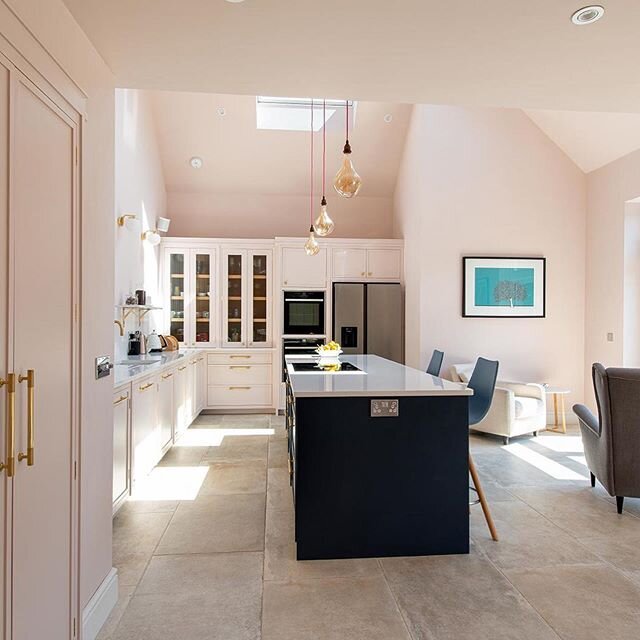
Using complimentary colours or materials to link living spaces together will help the design to flow. A well placed island or peninsular can define the separate spaces. Artwork and lighting will also help to add your personal style and character to the space.

INSTALLATION & LEAD TIMES
Undertaking a kitchen extension is a big project with lots of moving parts and so there are many things that could potentially delay your project. Careful planning can help to avoid some of these delays but remember that some issues are unavoidable.
Keep in mind the lead times for your kitchen cabinetry (ours is around 12 weeks). It takes time to make a bespoke kitchen as every piece is hand made and finished just for you. This also applies to your handles and taps, especially if you are choosing a special finish like brass, which can take up to 12 weeks! The more you have decided on and ordered beforehand, the better. You don’t want to be disappointed if some products have longer lead times than you are expecting.
To fit some kitchens (like ours) you’ll need a finished room wall to wall, flooring, electrics and plumbing in place and ideally the room would be decorated so you’re not risking getting paint on your new kitchen.
Just like in Grand Designs, most window and doors will be made to order, and they will not make them until the space is measurable. There can be a lull in projects while you wait for windows to arrive, so keep this in mind when booking a date for your kitchen installation. Another common reason for delays to the project, is the drying times for different types of flooring. Concrete screed takes roughly 1 day per mm deep and some wooden floors need time to acclimate to your space which can take 2 weeks.
If you are having solid worktops (e.g. quartz, marble or granite), allow another week or more for this. The stone masons will template once the kitchen units are in place, then go away and cut the stone to the template and come back to fit it a week or so later.
Changing your mind will delay things, for example, adding or changing plug sockets are not always quick jobs. However, it is also the right time to do it if you don’t like something. Speak your mind and have a close relationship with your builders, pop in often and try to enjoy the process together.

Finally, having an extension is messy, disruptive and chaotic (especially if you have children!). The dust never ends. But hang in there, because it will be worth it in the end. It will transform the way you live and socialise as a family. It’s our favourite thing to hear how much the extension has changed the lives of our clients.
Book a Design Consultation
We do require all clients to visit our studio in Canterbury for a full design and quote. In this appointment we will go through everything you want in the design, come up with suggestions and explain the different finishes available. The actual design process will take our Kitchen Designers 4-8 hours to complete and will aim to send you a quote/design within 2 weeks of your appointment.
“Yes going down to Canterbury is a pain, but I’m so glad they insist. We got so many additional ideas from being in the show room. We understood so much better what we would be getting. Having worked in property development I know everyone being clear about what is to be delivered from the outset is key to a harmonious installation. The trip to Canterbury is probably more important then trawling the web looking for ideas.
”
Kitchen Tips: A Guide to Kitchen Worktops
QUARTZ

Quartz worktops are a popular choice as they are beautiful, practical and require less maintenance than other materials. They are scratch, stain and heat resistant - though not indestructible, so we still recommend using trivets for hot pans and wiping up spills ASAP. There are many colours to choose from and some brands offer a 25 year warranty.
HARDWOOD

Wood worktops bring warmth and character to a kitchen, with the bonus of being one of the most cost efficient materials. The downside is that they require a high level of care as they do scratch and stain easily. However, it is an option to use a more hard wearing material in your food prep areas and opt for a wooden worktop on your island or dining areas.
MARBLE
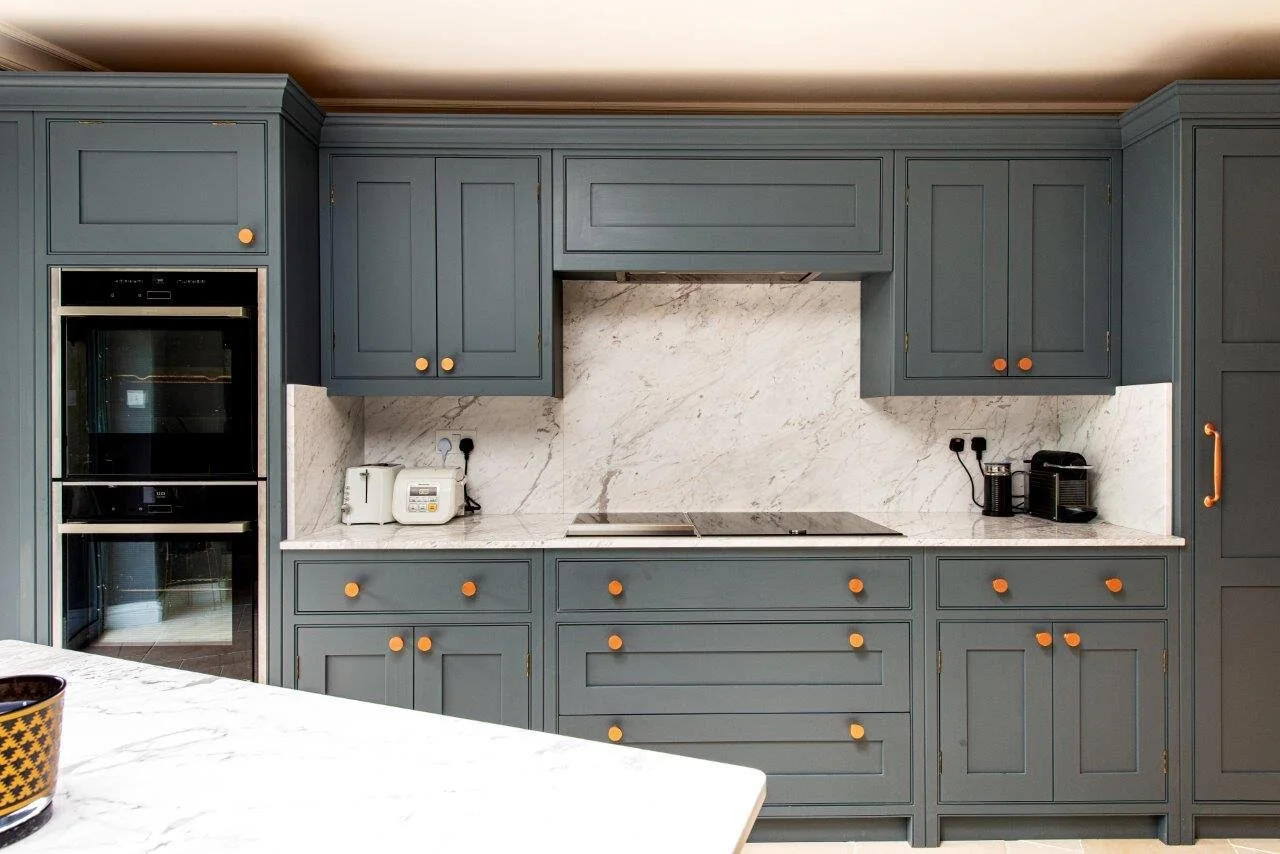
Nothing compares to the beauty of a real marble worktop. But it is also one of the least practical options - it scratches and stains very easily! It will develop a patina over time and for some people this is the appeal of choosing marble. Each slab is completely unique and it is possible to choose your own piece.
DEKTON

Dekton is an ultracompact surface which is extremely hard wearing - scratch, stain and heat resistant. It is available in a range of finishes, some similar to natural stone and some more industrial styles that imitate cement or concrete worktops. It is available in large slabs up to 30mm thick and has a high flexural strength, so it is a versatile option.
GRANITE

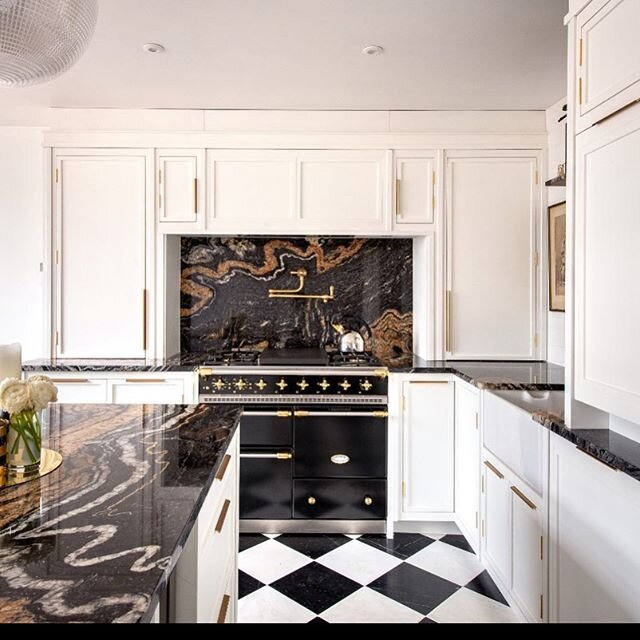
Granite is a natural stone similar to marble, with the advantage of being highly scratch, stain and heat resistant when properly sealed. There are many beautiful and unique types of granite, the price of these can vary significantly. You are able to choose your own slab and some brands offer a 15 year warranty.
Kitchen Tips: How To Measure Your Space
Measuring your kitchen for new cabinetry can seem daunting and confusing for most people. If you’re not sure where to begin, we have compiled an easy to follow guide on how to measure your space.

STEPS TO MEASURING
Draw an outline of your kitchen in plan view (as seen from above). Don’t worry about making this perfect, a rough outline is all you need here.
Mark down any doors, windows, boilers or anything else that needs access in the rough on your outline.
This is where the measuring tape comes out! Go around your kitchen as measure it in millimetres bit by bit, from one corner to another for the total wall length, then once again stopping for doors, windows etc and measuring them separately too.
Measure the height of your windows are from the floor.
Measure your ceiling height and take note for any beams.
Mark down where all plumbing, gas, electrical and vents are currently.
Once you have these measurements from your rough plan, transfer it all to our kitchen planner here: Design Your Space From there you can start dragging your units in, making sure you include all your must haves first.


Kitchen Tips: How To Paint A Primed Kitchen
Our online modular cabinetry is finished in a primer only. This means the cabinetry has had at least two coats of primer, it has been de-nibbed and is now ready for you to paint in any colour of your choice.

STEPS FOR APPLYING PAINT COLOUR
Wipe down with a damp cloth
Apply first coat of paint with a foam roller or 2-inch wide paintbrush for a hand painted finish and wait until it is completely dry.
Once first coat is completely dry, lightly sand down with a fine sandpaper to ensure a smooth finish.
Clean any dust from sanding with a damp cloth.
Apply second coat of paint as with the first.
Once second coat is completely dry, repeat process as needed.
Attach knobs, handles etc.

