Guide to Dark Kitchens: Concerns & What to Consider
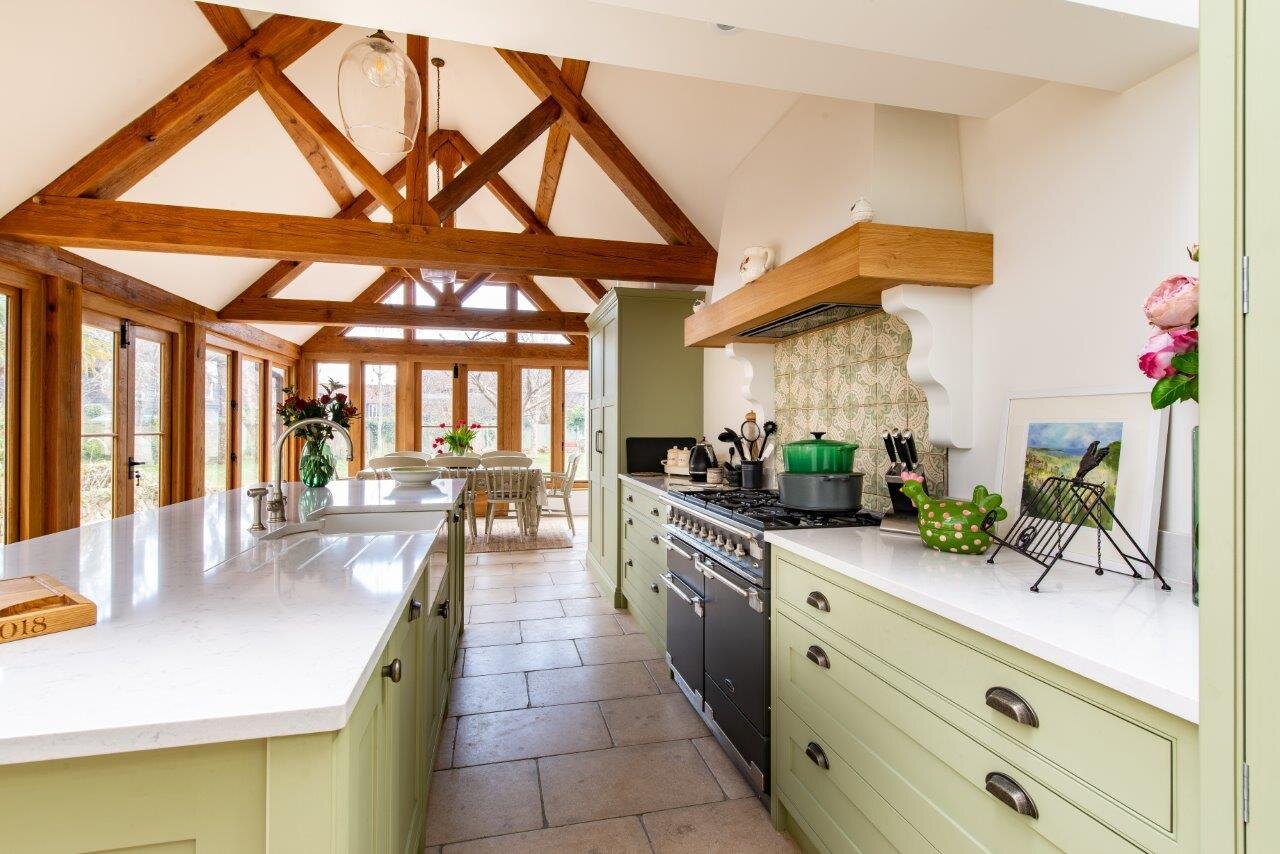
One common concern we hear from our clients is regarding dark cabinetry colours. Set the scene: You’ve spent weeks gazing at the paint swatches in adoration, you keep going back to that one colour (or, more than likely, two) Bond Street, Borough Market, or maybe even Sinner. The main concern: “Will it make my kitchen feel really dark and small?”
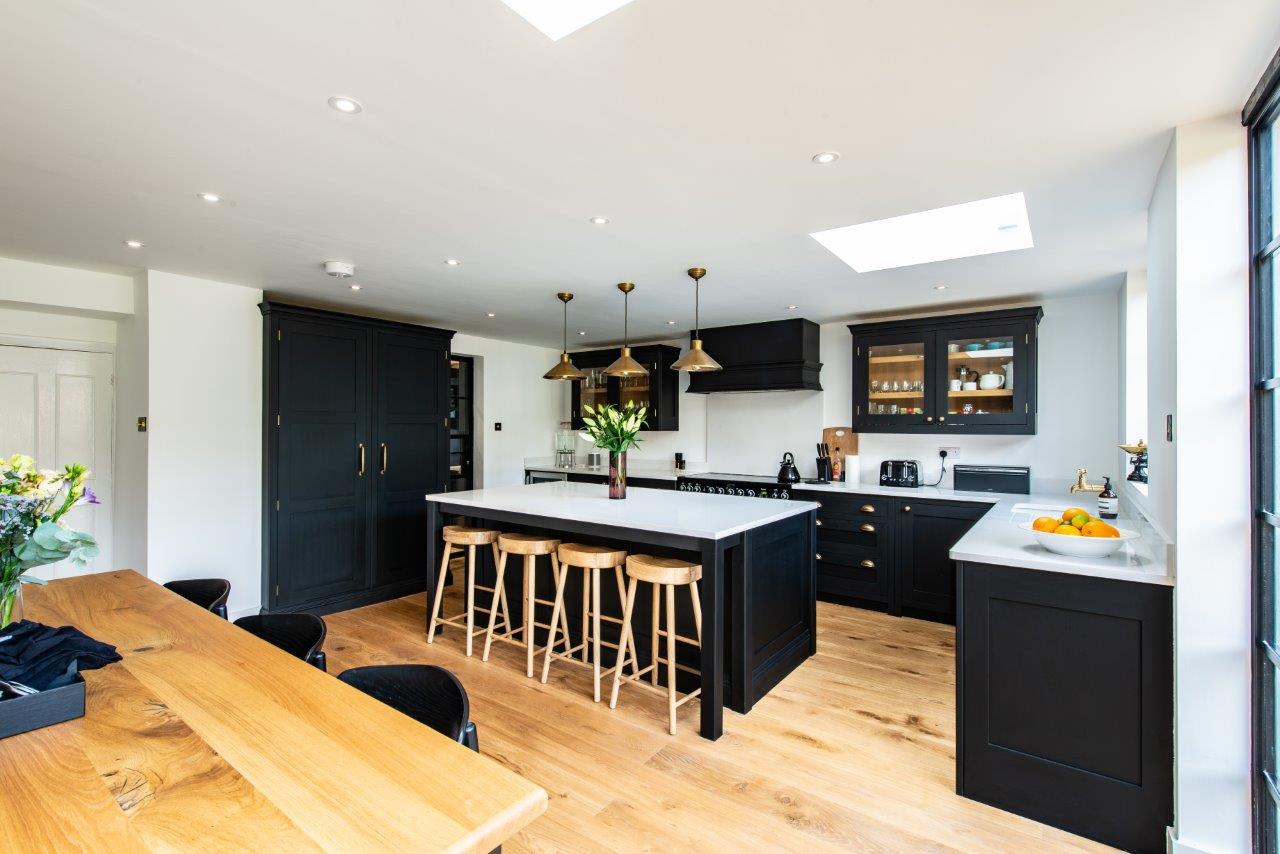
It’s understandable that you might find a dark colour daunting. While a dark kitchen won’t work for everyone, it’s less scary than you might think. If you are worried about the space looking too dark, here are a few considerations to make:
Choose a light worktop, wall and floor colour-
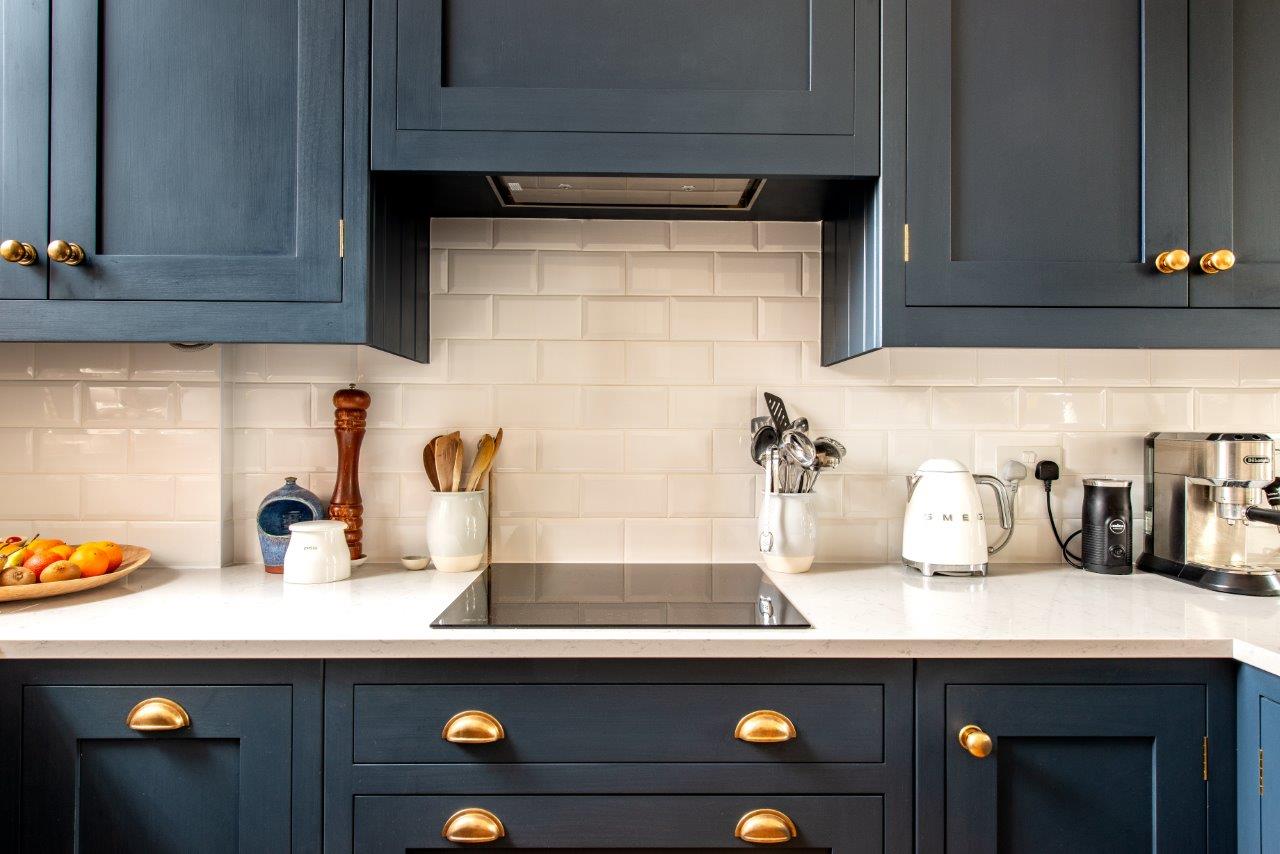
When choosing a darker hue for your cabinetry, if you want to keep the space feeling airy and bright, choose a lighter colour for the worktops, walls and floor. A lighter worktop and walls will reflect light in the space and create a beautiful contrast with your cabinetry. Your cabinetry design will really stand out with this contrast, so make sure you are in love with the design.

Choose a light or contrasting tile-
Another way to create balance in your kitchen is by introducing a contrasting tile for your splashback. You could run the tiles all around your walls between the upper and lower cabinetry to carry out the balance. We have some of our favourite decorative tiles available to purchase from the Herringbone Pantry.

Think about light-
Consider the windows in your kitchen and which direction they facing. If you are having an extension, this should be a consideration that is made early in the planning stages and gives you the freedom to make it work with your kitchen design. Depending on the amount of natural light flowing into your kitchen, your dark cabintery will vary in darkness and tone. Paint a sample board with your colour and see how the light will change the colour at different times of the day and in different parts of the room. Don’t be disheartened if you don’t have lots of big windows, there are other ways to introduce light into the space with pendant lighting, under unit lighting and spotlights.

Play with handles-
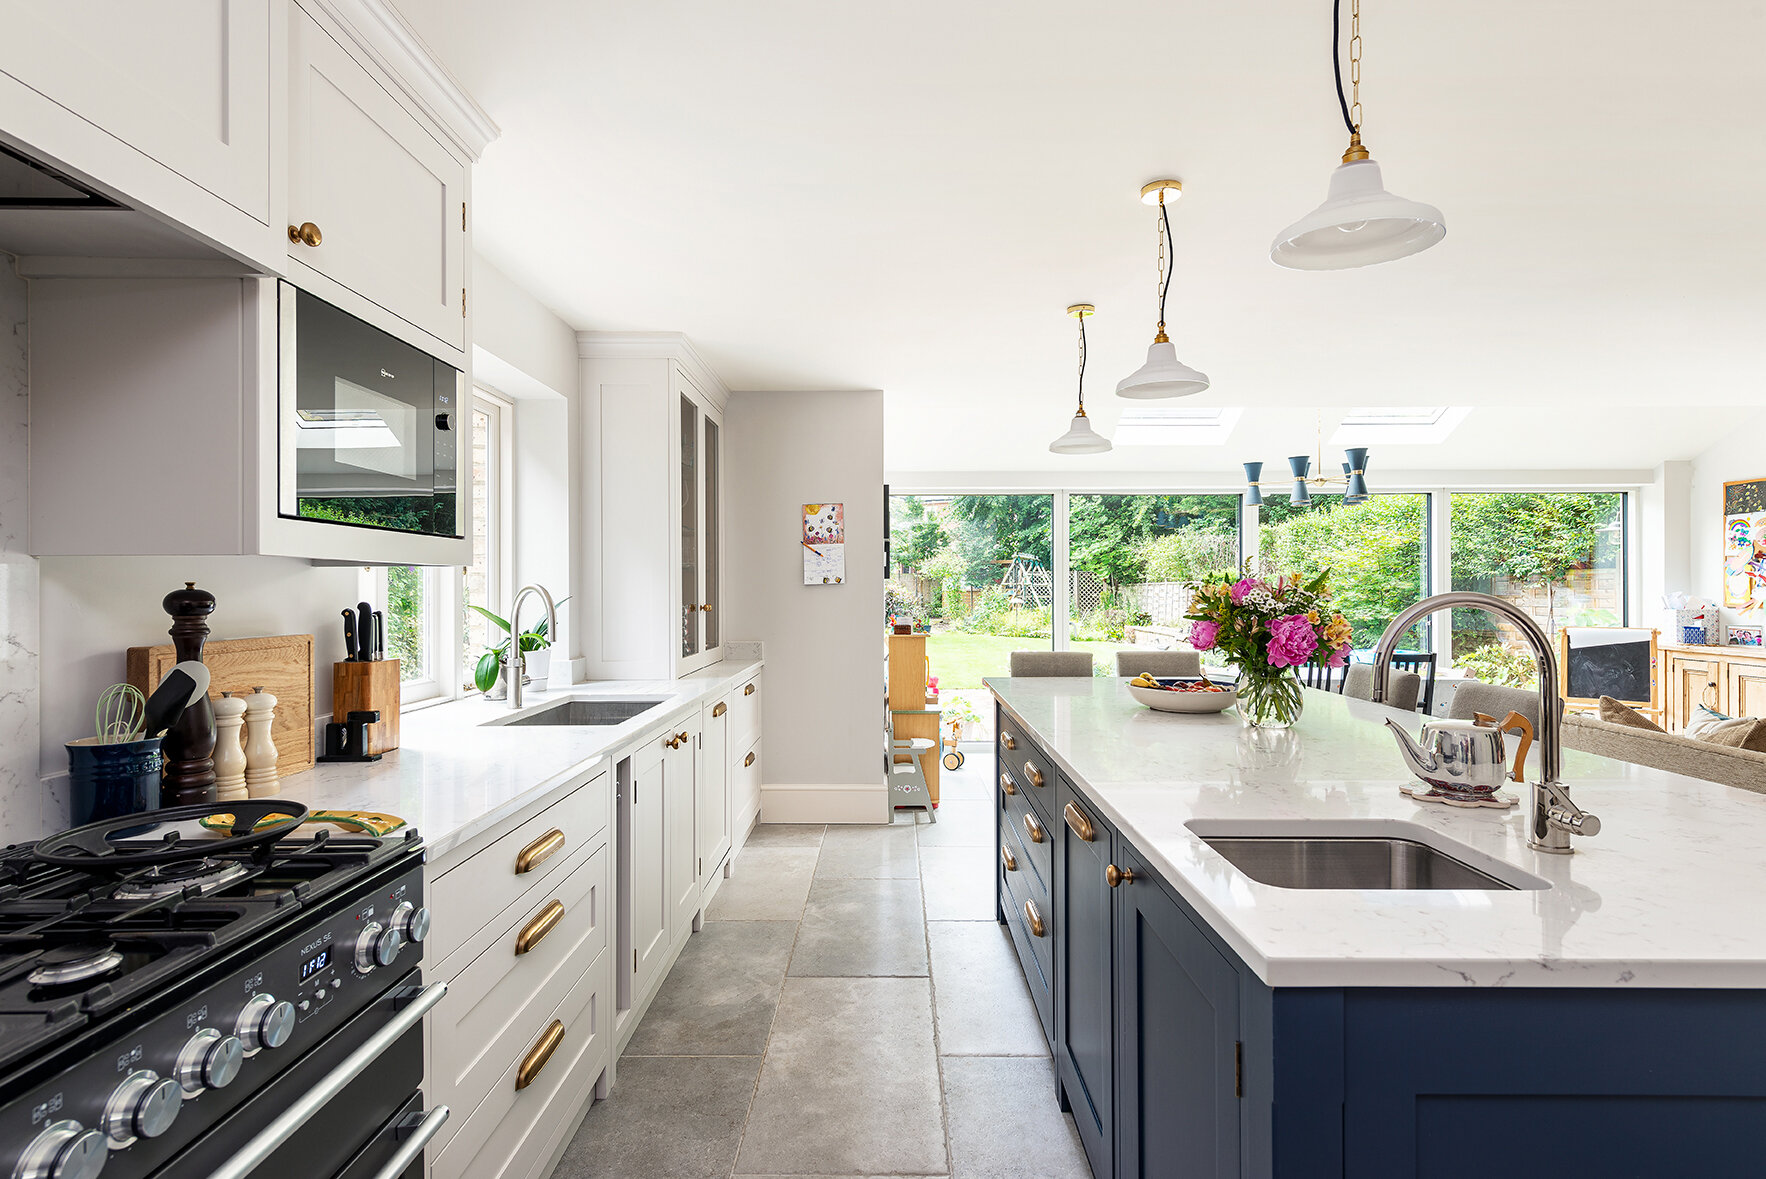
The style and finish of your cabinetry handles will impact the aesthetic of your kitchen. Aside from making a difference in the overall style of the cabinetry, juxtaposing dark cabinets with a brass, nickel or chrome handle will create contrast and reflect more light into the room.
Embrace the dark-
If darker tones is right up your street, why not go all out and embrace the moody & cosy feeling that comes with darker colours. Paint your walls with the same or a contrasting dark colour. For an even grander effect, take the colour all the way up your ceiling.

Do you love it?-
The most important thing to consider is ultimately, are you in love with the colour? Do not worry what your aunts, neighbours or colleagues have to say about it, if the colour best reflects your family personality than it will always work for you. Does it create the mood that you want bring to the space? You will spend a lot of time in your kitchen, so think about what colour will make you feel happiest.

As always, we are here if you are unsure and need some more guidance! Drop us an email or ring us to have a chat about your project.
The Design Process: How it Works & Getting Started
We get a lot of messages from you asking how to start planning your new kitchen and how our design process works. So here is a guide from start to finish so you know what to expect.
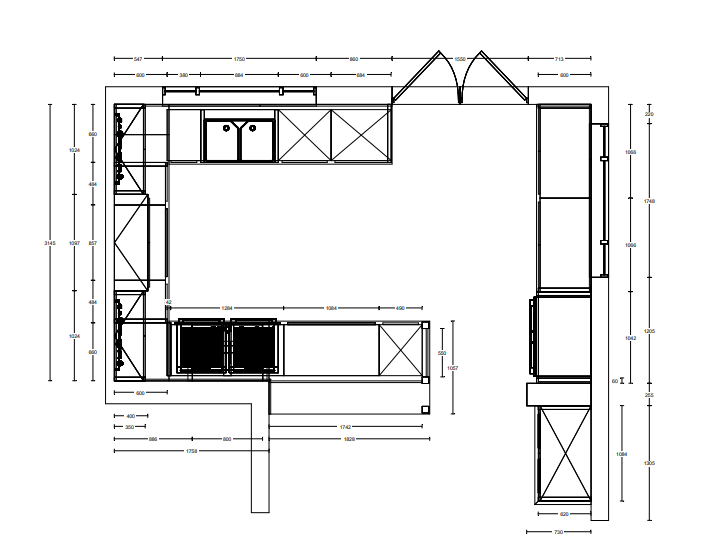
1. Firstly, if you have a budget in mind but are unsure of how much your new kitchen might cost, you can send us an email with your floor plans, architect drawings or dimensions of the kitchen and we will provide a rough estimate.
2. The next step is to book an appointment for a Design Consultation with one of our kitchen designers. Your first appointment will be at our studio in Canterbury or over the phone during the weekdays. We do require you to visit us at least once during the design process as it helps us ensure you know what you are buying and get a feel for our product.
At your initial design consultation we will go through what you hope to have in your kitchen, we will show you all of your options including cabinetry, worktop and materials and can go through together any preliminary ideas on your design. This meeting is quite in-depth and normally takes 2 hours.


During your design consultation, you and your designer will go through your desires and requirements of your new kitchen, covering all areas. We provide a two hour slot to make sure there is time to discuss everything you want during the appointment. We will discuss the number and types of units, worktops, what sort of appliances & taps you would like or if you’re keeping your own/sourcing them yourself, the design and layout of the space, as well as cabinet colours, handles and tiles if you’re having any. Your designer will show you around our studio and explain the different ranges of cabinetry we provide. We can show you samples of work surfaces, tiles, etc to help you make your decisions.
Following this, if you choose to have a design from Herringbone, we will require a payment of £500 which is deducted from the cost of your kitchen. A full design normally takes our designers two weeks to complete. Your design can be presented in our studio or over Zoom, whichever you prefer. Your designer will then produce your kitchen design and quote. It is at this point that we will make any changes and decide whether or not you would like to go ahead with the project.

3. The next step is your pre-fit survey. Adrian our workshop manager will visit you to survey the room and ensure that everything is where it should be and take measurements of the space so we can start making your kitchen in our workshop!
4. After that, depending on our lead time, there’s a wait (think of it more like a countdown similar to Christmas or your birthday!). We will be in communication with you throughout the whole process, and will be here to answer any questions you may have.

5. Kitchen installation - our fitters will deliver your kitchen and start installing it. This can take anywhere from 3-5 weeks to complete, depending on your design.
6. The last step is moving in! Your kitchen is ready for you to start unpacking your things into and styling it. This is where all the waiting and emails will prove worth it.

Once everything is completed and the kitchen is all yours to enjoy, we are just an email or phone call away should you need anything. And if you’re in the area, please do pop in for a cuppa! We love hearing from you even after the project is finished and knowing you’re as in love with the final product as you hoped.
Mixing Metals: Handles, Taps & Appliances
We get a lot of questions about mixing metal finshes in your kitchen. Most commonly about mixing brass handles and accents with stainless steel appliances and chrome taps.
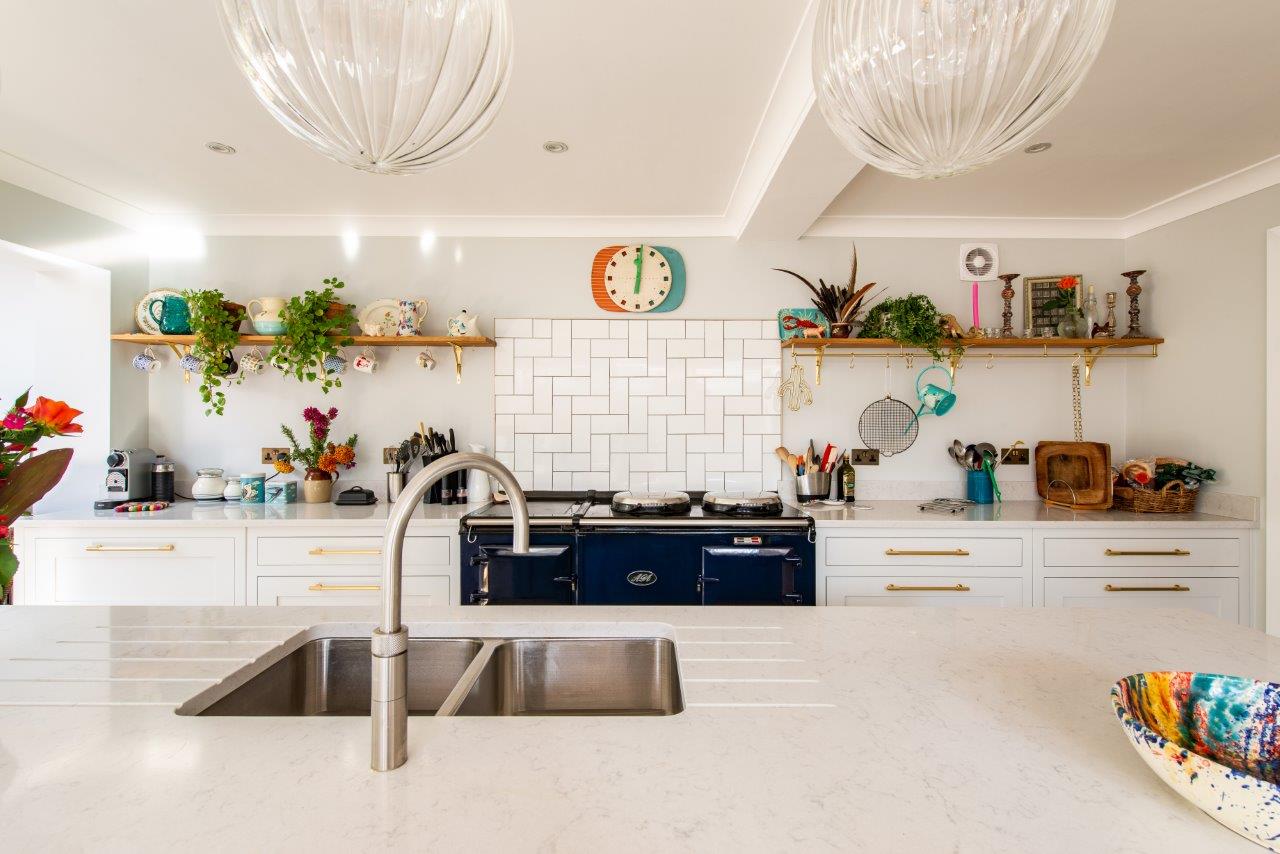
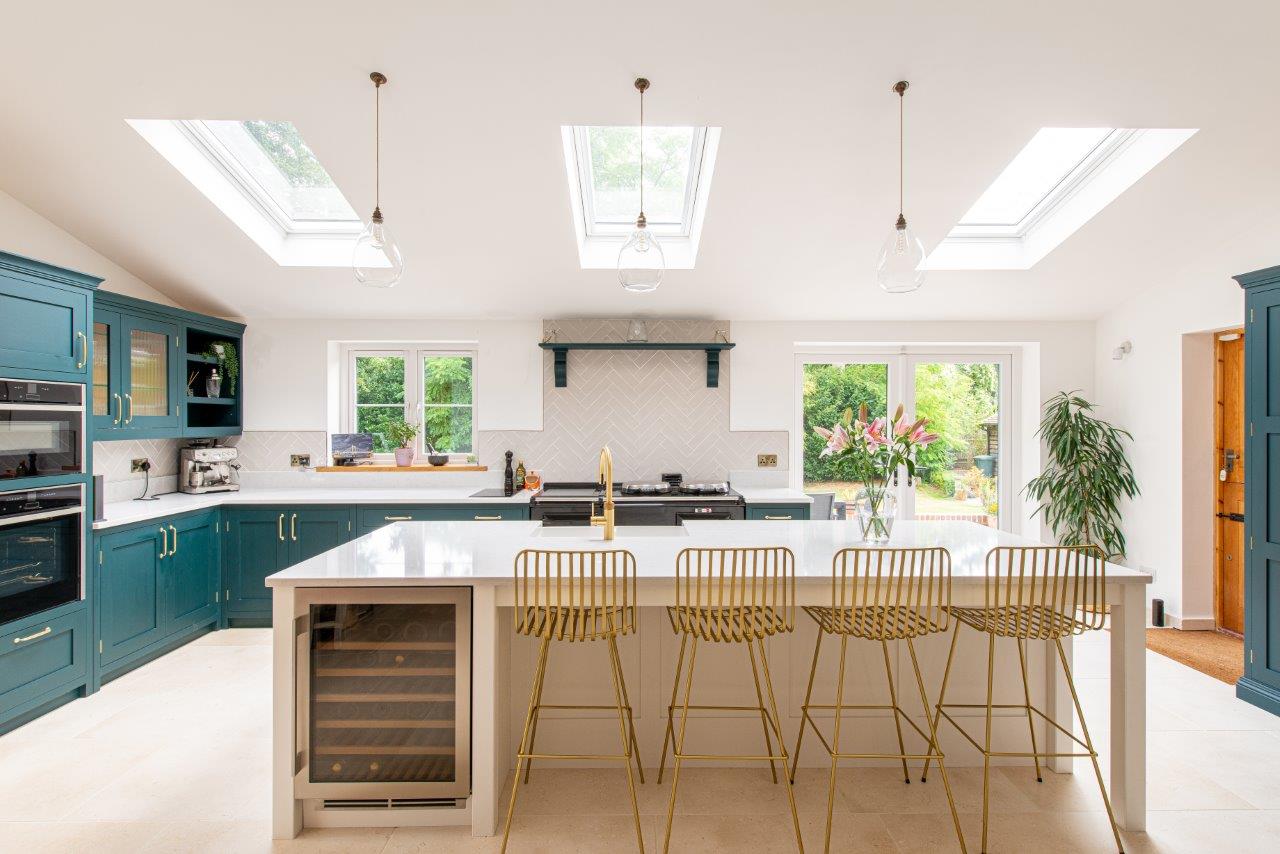
It’s very common to mix and match finishes in a kitchen. In reality, it’s not something you’ll notice too much if your cabinetry handles are in satin brass and your tap is chrome or whatever different finishes you choose.

Don’t be afraid to mix cool and warm tones. Appliances are always going to have stainless steel handles, so don’t compromise your design ‘wants’ because you’re afraid of them clashing. Keeping it to two finishes is a safe way to keep the space consistent. For example, if you wanted nickel or brass handles, you could install a chrome tap that will compliment the appliances. Or, match your handles to the tap and keep solely the appliances for the second tone. If your handles and tap aren’t identical twins, it won’t be a problem. Contrast is actually the key here, despite it being the scary bit. Incorporate it as part of the design.

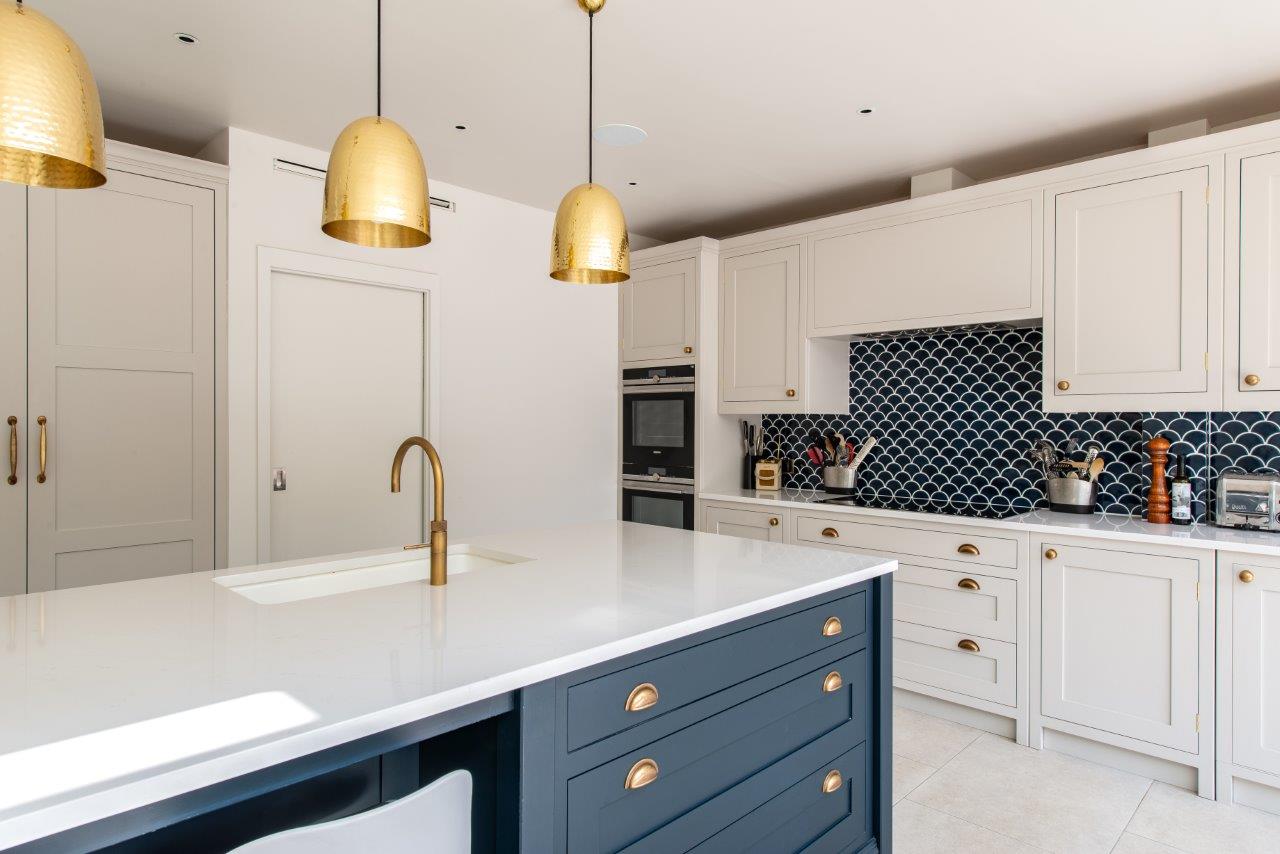
Finally, if you’re still unsure about your metals clashing you can always ask us for help. We’ll have a look at your choices and give you some guidance!
Design Mistakes and How to Avoid Them
When designing your dream kitchen, you’ll have a lot of fun, choosing colours and tiles, that double door pantry you’ve wanted for ages, seeing the perspectives and it all coming to life!
But there are a few important things to think about when considering the actual design and flow of your kitchen. We have compiled a list of some commonly made kitchen design mistakes and how to avoid them.

Too many units and no variation
A sure-fire way to make your kitchen feel smaller and claustrophobic is by having too many wall units; especially if you have a smaller kitchen. If you don’t have a larger space or taller ceilings, focus more on the bottom units and make sure to add a variety as too many cupboards can sometimes look busy. Mix up cupboards and drawers depending on your lifestyle and storage preference, it’ll make a world of a difference to the over all look of your kitchen.
2. Aesthetics over functionality
One of the worst things you can do when designing your new kitchen, is focusing solely on what it will look like rather than taking into consideration your lifestyle and functionality of the space. Of course you want your kitchen to be as beautiful as you’ve dreamt it! But you will come to resent it once you start to find problems in how you work in it. Consider things like work flow, is the sink a little too far away from your bin? Is there enough counter space and storage? Have I chosen a material that will stain easy and does this suit my lifestyle? Is there enough ventilation? Do you tend to splash about at the sink, is a wooden worktop realistic? These may seem more boring than choosing colours and handles but are very important in the design process.
3. Skirting board under the sink unit.
Something we advise against is skirting boards under the kitchen sink units. Simply because, you will end up kicking them. Keep the skirting around areas like larders, free standing units and taller units.
4. Not enough lighting or all spotlights
Lighting is so important when it comes to any space and variation is key! Too many or all spotlights may be a little too bright and solely under unit light strips or lamps won’t provide you with enough light to cook safely in. A few different lighting choices to keep things interesting and suitable for different times of day and moods!

5. Tall units in corners
Tall units are stunning, there’s no question about it. What we advise when it comes to these beautiful giants, is to avoid putting them in corners. The reason for this is simply because they will create a dark corner in your kitchen and close the space up.

6. Not injecting your own personality into the design/solely going with trends or other peoples taste.
Don’t make big decisions based on fleeting trends and other peoples opinions! The best way to go about designing your kitchen is by following your gut feeling with colours, handles etc. You can always ask one of us for some help if you’re unsure, but don’t let other people make the decisions for you. If you don’t love it, it’s not for you!
7. Something needs to be over the island.
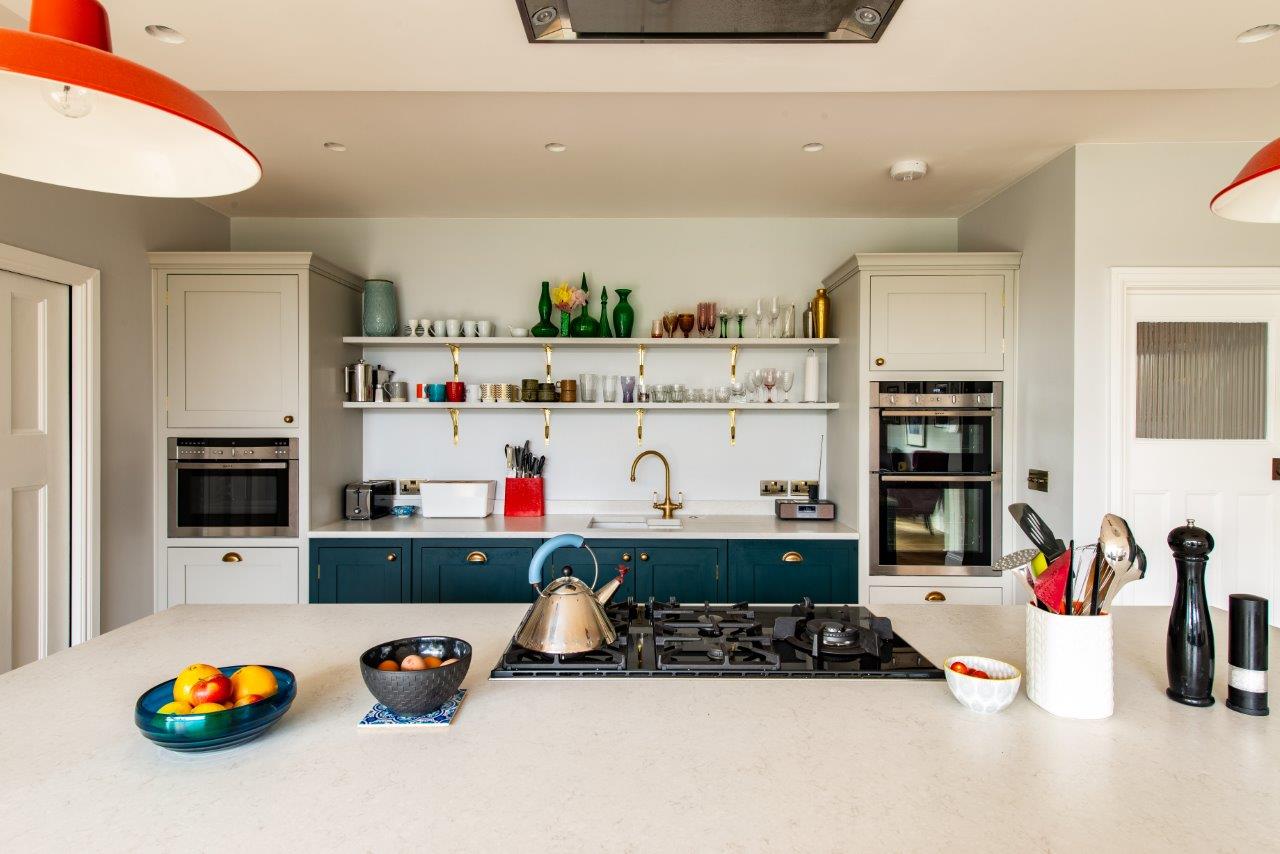
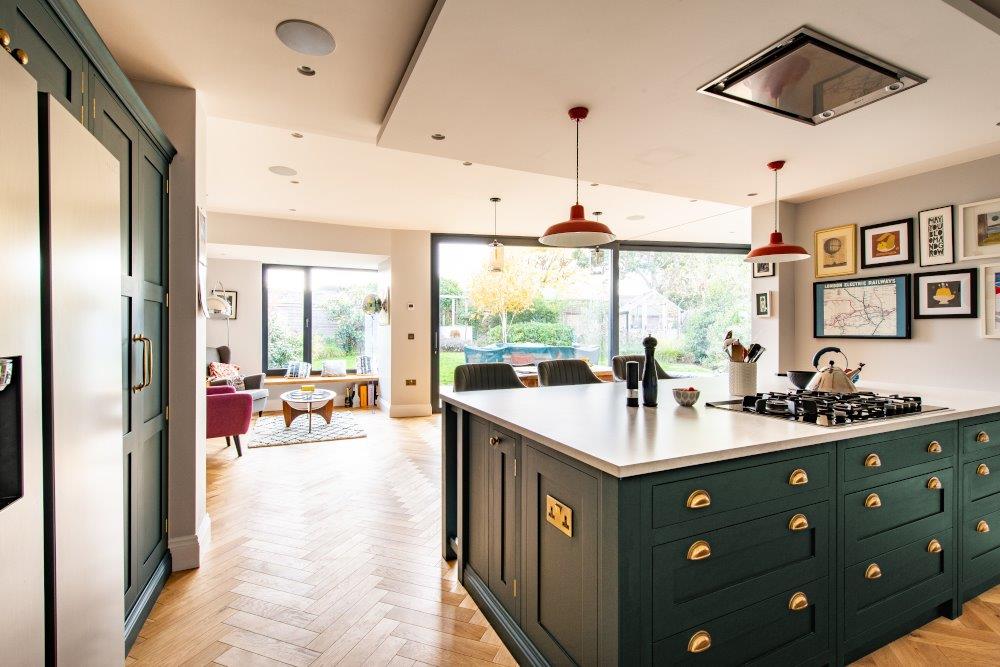
When it comes to kitchen islands and peninsulas, they generally work best with something hanging over them. You could go for a selection of pendant lights (three always looks best) or if you have lower ceilings, maybe an overhead shelf to display cookbooks, plants and styling pieces.

A Guide to Mood Boarding & Colour Combinations
We know renovating or redecorating a space can seem like a daunting task to take on. With endless options of paint colours, decorative tiles and handles in all shapes and finishes; it’s a lot to take in. This is why mood-boarding can be a great way to narrow down your options and help you visualise your space easier. A little visual aid never hurt anyone after all!

Mood Boarding Basics
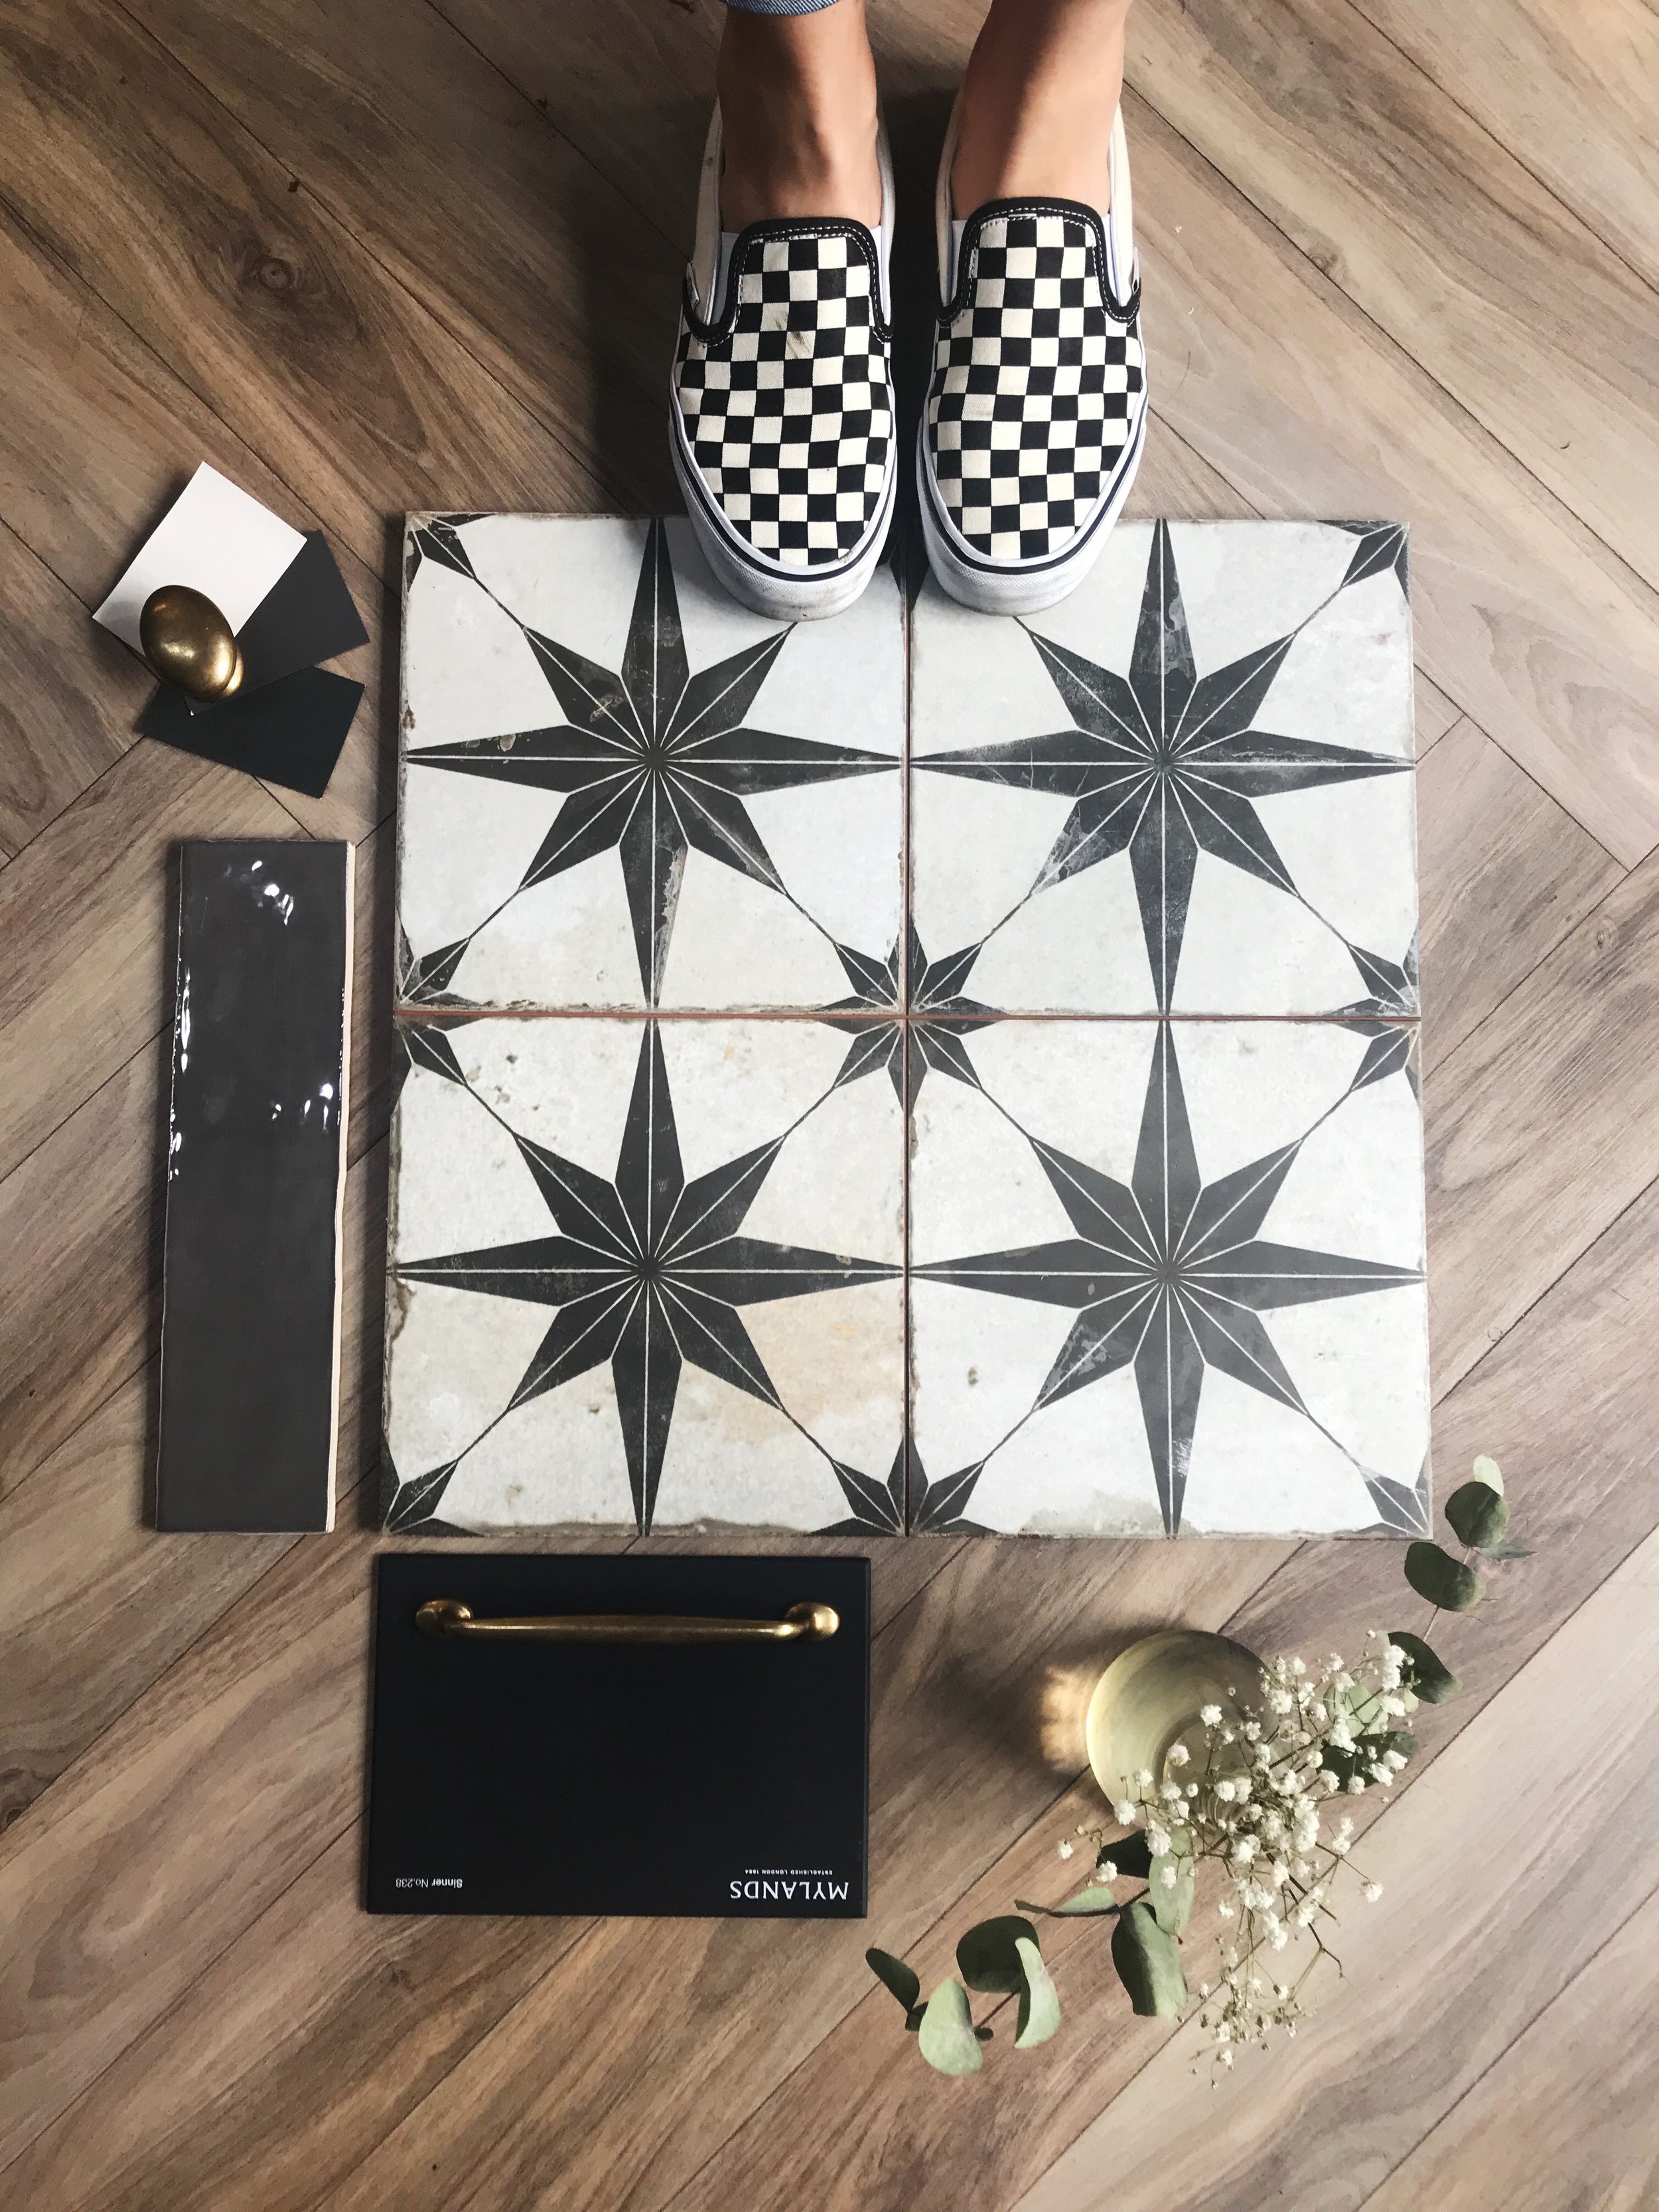
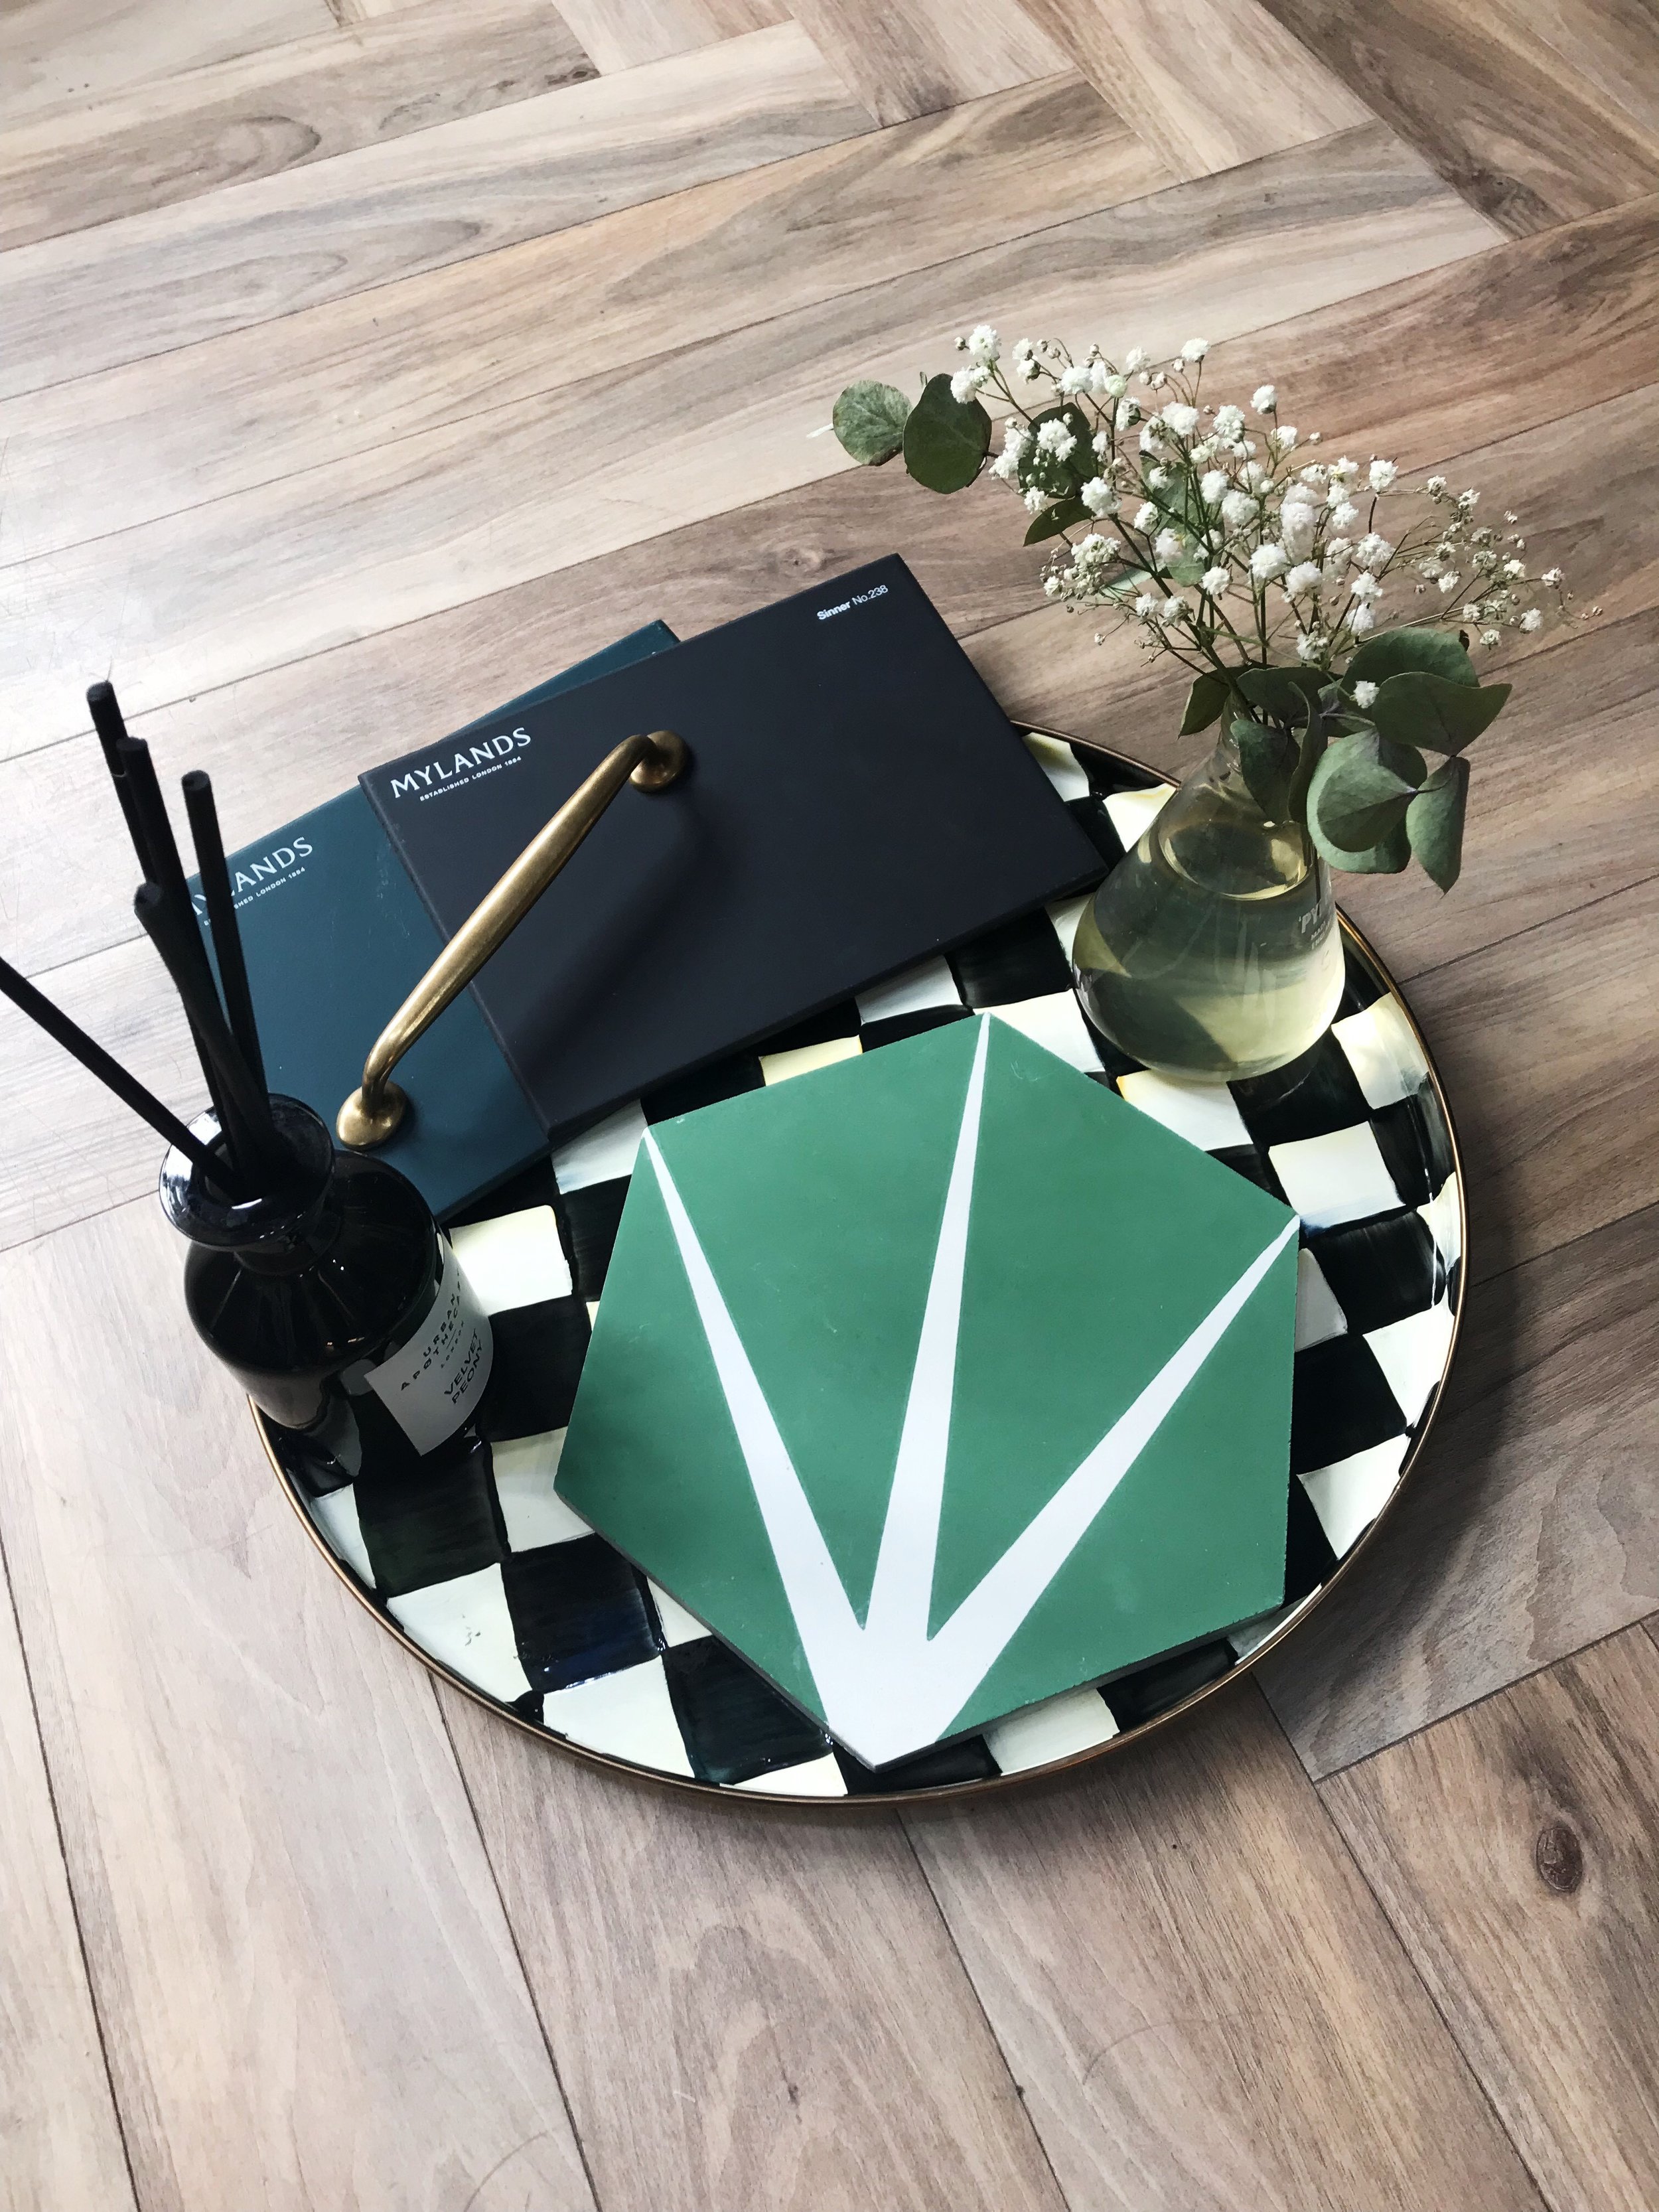
There a few different ways of creating a mood board. Traditionally, a mood board consists of a physical board like a push pin board of foam, where images and textiles can be attached. However nowadays it’s more common to use apps like Pinterest, or photo editing software to create collages full of your inspiration images. More and more clients are using Instagram to help organise their thoughts. You may want to keep things even simpler, by ordering samples of things like paint, handles, tiles and textiles and laying them out in different arrangements. This way you can have a very clear understanding of what works with your scheme.


Pinterest to The Rescue
If Pinterest is already something you’re familiar with, there’s no better place to start your mood boarding journey. Start by collecting images of completed spaces you find attractive or that speak to you and evoke the feeling you want your own space to feel like. Then go on to Pinning images of more specific things like taps, patterned tiles, fabrics and paint swatches. Pinterest in particular is a great app to use, as not only can you save inspirational images to your Board, but you can also add images directly from company websites. For example if you have your heart set on that Perrin & Rowe tap, you can Pin that exact tap.
Start by collecting images that speak to you or evoke the feeling you’re after in a space. You can find these anywhere from magazines, company websites, Pinterest or even taking photos yourself when visiting shops or different spaces. Restaurants, galleries and other commercial interiors often serve as great inspiration. Once you have a general idea of what you want in your space, try arranging images around one larger image of a completed space with a similar vibe or similar elements to what you’re after. This can be used as a visual aid througout the project and help you to understand what does and doesn’t work for you and your space.

“What defines whether a colour is stimulating or soothing is not the colour, it’s the intensity. A strong, bright colour will stimulate, and a colour with low saturation will soothe”
Choosing your Colour Combinations

Colour combinations are often a part of design that people have the most trouble with. How to choose different colours and make sure they live harmoniously and above all, are pleasing to the eye. Artists and designers often use the Colour Wheel method. By looking at the wheel, working out which colours, hues and tones work best with each other.
You may well have chosen a colour you absolutely love and have settled it! The best thing to always remember is that in design, it’s all about balance and juxtaposition.
Some examples:
If you’re using a bold and vibrant colour, on your main or island cabinetry, introduce a softer, lighter version of that colour respectively.
If you’re going neutral and inoffensive all the way, why not add a bold and intricate patterned tile to avoid looking clinical.
As with anything, there are exceptions to the “rules” if you may. If it looks and feels right to you go with your instinct. If you’re still unsure, you can always call us and ask for our advice. We love helping you out and making sure you’re as happy as possible with the end product!
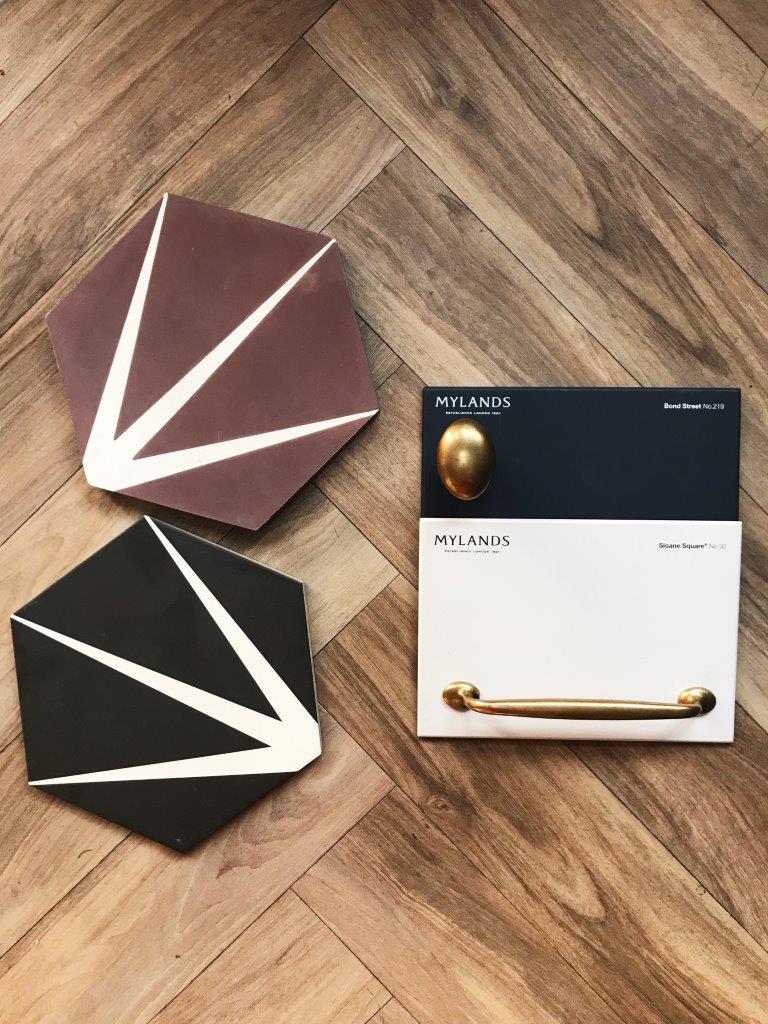

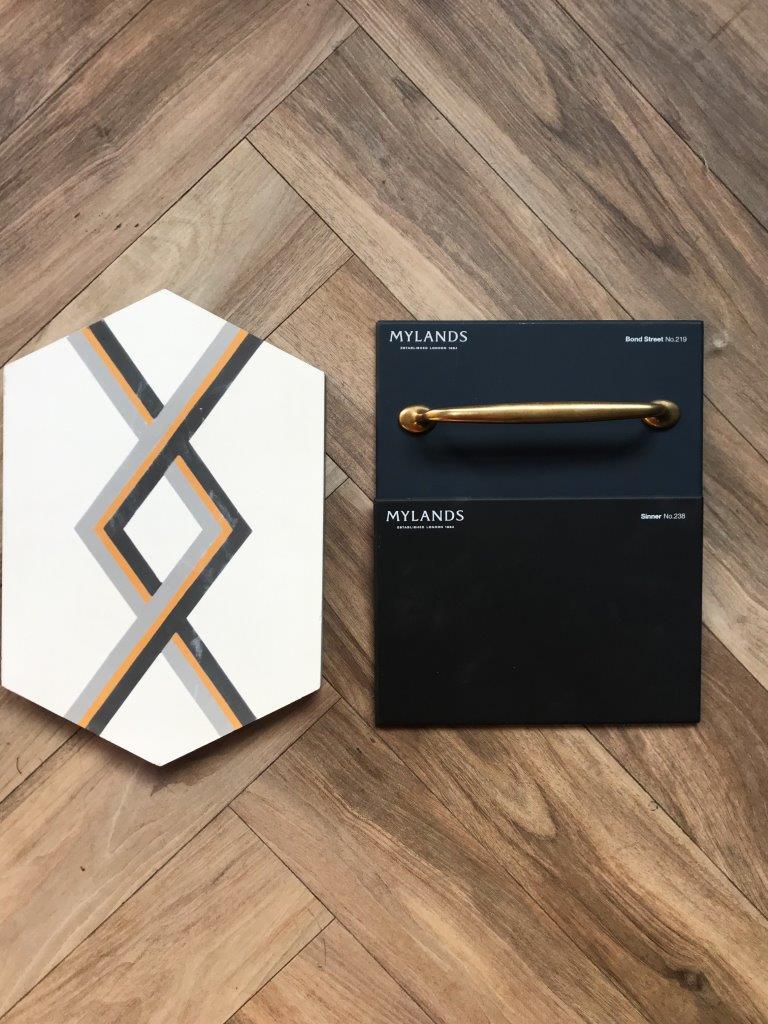
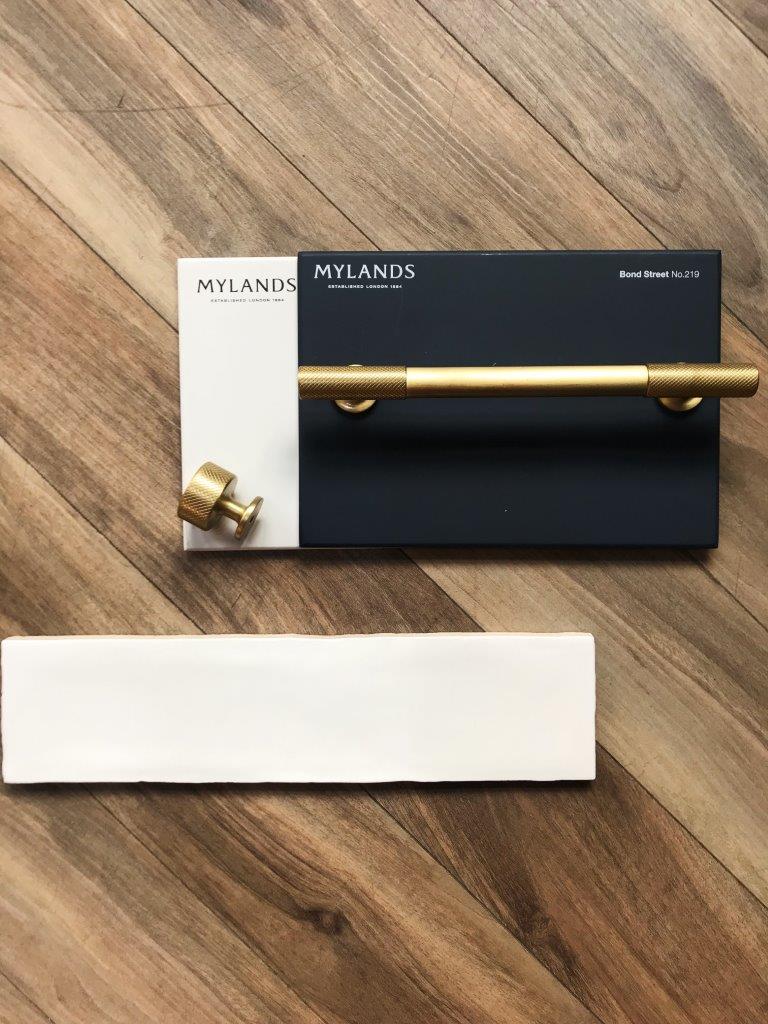
One very important thing to remember is, you can follow all the “rules” and trendy colour combinations, but the most crucial part of any design is that you love it. Imagine yourself waking up each morning and making yourself a cup of coffee (or tea) in that kitchen and feeling happy! So get on that Pinterest board, or whack out a scrapbook and have fun!
More Blogs From Herringbone…