Kitchen Tips: How to select the perfect fittings to suit your personality and style
Maybe you’ve just settled on a kitchen reno design with the company you chose, or you’re looking to update your current kitchen without making grand changes like cabinetry or worktops. In either situation, this is a great time to think about finishing touches and styling options for your kitchen.
Hardware
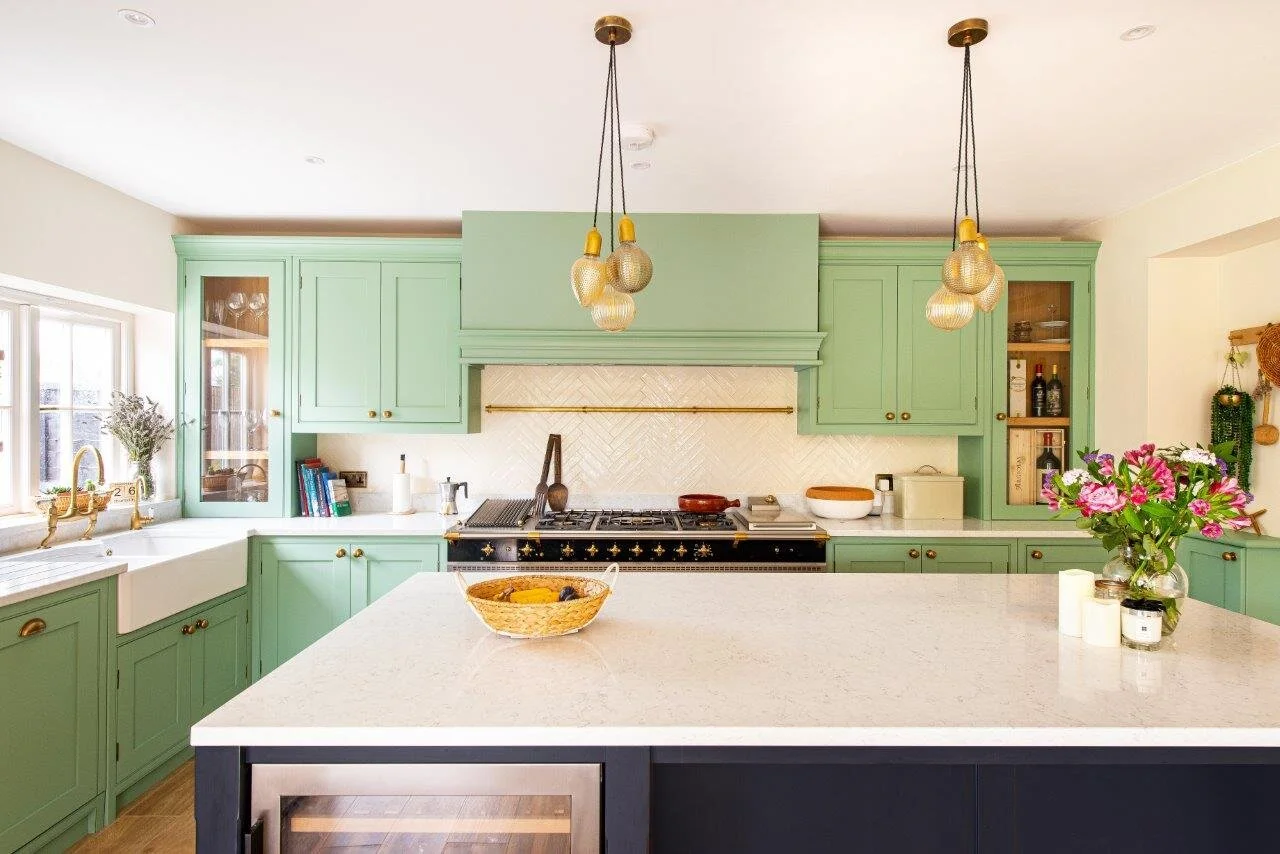
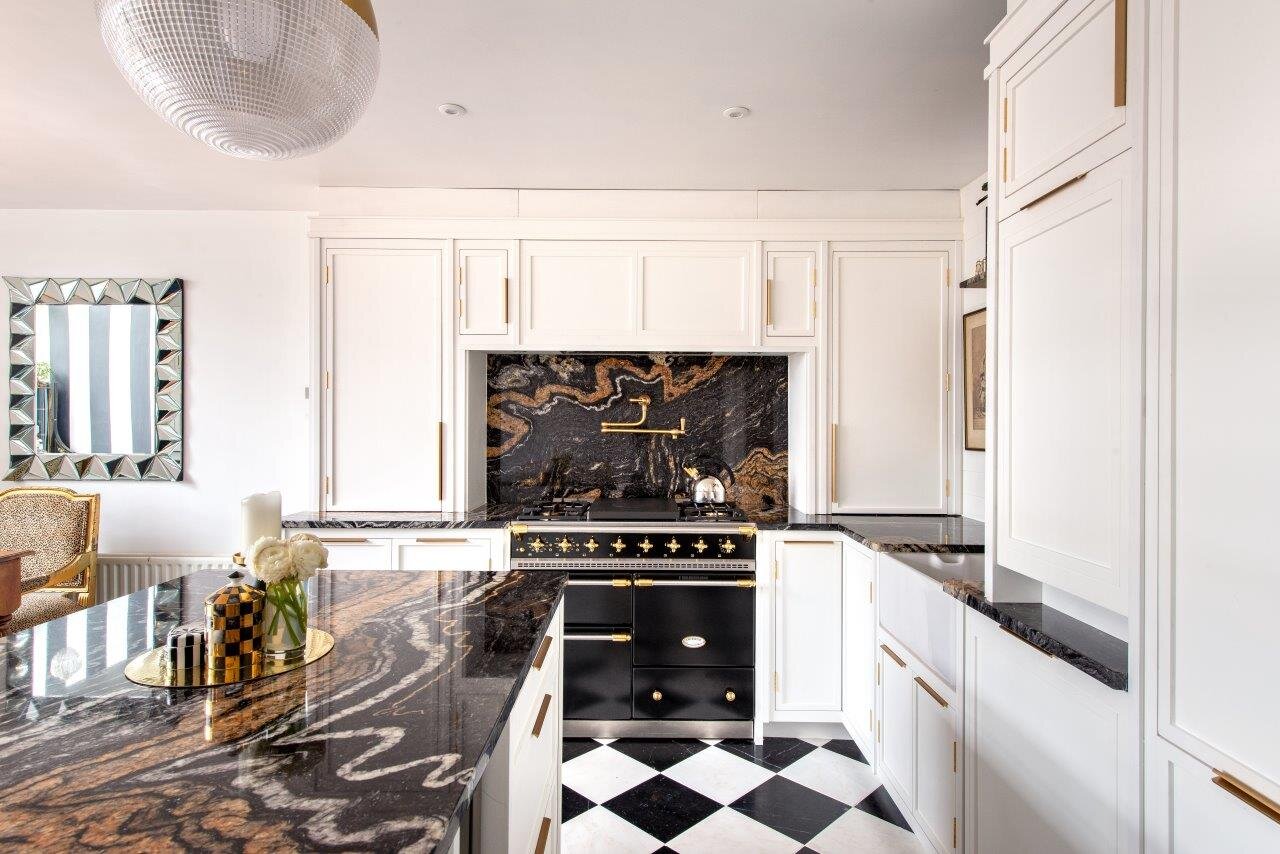
Probably the most important of details as well as the easiest to change, is your hardware. Your handles can really change the look of your kitchen. A rounded burnished brass or nickel handle will add some depth and traditionalism to a more modern space, whereas a polished nickel or satin brass lacquered can bring modernity to a more classic shaker style kitchen cabinet and will reflect light gorgeously.

If you’re thinking of changing your hardware, specifically if you have pulls, make sure to take a look at the inside of your cabinetry doors and drawers and measure the space between the holes; this is your spread. Keeping the spread the same is recommended if you are after a quick and easy job, however if the pull you desperately want is smaller, bigger or you have decided a size up/down will benefit you, be aware that this will be a bigger job as you will have to fill the pre-existing hole, sand and paint over it.
If possible, go see your handles in store before placing your order. Seeing the hardware in person and getting a good idea of the finish and feel will help you finalise your decision.


We carefully selected some of our favourite handles and sell them in our Pantry! We have a wide range of finishes and styles to suit everyone’s style and almost all of our projects feature one of them.
Something we get asked a lot in regards to hardware is whether mixing metals is okay. Will a burnished brass handle look odd with a steel? The answer to that is definitely not! Mixing metals is very common in kitchen design and has actually become quite trendy. If you think about it, appliances are almost always going to be stainless steel, yet so many kitchens in the last few years have gone with brass knobs and pulls. If you think it’ll bother you however, go with a nickel or chrome and keep your sanity! If you want to learn more about mixing metals, read our blogpost ‘Guide to Mixing Metals’.
We tend to find that choosing handle finishes is either very easy for clients (they have already made up their mind) or quite confusing. If you’re having trouble picking, consider what colour or finish your cabinetry is. Look at the handles on your cabinetry the way you would look at jewellery on your skin-tone. Different colours and tones will bring out or suit different finishes better. Your designer will be there to help you with this if you’re unsure. You may find our blogpost ‘Guide to Mood Boarding and Colour Combinations’ helpful here as well.

Decorative Tiles
Another thing we have seen a lot more of in the last couple of years is tiled splashbacks. Whether your style is very clean, muted and minimal or bolder and perhaps more asymmetric, a decorative tile on a splashback or between cabinetry runs can makes a space look very put together and expensive. If you’re thinking of tiling the space between your upper and bottom cabinets, try tiling all the way up to the top cabinets. If you only have bottom units, tiling further the wall than you’d expect will add a certain grandness to your kitchen and pull the eye up.


If you’re planning a kitchen renovation and feel decorative tiles aren’t for you and would rather something more simple, we love seeing worktops continuing up the walls. You can go for a shorter upstand or continue the slab up to your upper cabinetry. If you don’t have upper units, depending on your ceiling height, you could even take the slab all the way up your wall, perhaps adding some open shelving out of the same material on top for a very seamless and modern look.


Lighting
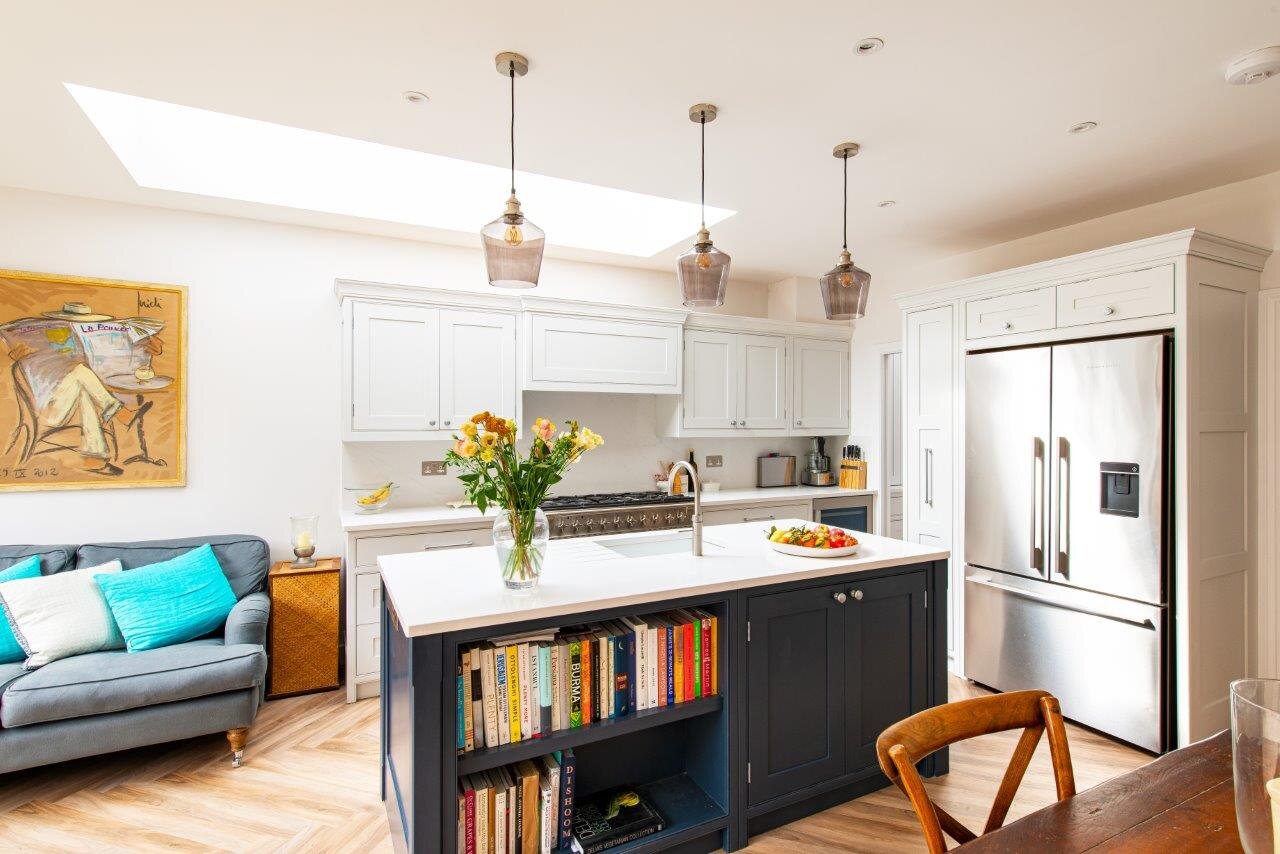
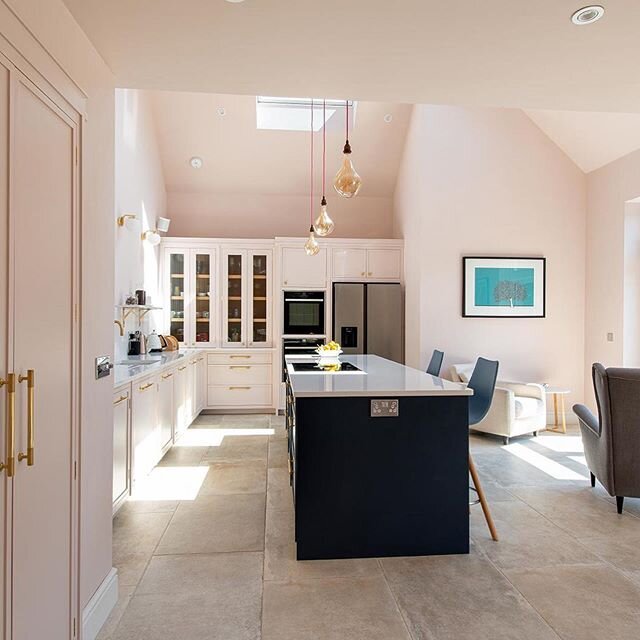
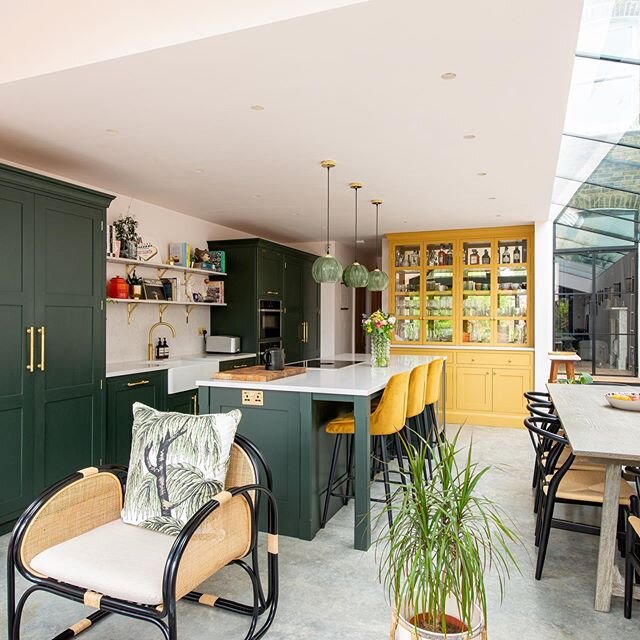
Something you may have not thought about too much is your lighting, particularly pendant lights over an island or kitchen table. This is a great area to bring a lot of your personality to the space. You can match these to your hardware if you wish or you can mix your cool and warm tones which adds depth and design complexity to the space.


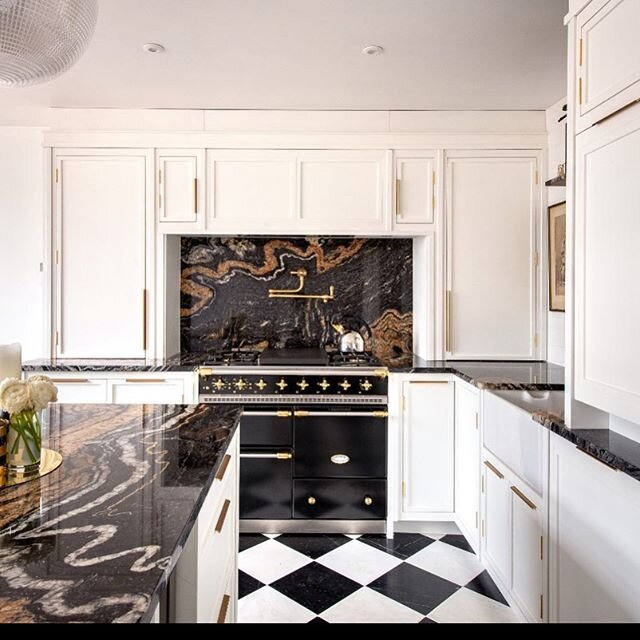
When thinking about pendant lights, this is a brilliant point to consider bringing some curves into your design. Your cabinetry, sinks, appliances and worktops all have something in common: they’re rectangular! Something that really elevates a room in terms of design and style is juxtaposition and balance. Bringing in some round shapes in a room with mostly angular items, will harmonise the space and soften it. This is something you can apply to your tiles, taps and/or handles as well. Maintaining a balance between straight, angular lines and curves is key. A gooseneck tap for example will soften a kitchen with more rectangular handles on the cabinetry.
Round shapes and curves are extremely popular in pendant lighting at the moment and you will be spoiled for choice! Look for inspiration on Pinterest and Instagram. (Where else does one find inspiration for anything nowadays?) We love Duma in Whitstable for lighting.

Kitchen Tips: How To Design Your Dream Kitchen
We get a lot of messages from you asking how to start planning your new kitchen so we’ve put together a guide from start to finish of how our design process works and what you can expect.
1. Budget and Choosing a Company
Firstly, if you have a budget in mind but are unsure of how much your new kitchen might cost, you can see our guide to kitchen pricing here. You can also send us an email with your floor plans, architect drawings or dimensions of the kitchen and we will provide a rough estimate. You can email us by clicking the link.


There are limitless options for choosing which kitchen company you want to work with. It is a very personal thing designing, making and fitting a kitchen for your home and because of that, we often build close relationships with our client’s throughout the process.
A good way of choosing which kitchen company you think you’ll work with best and that fits your style and budget would be to visit companies or look through their samples of work. You can dowload our brochure here.
2. Initial Design Consultation
The next step is to book an appointment for a Design Consultation with one of our kitchen designers. Your first appointment will be at our studio in Canterbury or over the phone during the weekdays. We do require you to visit us at least once during the design process as it helps us ensure you get a feel for our product.

““Yes going down to Canterbury is a pain, but I’m so glad they insist. We got so many additional ideas from being in the show room. We understood so much better what we would be getting. Having worked in property development I know everyone being clear about what is to be delivered from the outset is key to a harmonious installation. The trip to Canterbury is probably more important then trawling the web looking for ideas.”
Anna & Charles, Battersea” ”
During your design consultation, you and your designer will go through your desires and requirements of your new kitchen, covering all areas. We provide a two hour slot to make sure there is time to discuss everything you want during the appointment. We will discuss the style of kitchen, number and types of units, worktops, what sort of appliances & taps you would like or if you’re keeping your own/sourcing them yourself, the design and layout of the space, as well as cabinet colours, handles and tiles if you’re having any. Your designer will show you around our studio and explain the different ranges of cabinetry we make. We are always excited by new ideas, so if you have a specific design in mind- just say!
Your designer will then produce your kitchen design and quote - this takes 2 weeks. It is at this point that we will make any changes and decide whether or not you would like to go ahead with the project.


3. The Details
Once you have finalised your layout and kitchen design in a broader sense, it’s time to focus on the smaller but still rather important details. Moodboards come in handy at this point.
There a few different ways of creating a mood board. Traditionally, a mood board consists of a physical board like a push pin board of foam, where images and textiles can be attached. However nowadays it’s more common to use apps like Pinterest, or photo editing software to create collages full of your inspiration images. More and more clients are using Instagram to help organise their thoughts. You may want to keep things even simpler, by ordering samples of things like paint, handles, tiles and textiles and laying them out in different arrangements. This way you can have a very clear understanding of what works with your scheme.


This is a good point to start looking at things like hardware and any decorative tiles you may want included in your design. We have a wide range of pull handles, cups and knobs available in multiple colours & finishes as well as tiles to suit everyone’s style in our online retail shop, the Herringbone Pantry.
We’ve written more about mood boarding and choosing colour combinations on our blogpost ‘A Guide to Moodboarding’
4.Pre-Fit Survey
The next step is your pre-fit survey. Adrian our workshop manager will visit you to survey the room and ensure that everything is where it should be and take measurements of the space so we can start making your kitchen in our workshop! For this you will need a room at least plaster boarded, with a ceiling, so we can get accurate measurements.

5. Making Your Bespoke Kitchen
After that, depending on our lead time, there’s a wait (think of it more like a countdown similar to Christmas or your birthday!). This is normally 12 weeks, we will be in communication with you throughout the whole process, and will be here to answer any questions you may have.


We love when clients visit us in the workshop while there kitchen is being made! To arrange an appointment you can just speak to your designer. Alternatively if you are thinking of having a Herringbone kitchen and want to visit the workshop, just click the link


5. Kitchen Installation
Kitchen installation - our fitters will deliver your kitchen and start installing it. This can take anywhere from 4-5 weeks to complete, depending on your design.


6. Moving In
The last step is moving in! Your kitchen is ready for you to start unpacking your things into and styling it. This is where all the waiting and emails will prove worth it.

Once everything is completed and the kitchen is all yours to enjoy, we are just an email or phone call away should you need anything. And if you’re in the area, please do pop in for a cuppa! We love hearing from you even after the project is finished and knowing you’re as in love with the final product as you hoped.

If you have a project waiting to start but aren’t ready to move on it just yet, why not follow us on social media and subscribe to our newsletter to see what we’re up to and get even more inspiration for you projects?
Action on Instagram

Design Tips: Your Options When It Comes To The Details
Our kitchens are bespoke and made just for you. You can decide every element of your kitchen from the colour, to the type of shelving adjustments you want. Different elements to consider in your design include (but are not limited to):

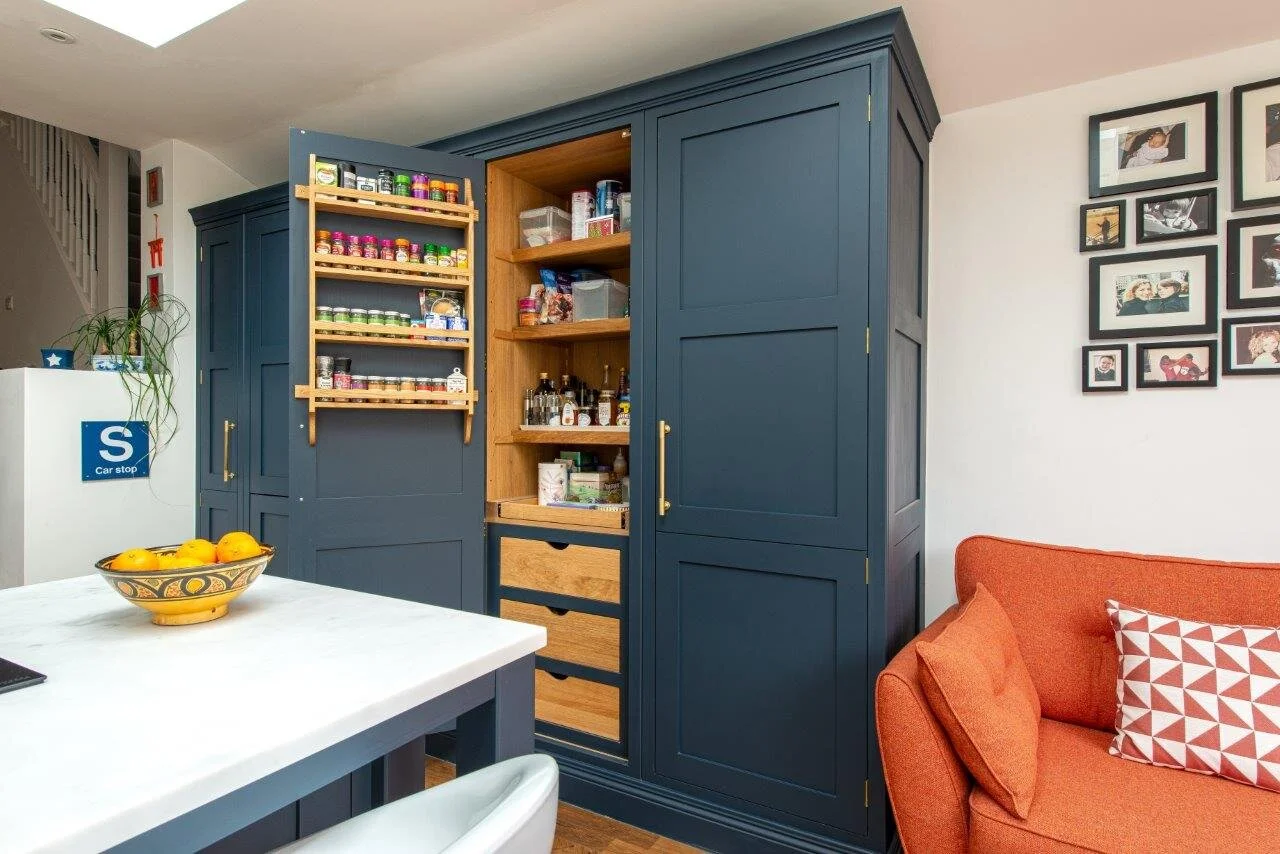
Internal cabinet colour in oak, walnut or painted in any colour, drawer boxes in oak or walnut, shelving from the same material as your worktop.

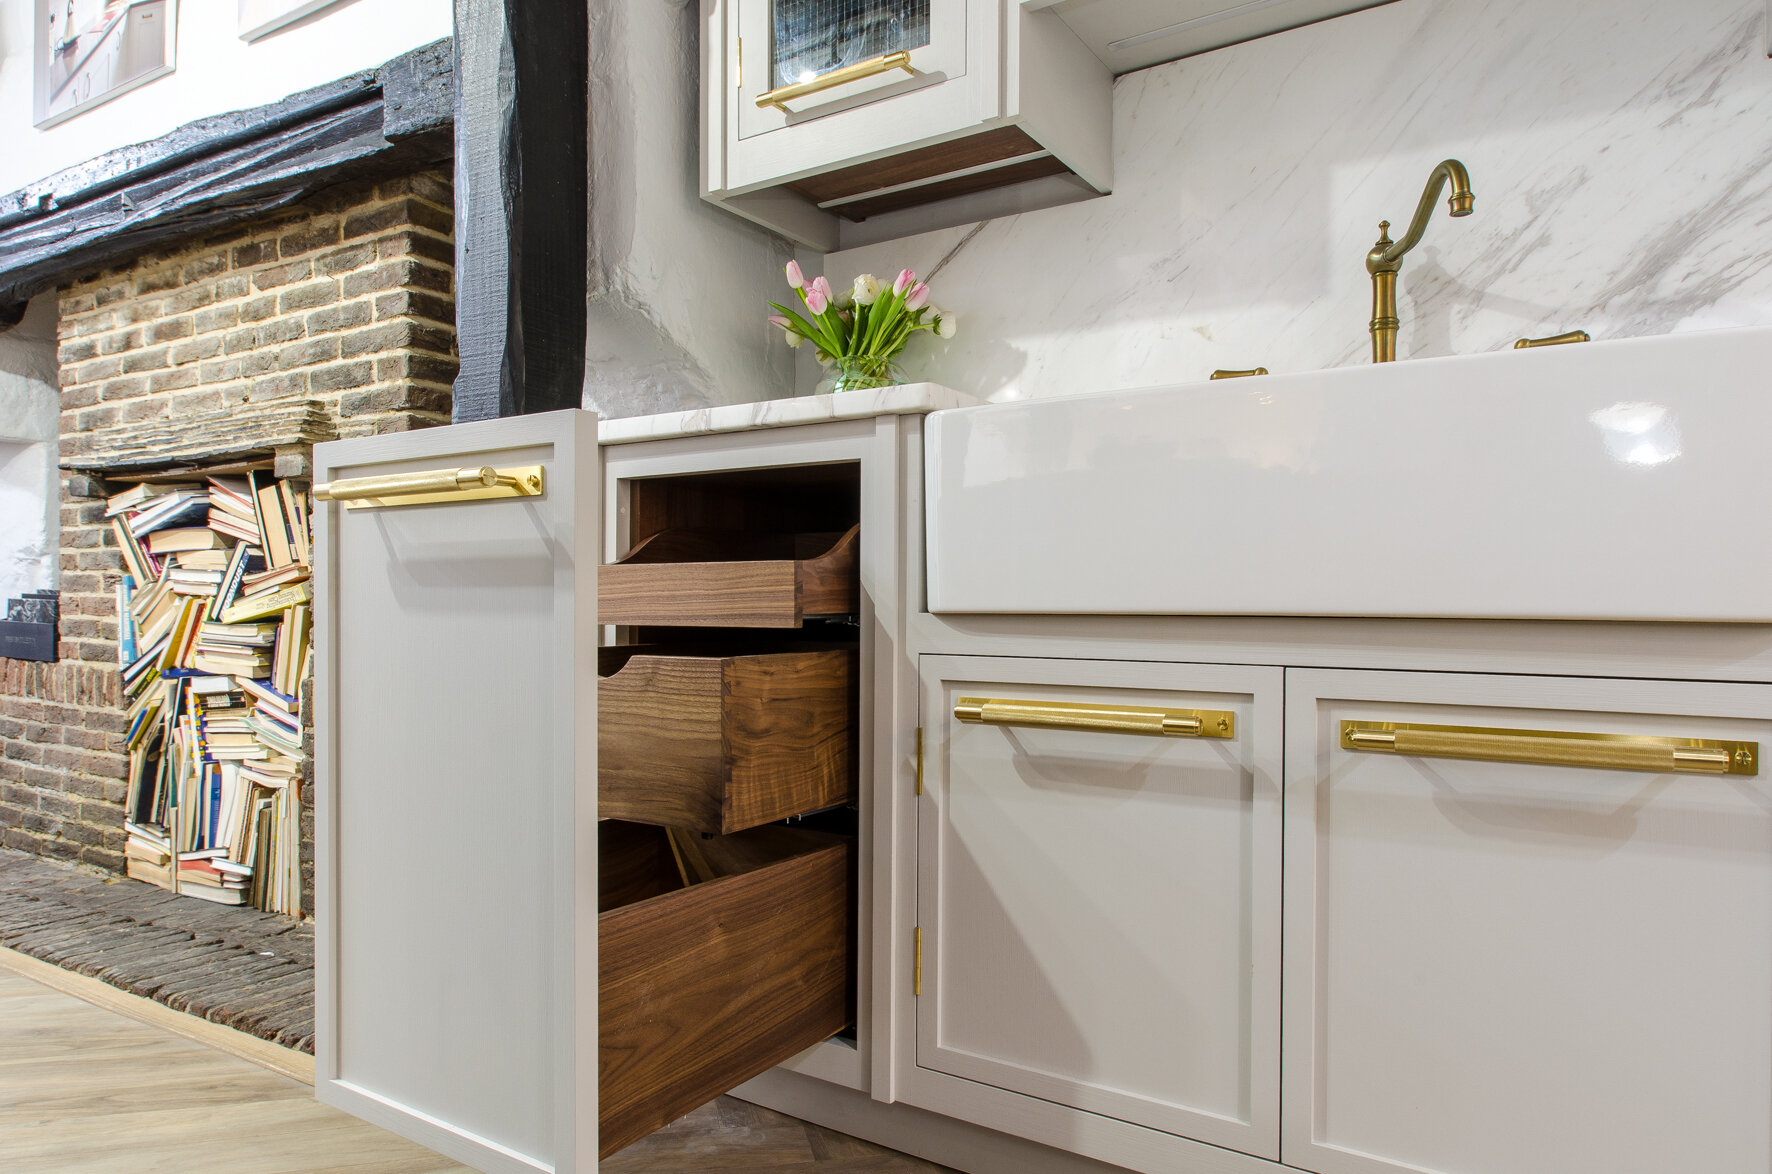
Hinges to match or contrast with your handle finish - depending on what aesthetic you are after. We have also designed kitchens featuring brass rails for hanging towels and utensils.

We have both traditional shelving as well and pin and loop shelving adjustments. Glass can be rippled, plain, frosted or fire glass.


Many of our clients have chosen our signature larder design, with matching spice racks. The spice racks metal work can match your handle choice colour.


Clients come with a range of new and exciting ideas for wine racks, dressers etc and we love working on new designs together.

Design Tips: 7 + 1 Tips On Planning & Designing Your Dream Kitchen
When starting your kitchen design process, gathering ideas and inspiration from the moment you decide on a new kitchen is always a good idea! Instagram and Pinterest are a great way to find and save inspiring images that will give you a better idea of how you imagine your kitchen to look and the styles that appeal to you. Don’t limit this to pictures of kitchens, keep an open mind! You can find inspiration in colours, shapes and all kinds of places.
2. If you are planning an extension, visit your kitchen designer with your plans after you have had your planning permission accepted. This should avoid the need to compromise on your design later on and your designer will be able to provide your builder with drawings of your kitchen design.


3. When meeting with your designer, provide them with as much information as possible about the space and what you want to achieve with the design. Pinterest inspiration boards will help you to visualise the project better and communicate the overall mood you want to evoke with your scheme. If you are unsure of anything (or most of it!) don’t panic, communicate with your designer, they will help to guide you through the process and your options.

We cannot guarantee ice lollies will be available, but we can guarantee a great kitchen design!