Design Inspiration: Bespoke Dressing Rooms & Fitted Wardrobes
Who doesn’t like a perfectly bespoke wardrobe whether it is a walk-in space or a fitted wardrobe?! Here at Herringbone we love designing, making and fitting them for our clients.
We provide bespoke wardrobes, which can be fitted in any colour, style and size with bespoke inside storage that fits your needs and wants. They are all made in our workshop in Canterbury Kent, using traditional techniques and modern machinery. Contact us or visit our showroom to find out more about our design process or for inquiries.
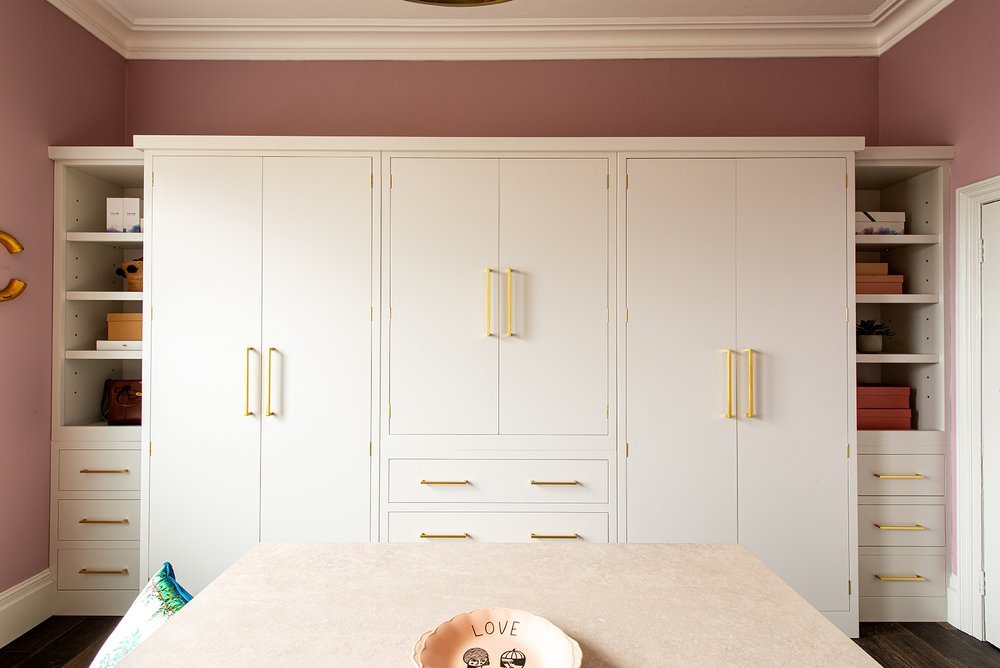
We love designing furniture and wardrobes for our client’s bedrooms and making them bespoke to them. This means that we ensure that the hanging space is just right, that the shelves are the right depth and size and that the open shelves are there is needed. We love working with different materials, colours and shapes to make them sing when the wardrobes are open as well as closed.
Whether your space is big or small, wide or narrow, a fitted wardrobe or a walk-in wardrobe can be made bespoke to your needs. When designing your space also think about what handles, mirrors, carpets, tiles, rugs and other personal touches that can be incorporated in your interior design. In this way you can personalise it even more from the off set and come out with a results that shows your personality.
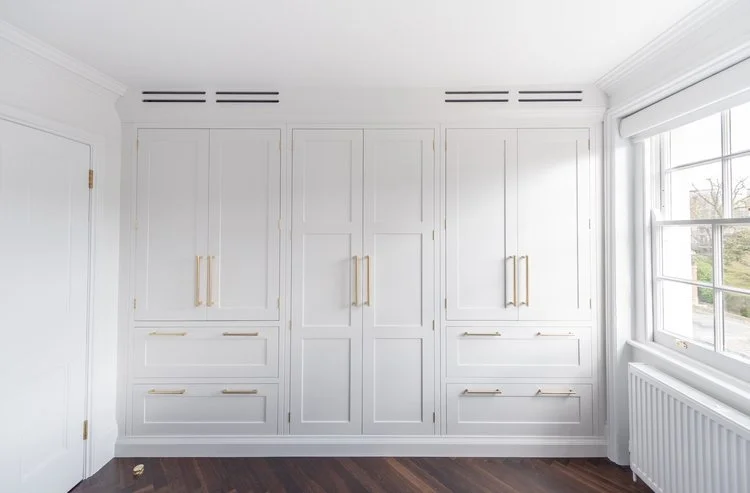
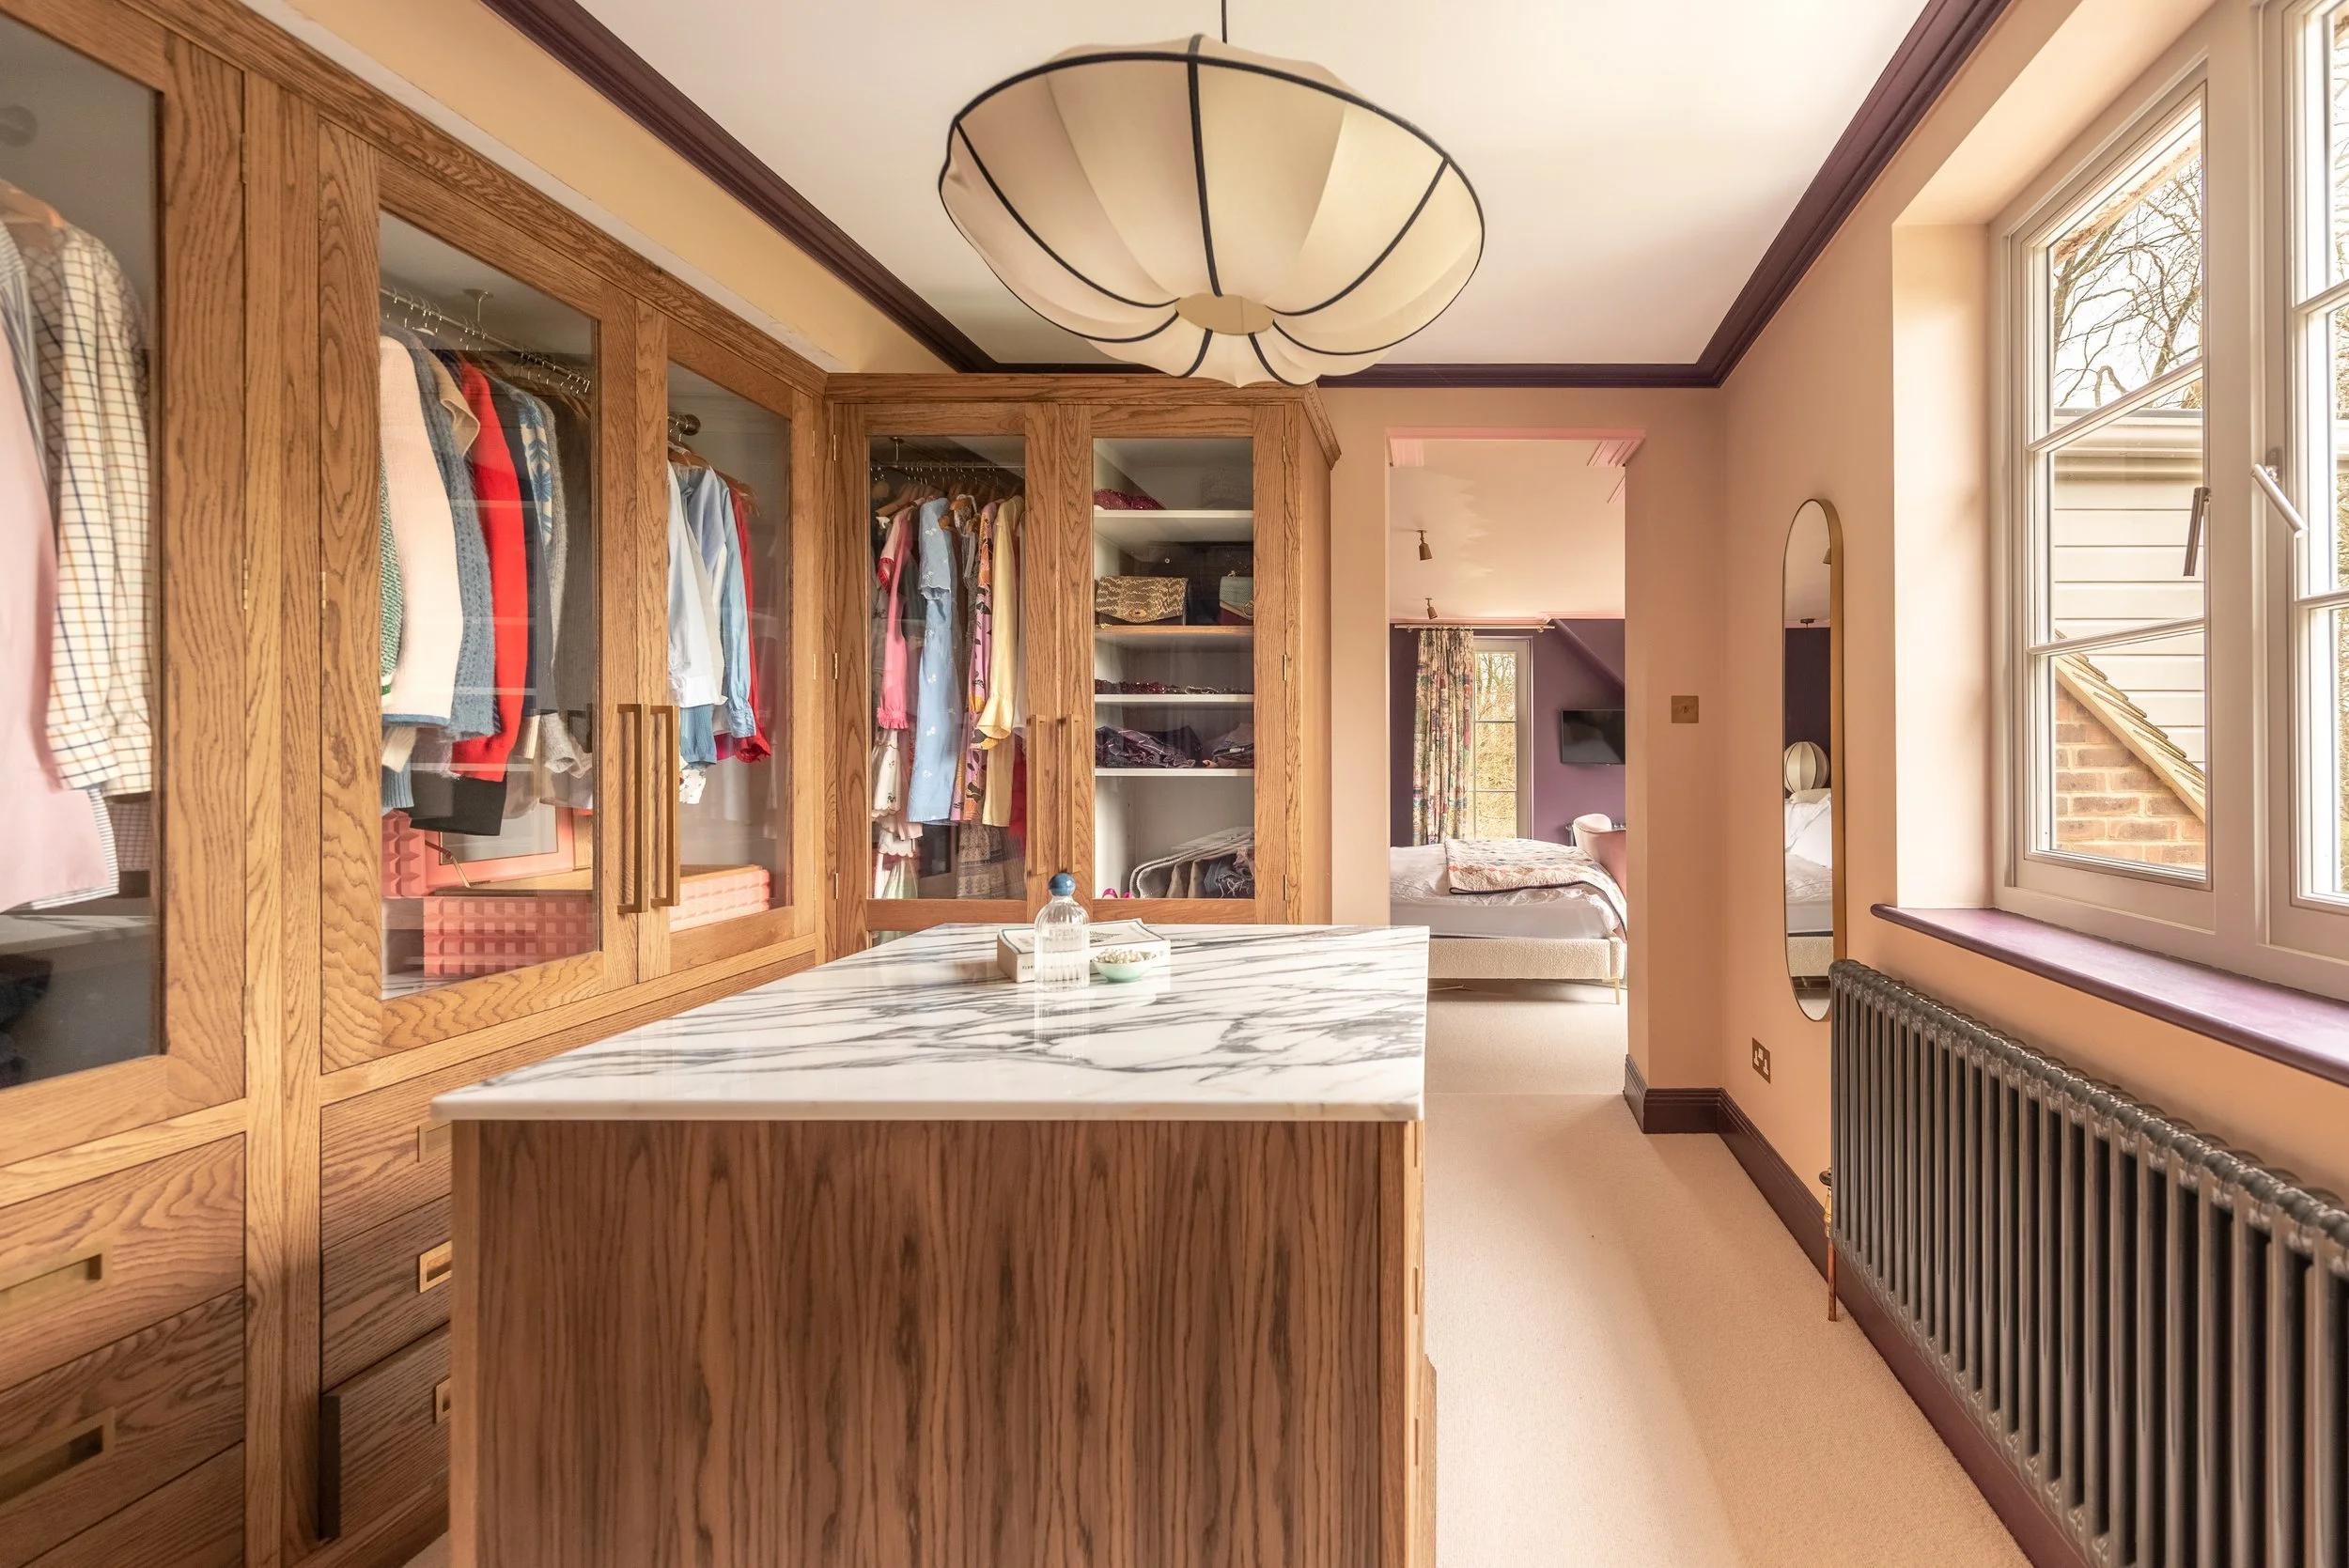
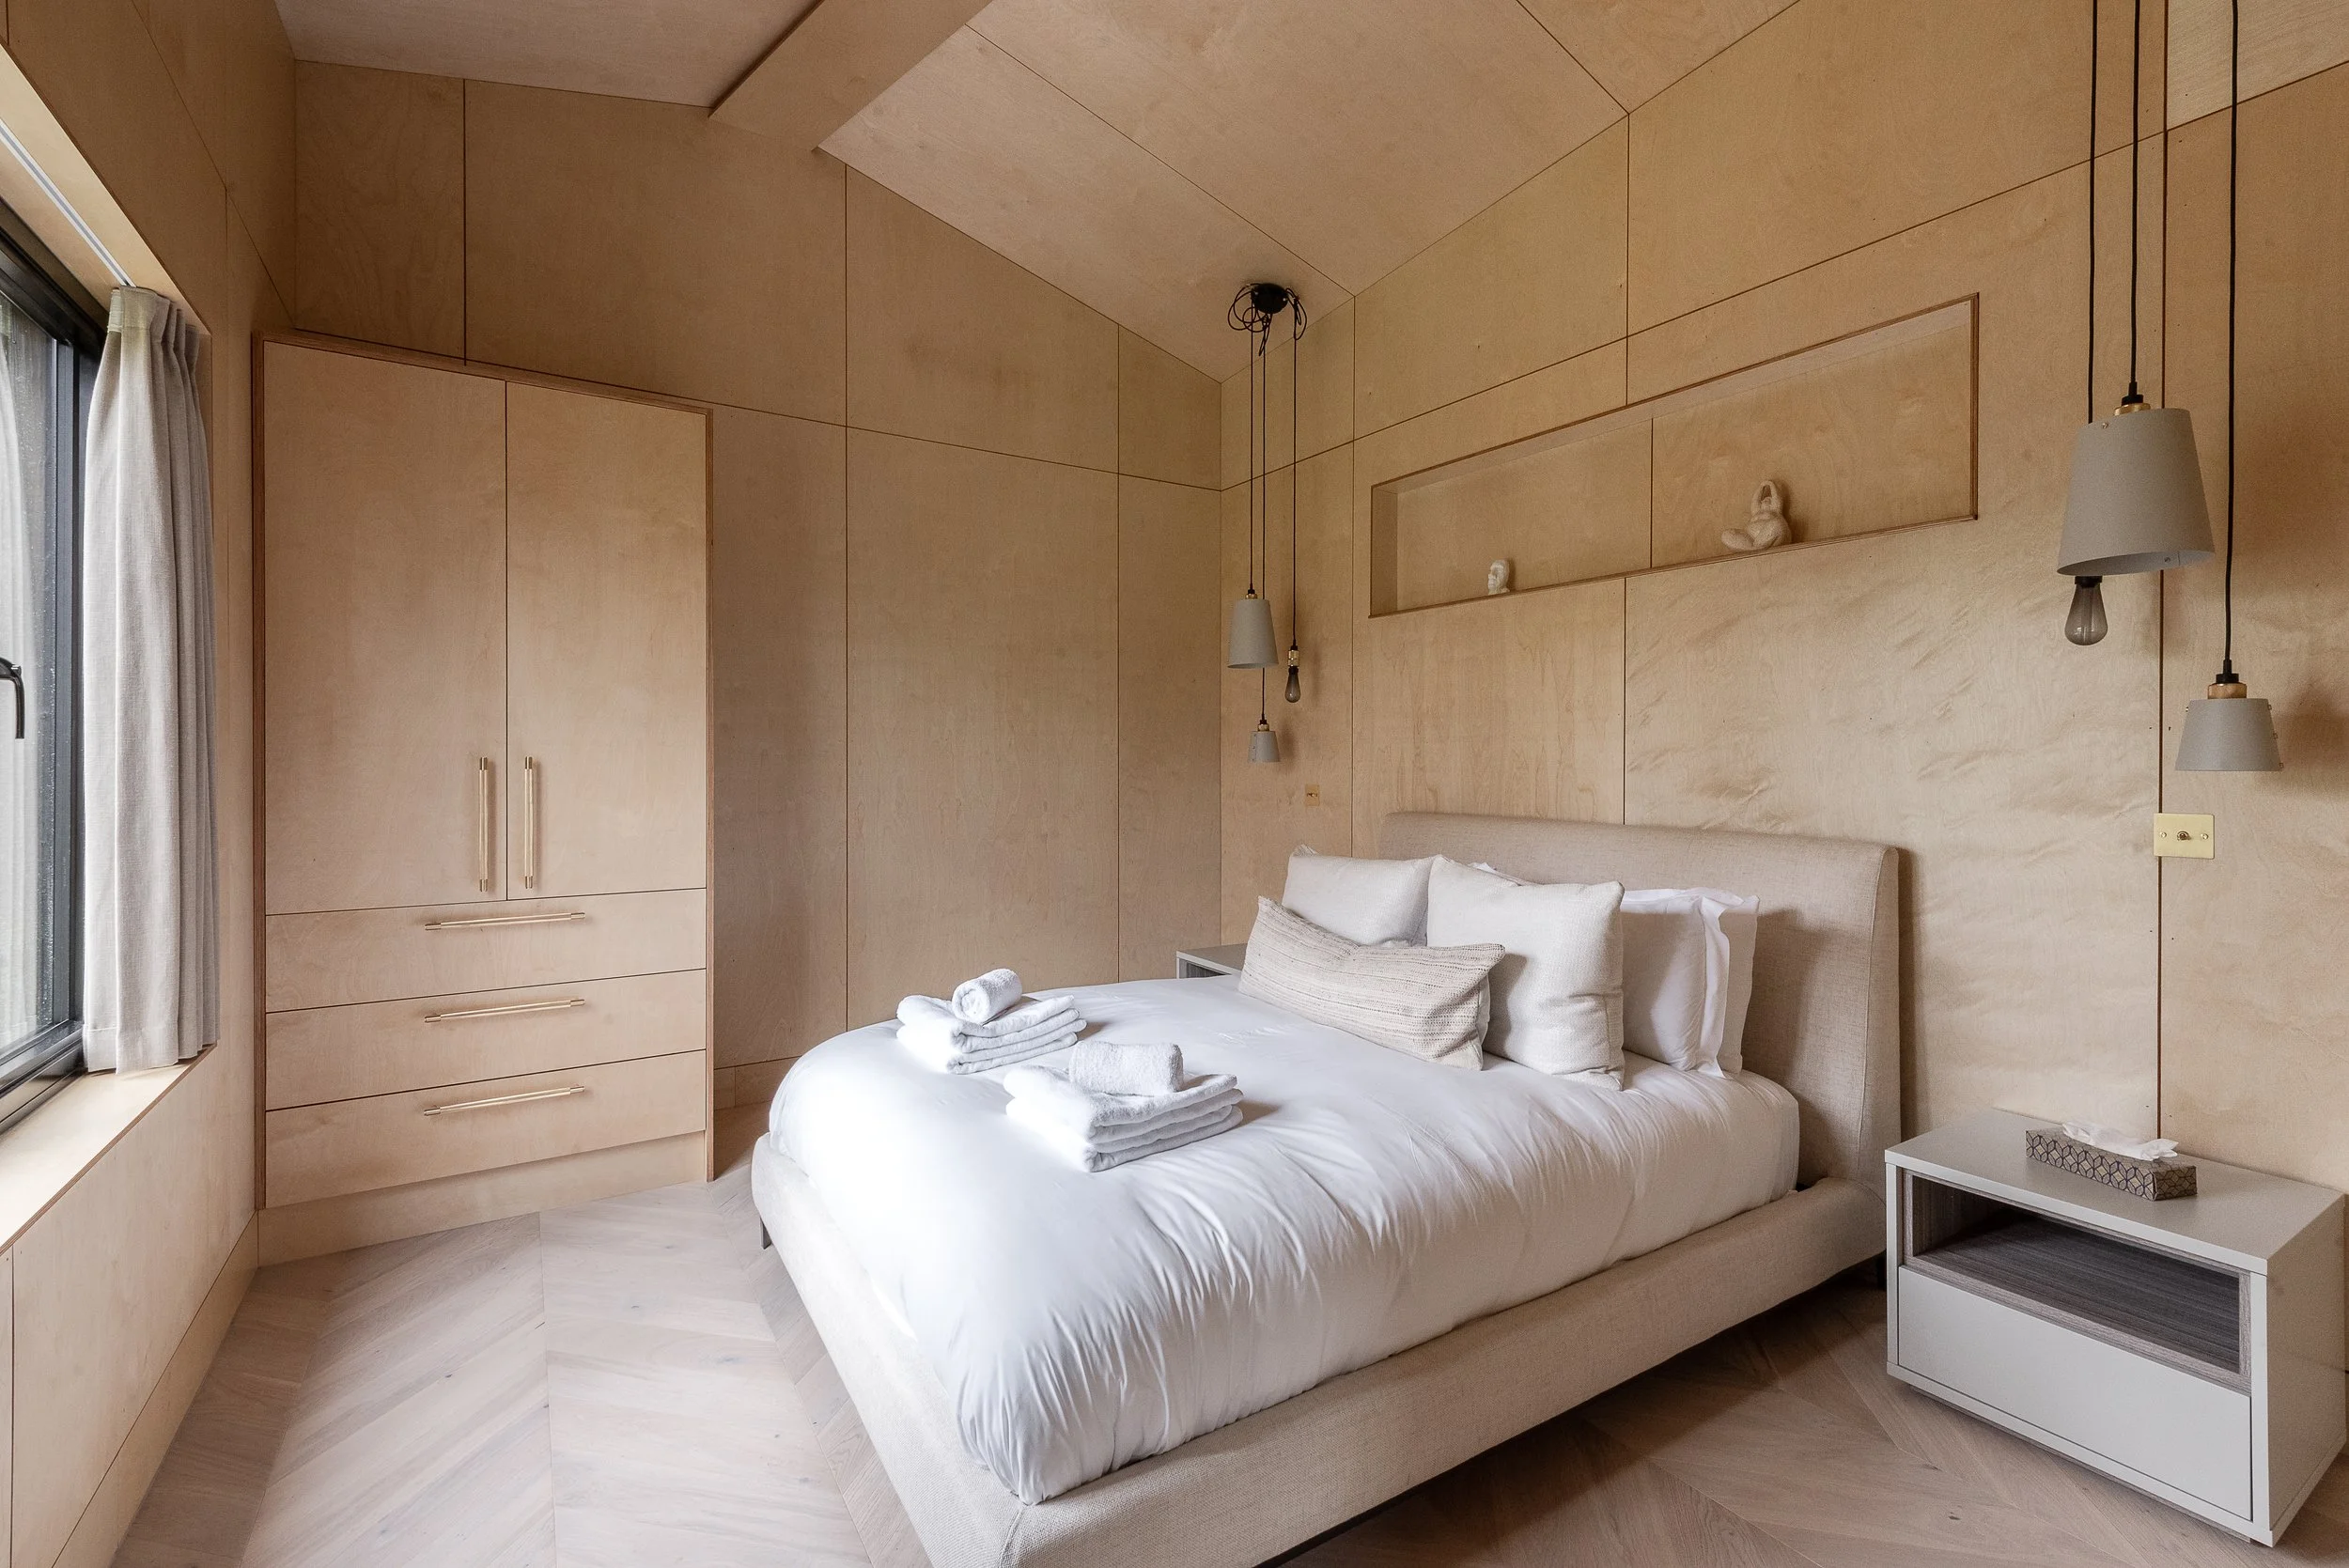
Here are some examples of the wardrobes we’ve designed, made and fitted recently.




Kitchen Trends: Banquette and Bench Seating
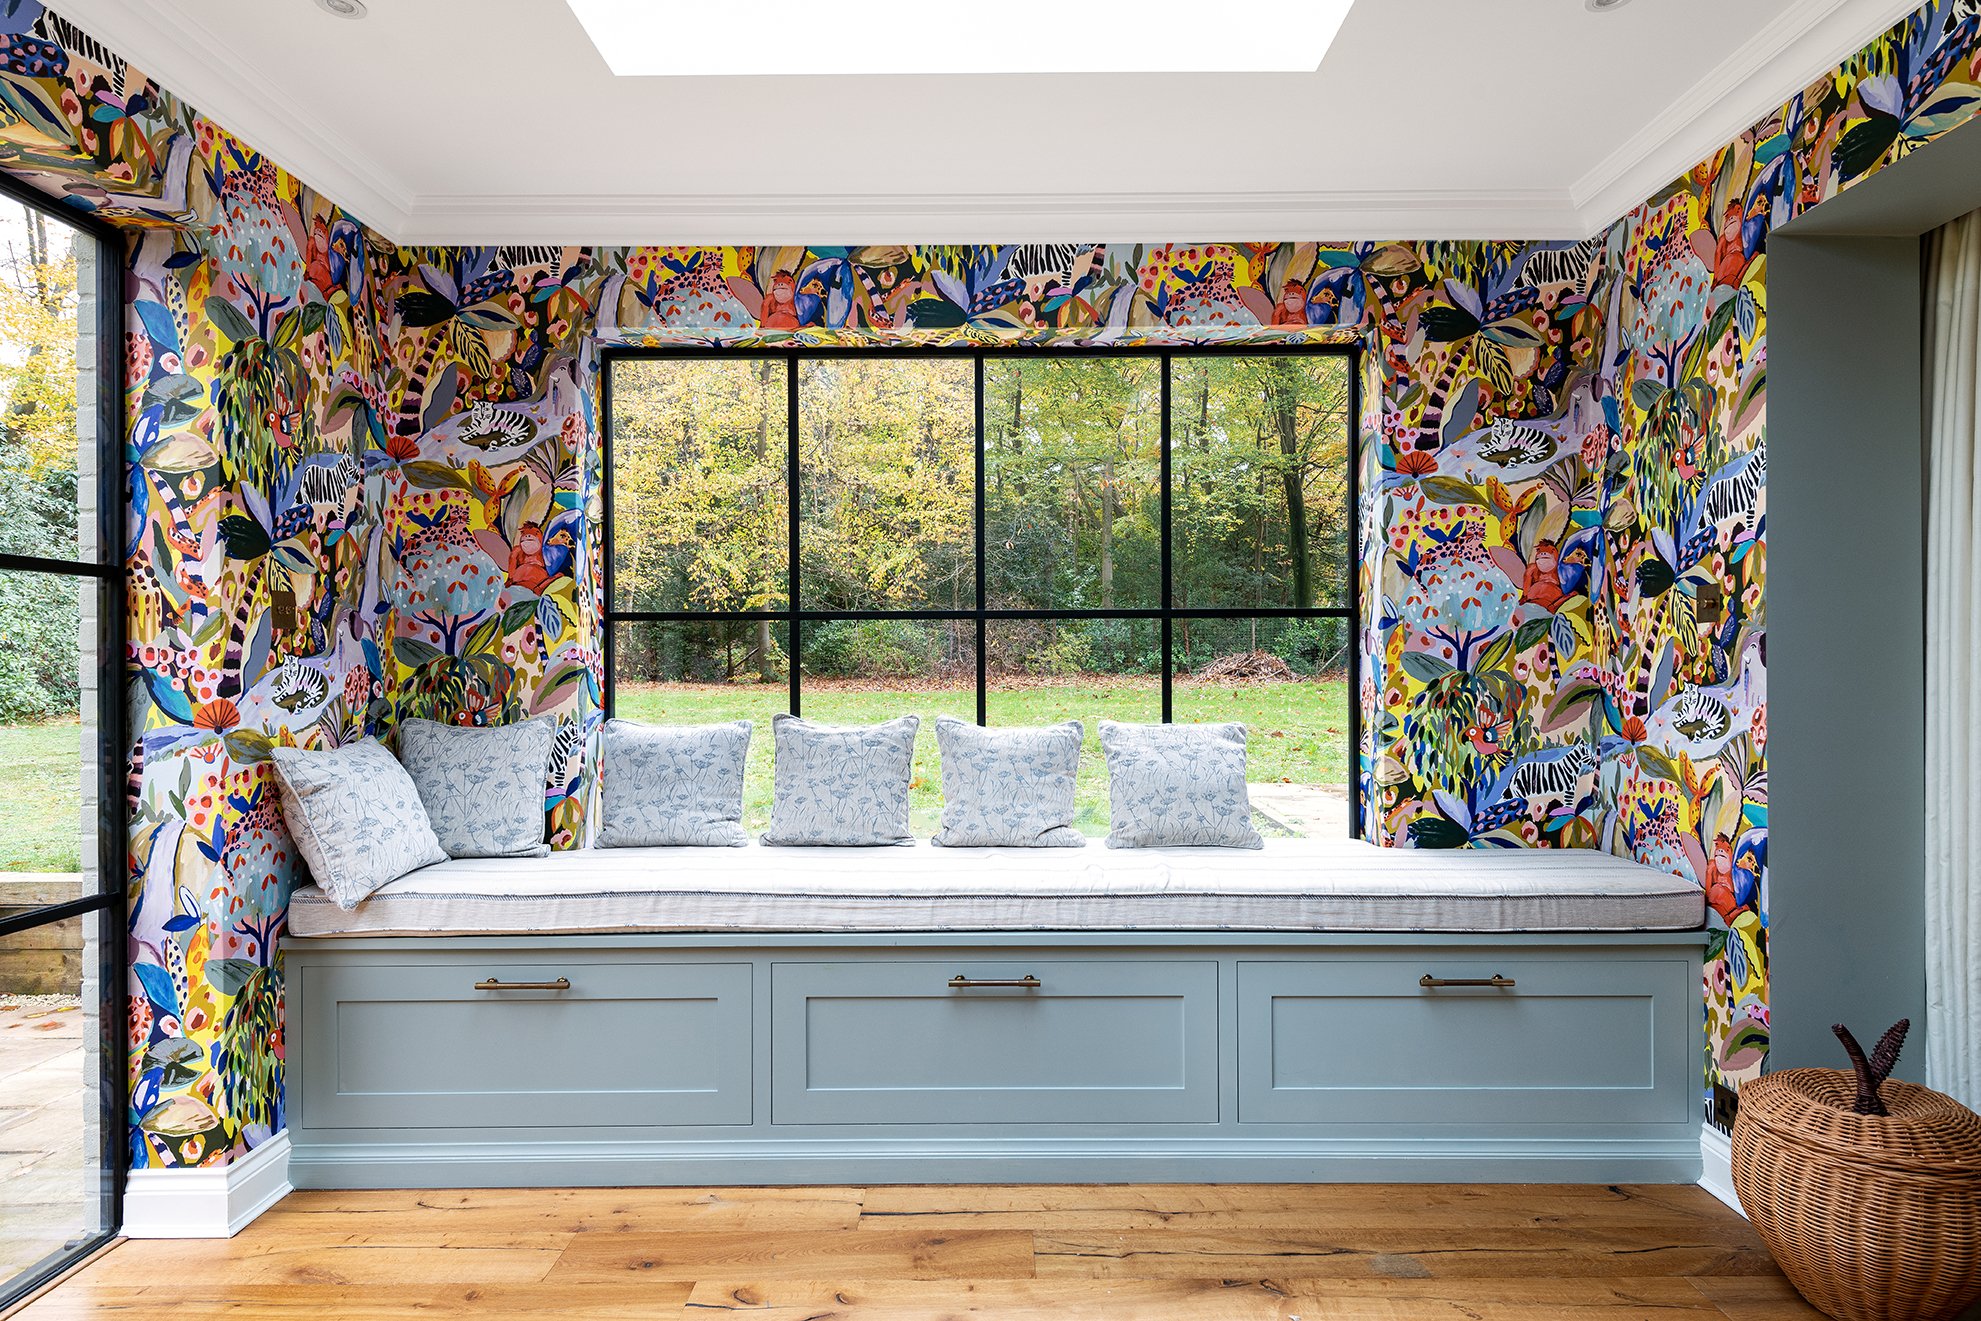
We have seen many more clients opt for banquette seating within their bespoke kitchen design, and it’s clear to see why! Not only are they beautiful pieces of furniture, but are also very practical. Banquette seating can make a kitchen the social heart of the home you want it to be, while also creating additional storage solutions.
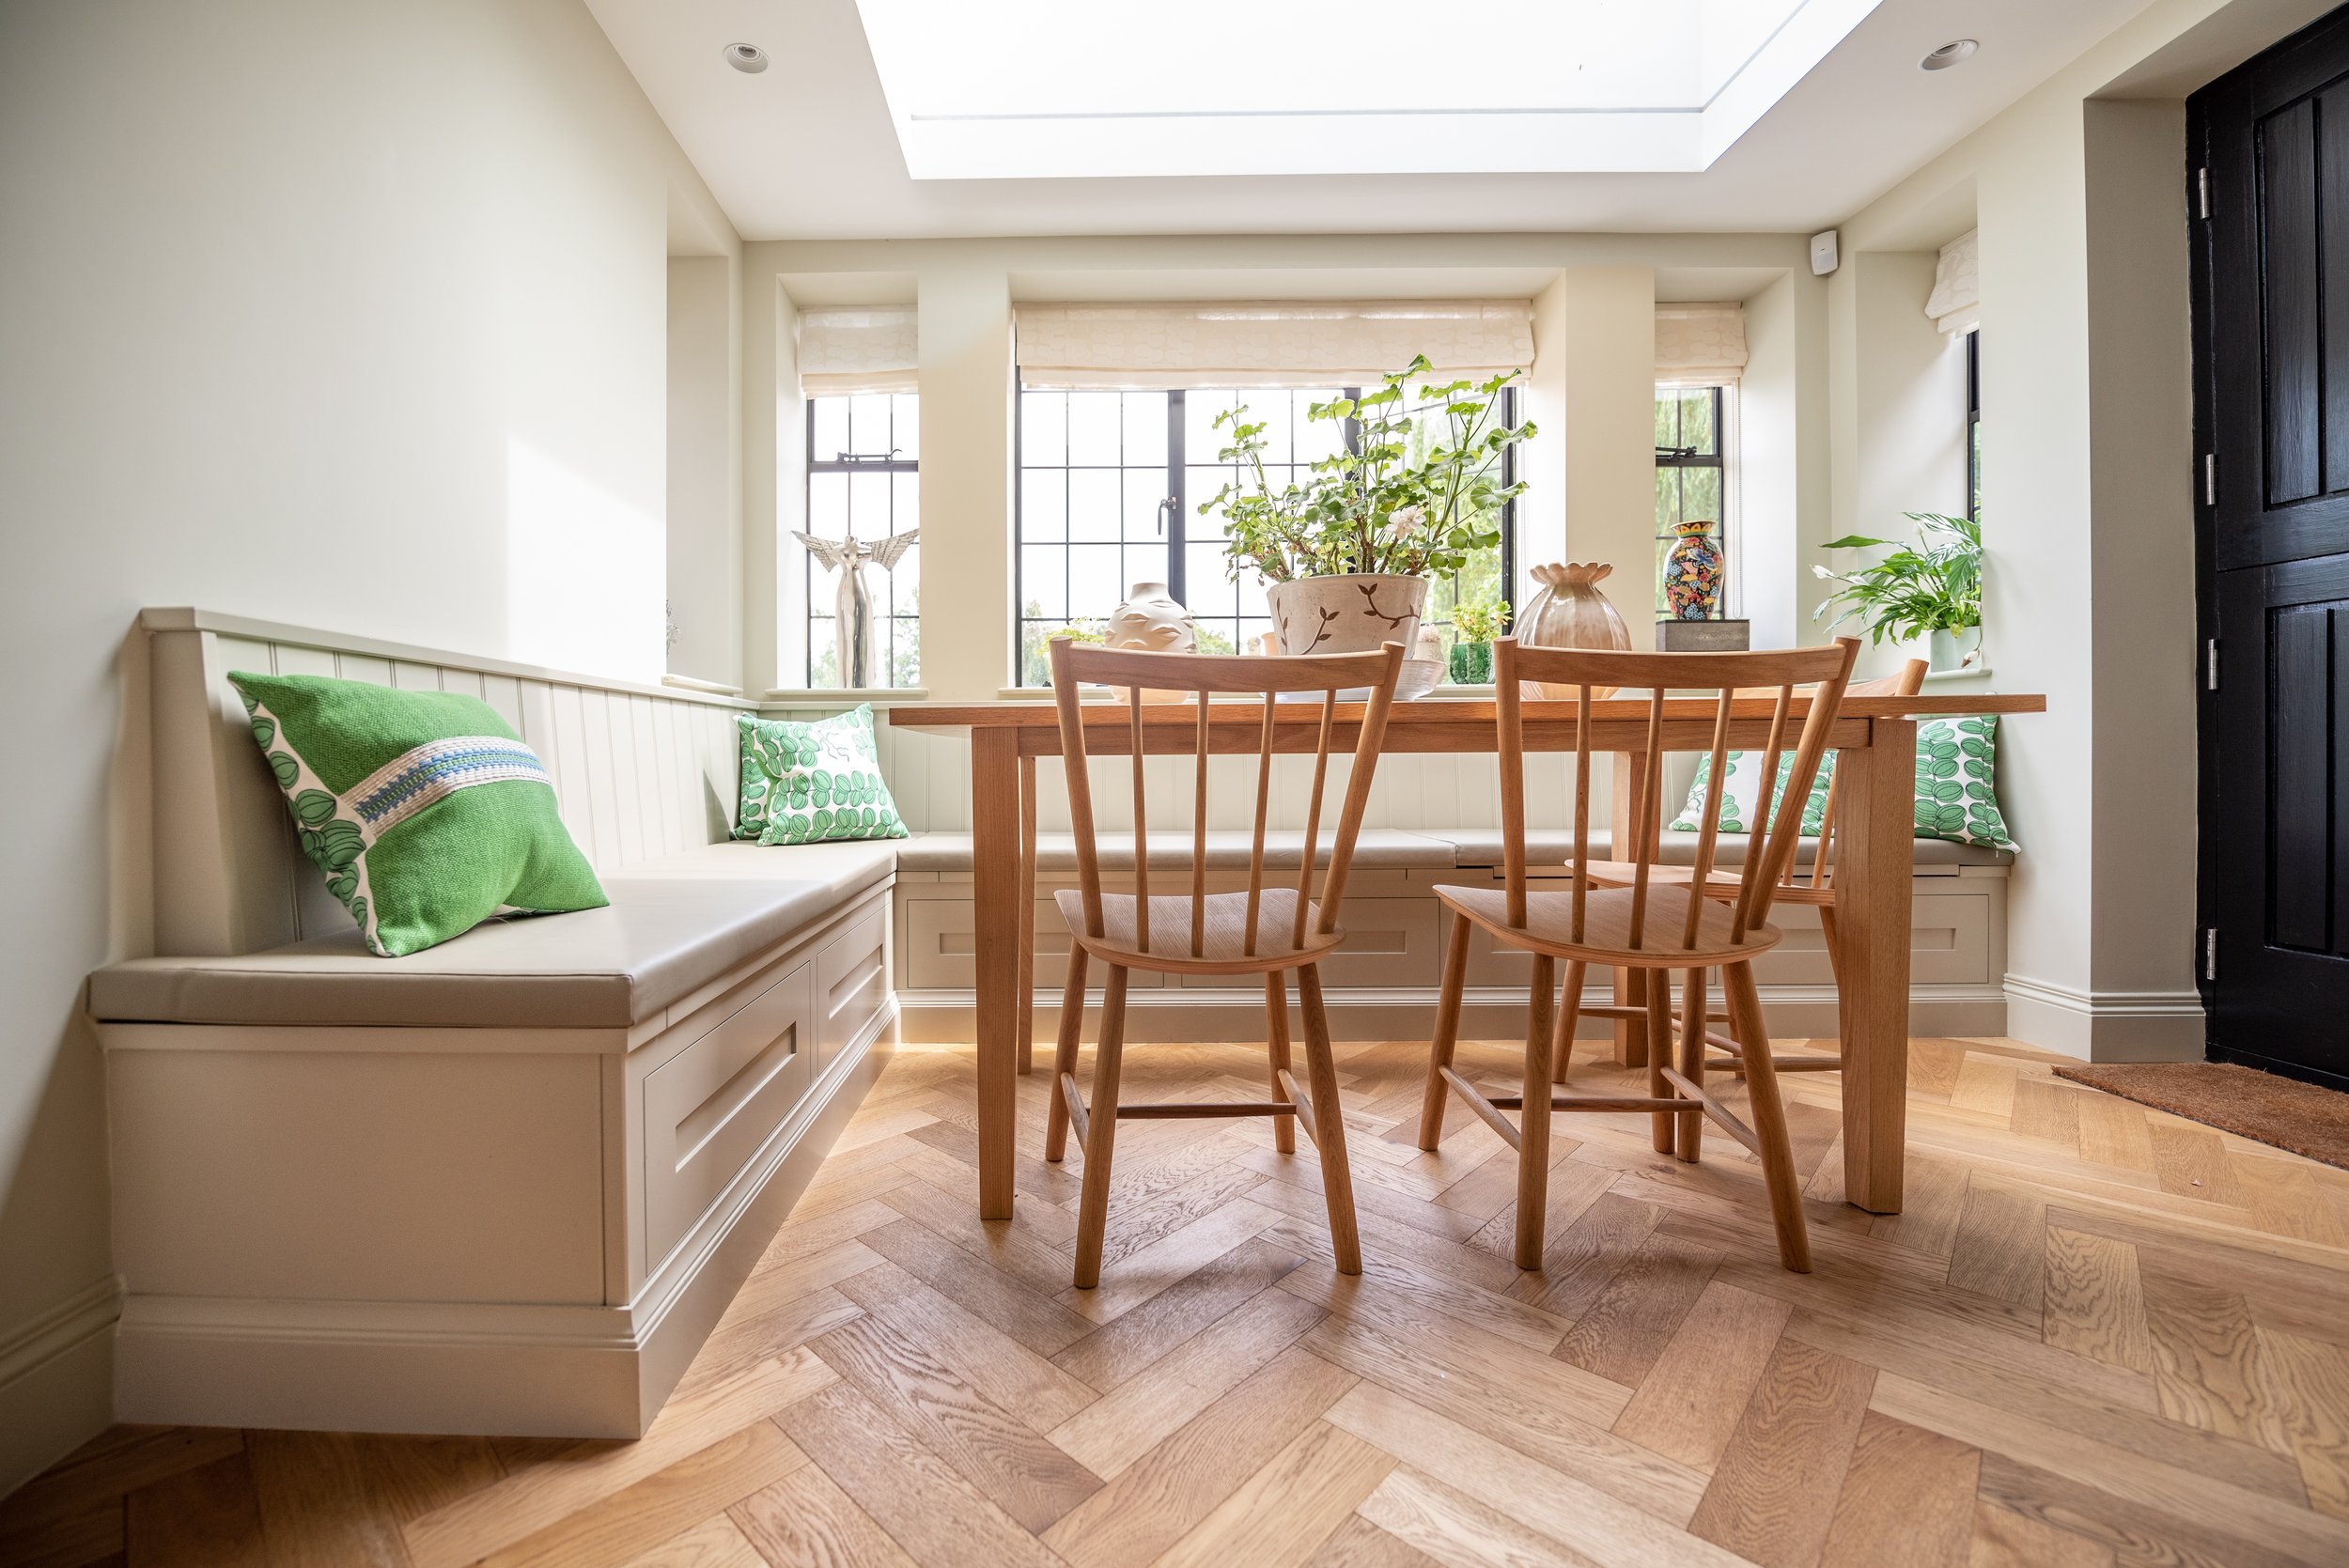

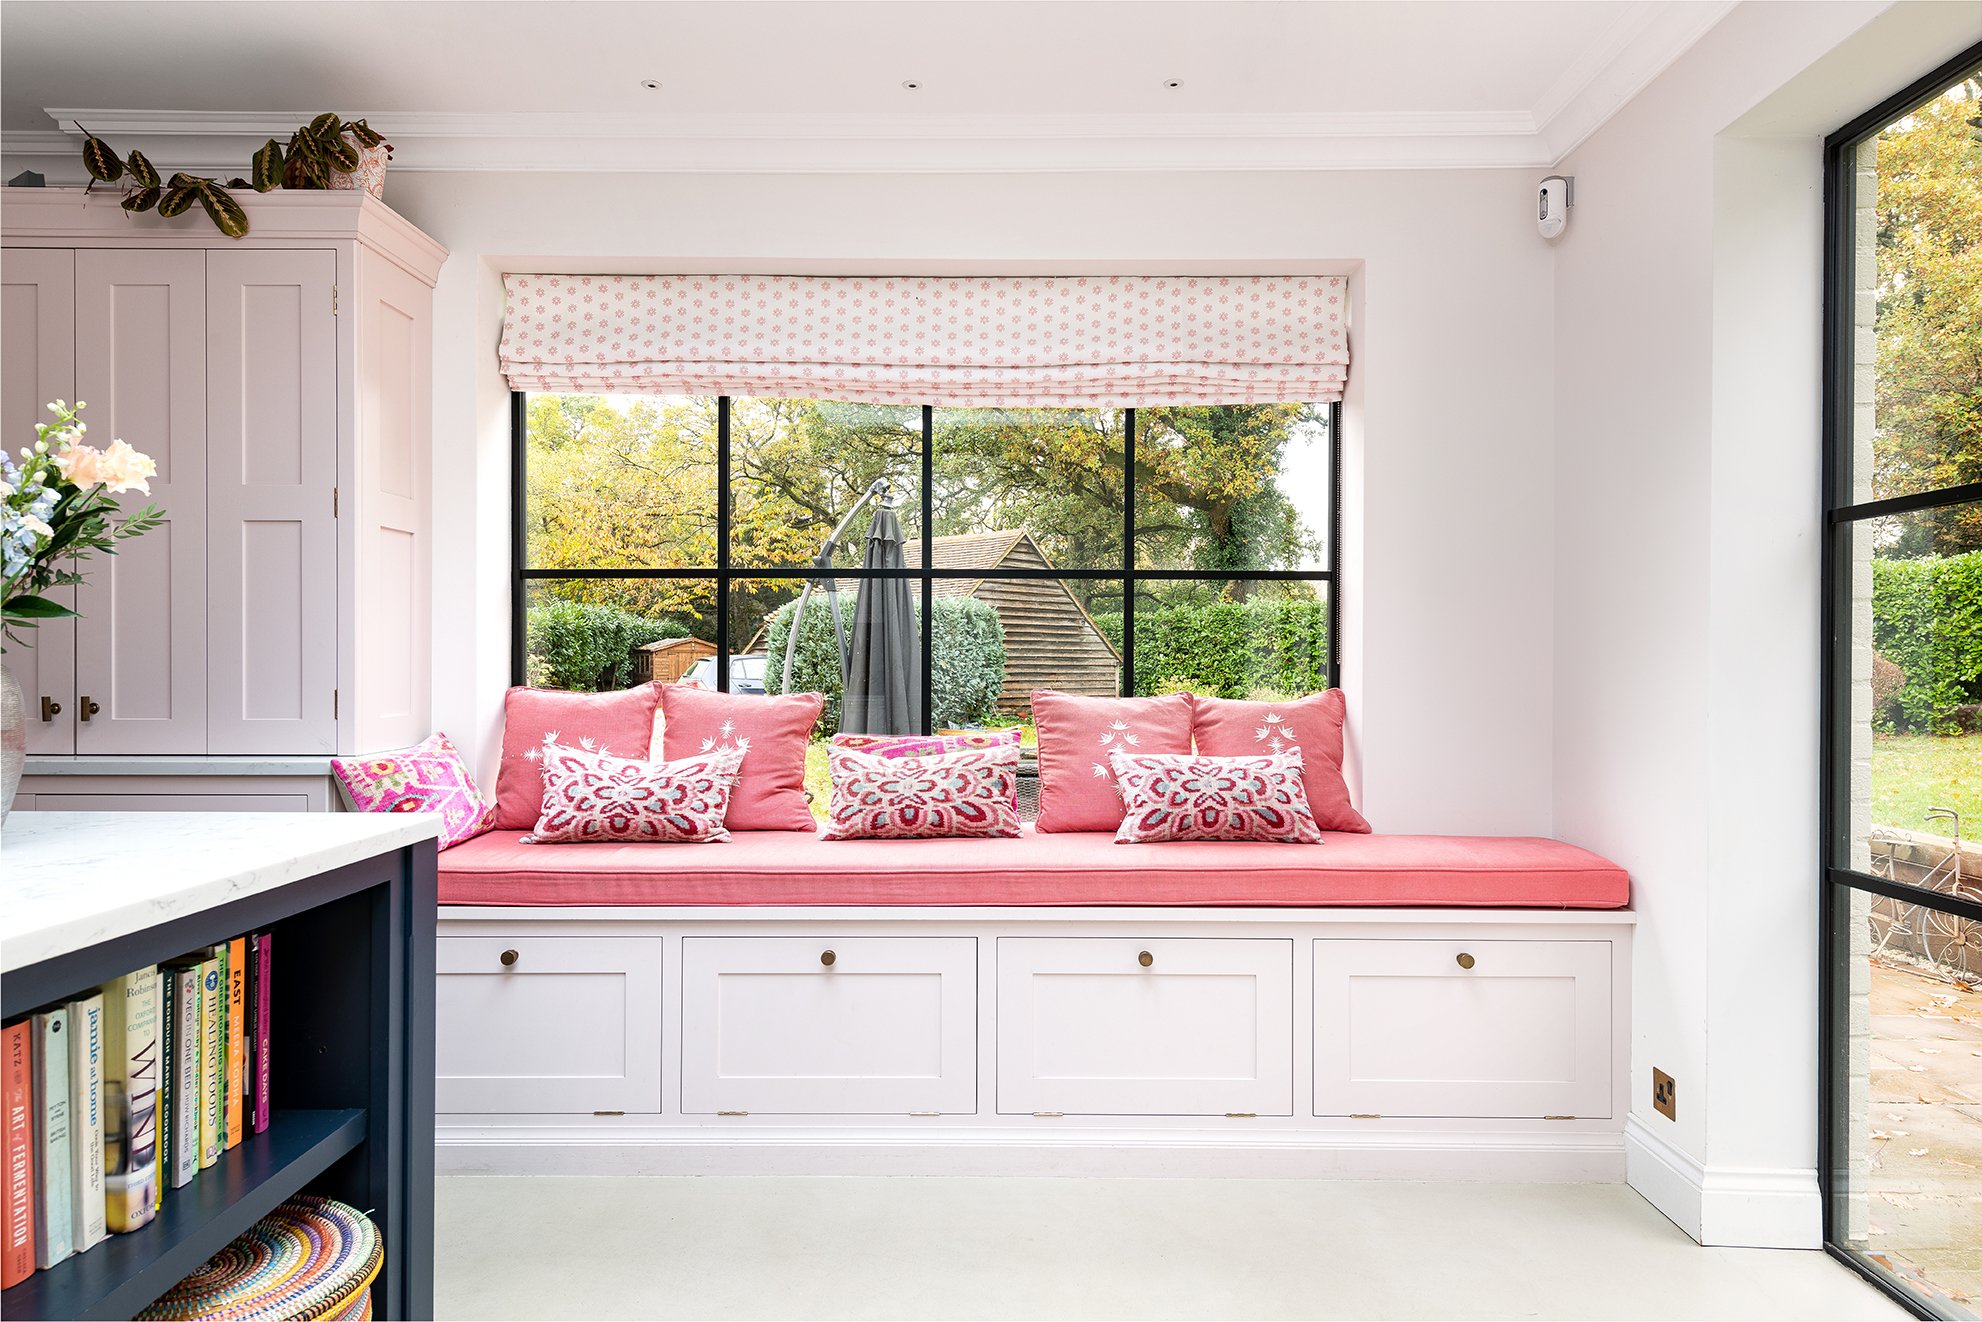

Boot Area Seating and Kitchen Island Banquette
We love this gorgeous (and incredibly useful) boot area right by the front door. The fact that there is a space to sit, store and hang your clothes/shoes is a game changer when it comes to storage.
The L-shaped island works really well with the L-shaped worktop space and offers a wonderful built in seating area for all of the family. The seat lifts up to reveal even more storage and the warm tone of the natural wood is a lovely contrast to the other two colours in the kitchen.


Living Room Seating in Richmond Upon Thames
This L-shaped run of banquette seating is not only beautiful but also adds seating and storage with the lift-open seats. The base and back were matched to the colour of the kitchen while the seats and cornice on top were kept in the oak finish matching the inside of the family’s larder. A lovely bit of tongue and groove adds some dimension and interest while echoing the extractor hood in the kitchen.
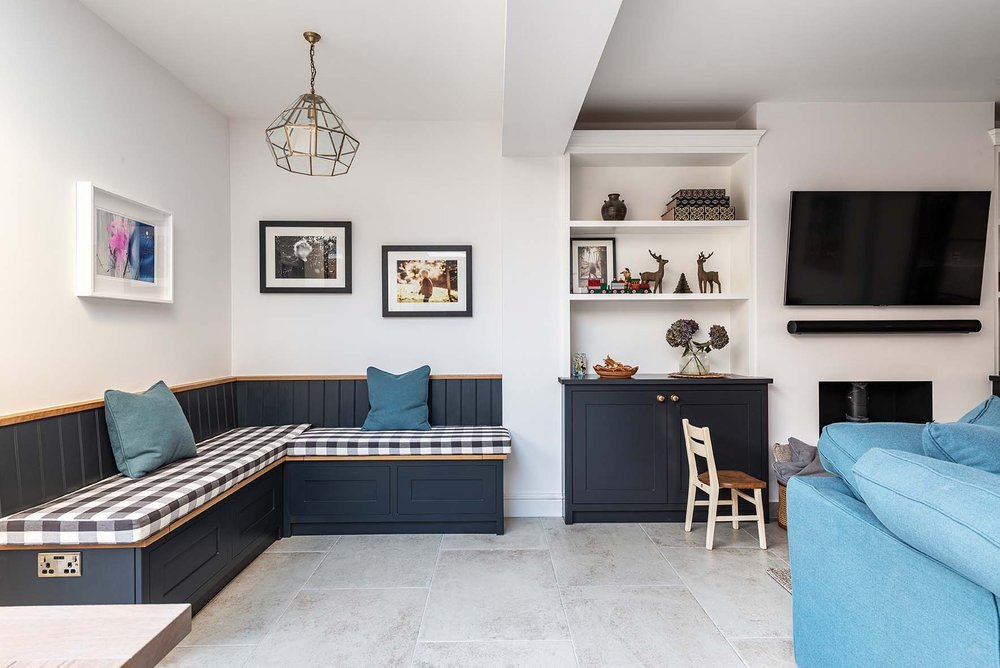
Blue Banquette Seating in Balham
We love this sunny corner in a kitchen we designed for a lovely couple in Balham. They have created the perfect space to sit and relax with a cup of tea or read a book. The fern printed cushions and hanging plants help to create a transitional space between the kitchen and garden and the storage space underneath is useful to store shoes or gardening equipment.

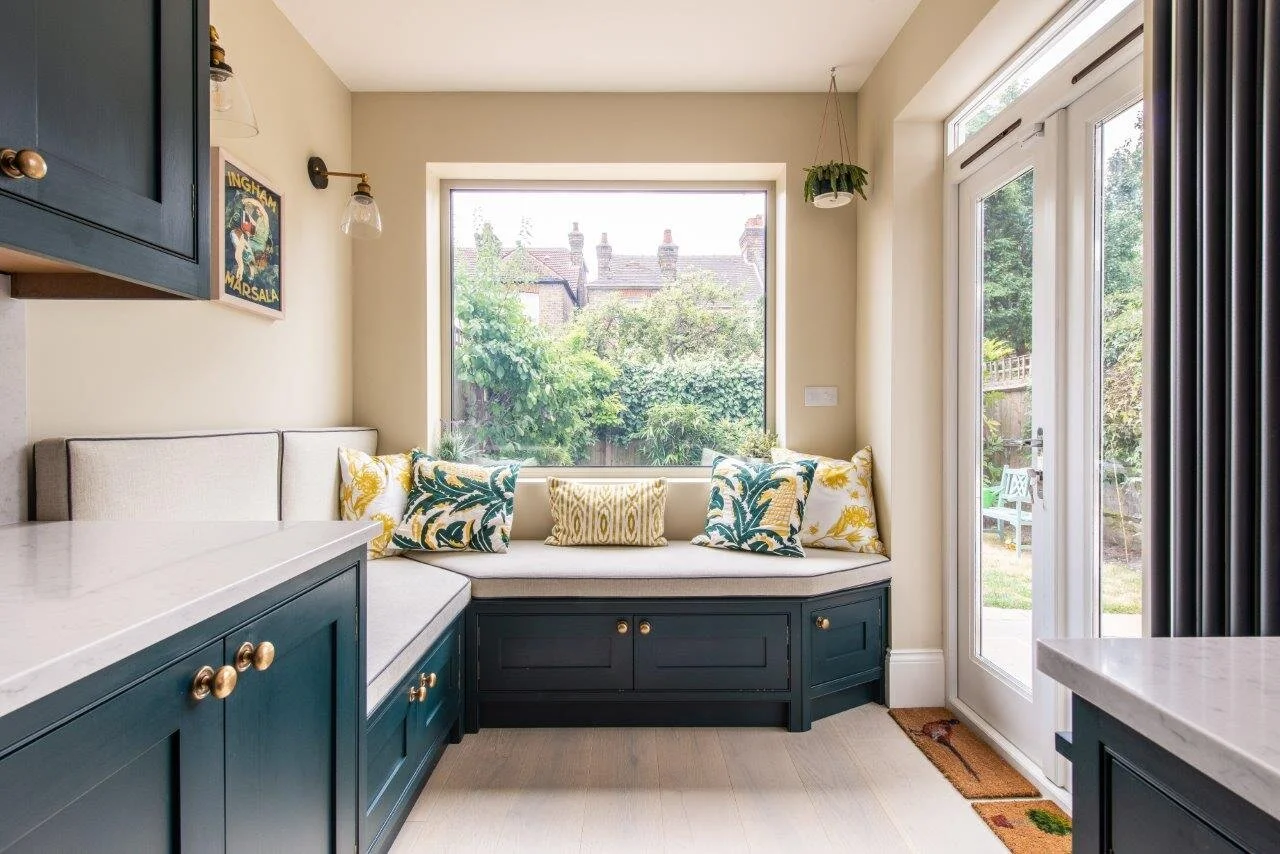
Tongue & Groove Banquette Seating For A Family in Richmond
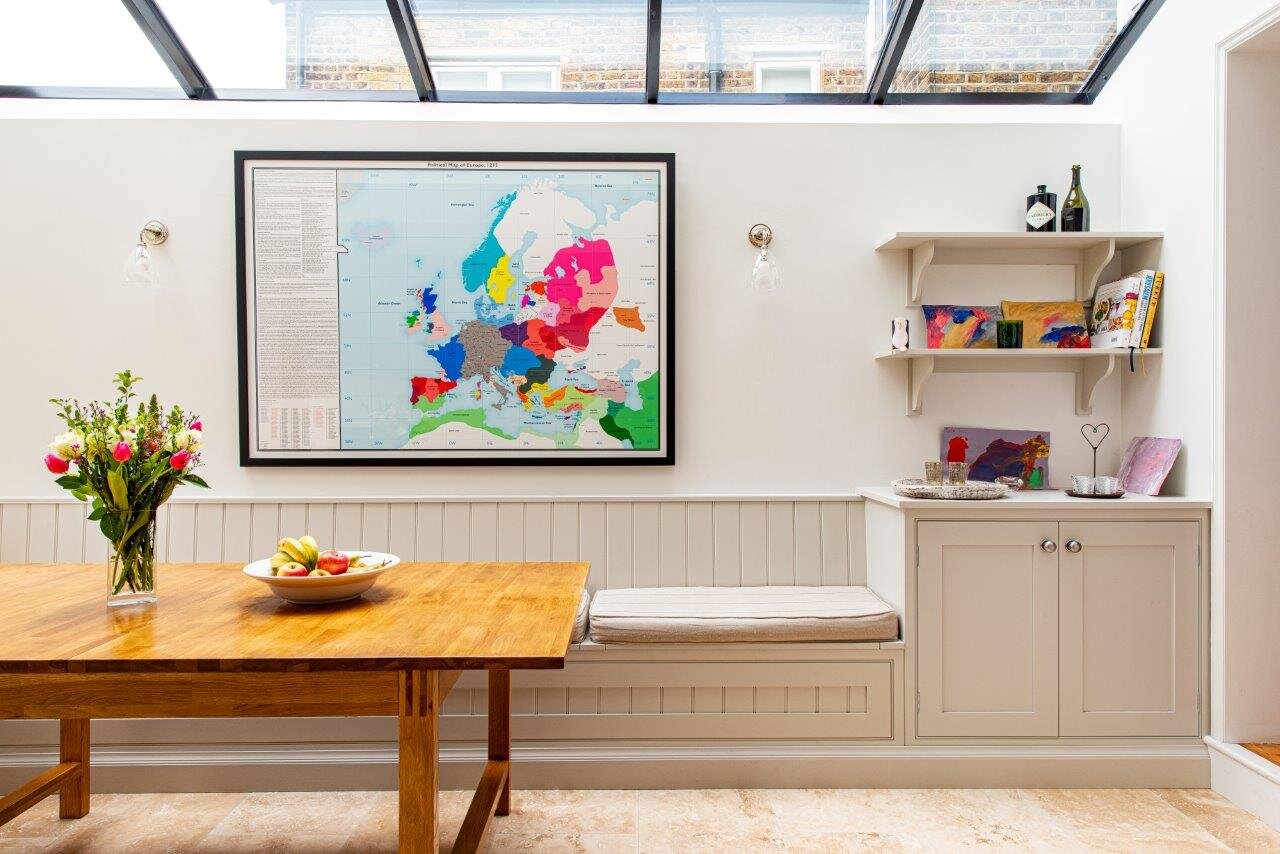
This banquette seating area is a wonderful alternative to a traditional dining table and chairs and creates a much more versatile space that can be used in different ways depending on the occasion. The top of the seating lifts up to access storage underneath which makes good use of the space. Our kitchen fitter James installed this tongue and groove panelling to fit around their window frame and there is a beautiful view out into their garden. Our favourite thing about this lovely family space is that they have displayed their daughter’s art work next to a map designed by her father, and we are sure many more works of art will be made here in future!

Chic Banquette Seating in Blackheath
This kitchen is a pink and brass dream, the banquette seating is just one of many things we love about it. The pink and blue cushions both add texture, and mirror the blue island and pink tiles, this is clever way to create continuity and harmony in the space. The top of the seating lifts up to access storage space beneath and is a great place to store items you don’t use too often, or don’t want on display.


Simple, Flat-Door Banquette Seating in Deal
This is our Applegate range and this kitchen (which we designed for the Applegate family!) was the first of its kind. They chose to continue the handless cabinetry style in their banquette window seating. They have again chosen to accessorise with material that ties in with the scenery outside and the colours inside, creating a lovely transitional space and social area to relax in the kitchen.


Cool, Industrial Dining Area in Gravesend
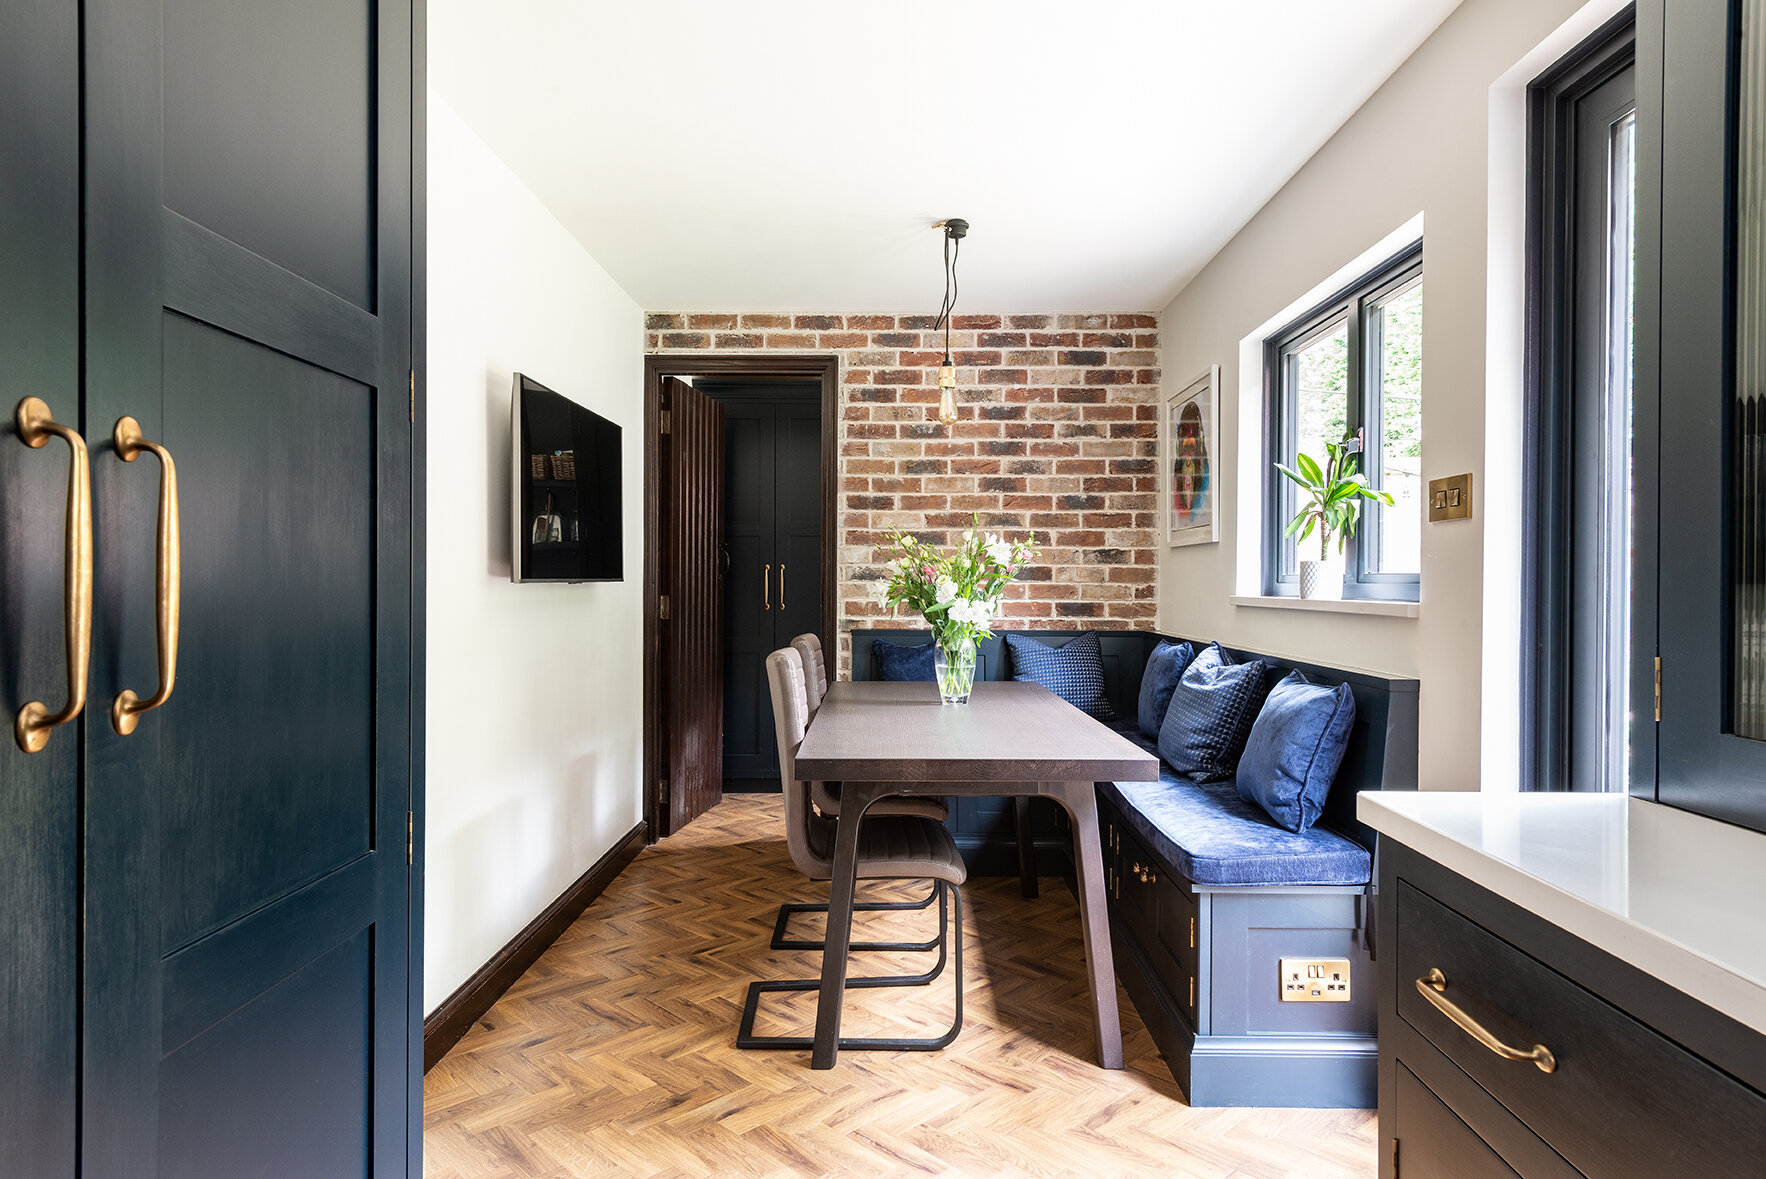
This gorgeous L shaped banquette seating sits under an exposed brick wall for a cool, Brooklyn loft vibe. With additional cupboards underneath for storage, this piece is not only comfy but super practical.
Our lovely client said:
“[My favourite part of the kitchen] Has to be the seating, so lovely having breakfast there every morning as a little family. With the back drop of our exposed brick work it gives off a really cool modern looking seating area that ties in with the rest of the exposed brick work in the other rooms, the cheeky little buster & punch lamp finishes the space off perfectly.”

Sleek, Sharp & Modern Bench For A Family in Dunkirk
This open plan kitchen was the creative vision of the couple and their interior designer, Katie Goring, with a large kitchen island being the main focus. This piece consists of two different stones, and sits at three different heights. Here, the attached banquette seating sits on the ‘outside’ of the island for more casual family meals or answering some quick emails with a cuppa while the baby naps!

Cosy, Morning Coffee Nook in Camberwell
Built into the kitchen’s bay window, this cosy little nook is perfect for that first cup of coffee in the morning, when the world is still asleep and quiet (before the kids wake up demanding cheerios!)


The best thing about designing and making bespoke kitchens is being able to create unique pieces of furniture that work perfectly for our client’s and their needs. If you have a challenging space or would like to discuss your project with us, please give us a call or drop us a message!
More Blogs From Herringbone…
Kitchen Tips: A Guide To Kitchen Extensions Part 2

PLANNING
A brief discussion with your planning department won’t harm as a first step, but in most cases, you will need to consult with an architect to produce initial drawings for planning (planning takes around 8 weeks - if you have cooperative neighbours). Getting a recommendation for an architect is crucial. In some cases, you won’t need an architect and you can work with an architect technician or a surveyor.
The kitchen is normally the reason for the extension, so you want to make sure it can accommodate everything you are dreaming of. It is a good idea to get an initial design and quote from your kitchen company early in the planning process, after you have planning permission ideally. This ensures you won’t run into design limitations further down the line.
It is normal for builders’ quotes to vary massively. It will depend on how busy they are, what else they have in your area, how much they want the job and how well they think you’ll work together. Remember - cheap is not always best! It is important to have a good relationship with your builders and strong communication, this will help during the issues that will inevitably arise during every project.
During the project it is best to move in with family or into rented accommodation if possible. It is much less stressful - especially as it is common to experience delays to the project. If you’re staying at home during the build, think about setting up a temporary kitchen if you can. Lots of builders will do this for you, or there are companies that do this. Or you can set up the fridge, microwave and a camping hob and a slow cooker somewhere in the home.


DESIGN
Having a carefully considered kitchen design that works for you and your lifestyle is key when planning your extension. Your kitchen designer can help to advise with simple things that will make a huge difference to the design of the kitchen - like moving windows/doors, plug sockets and where to put the boiler.
When doing substantial building works like an extension, it’s normally possible to move the waste, so don’t let this worry you about where to put the kitchen. If you’re having under floor heating, think about where your manifold should go (a massive pipe junction that takes up a lot of room).
Your kitchen designer can show you different ways you can design the kitchen/living space, but there is usually one way that will quickly become obvious to your designer once you tell them what you would like in the space.
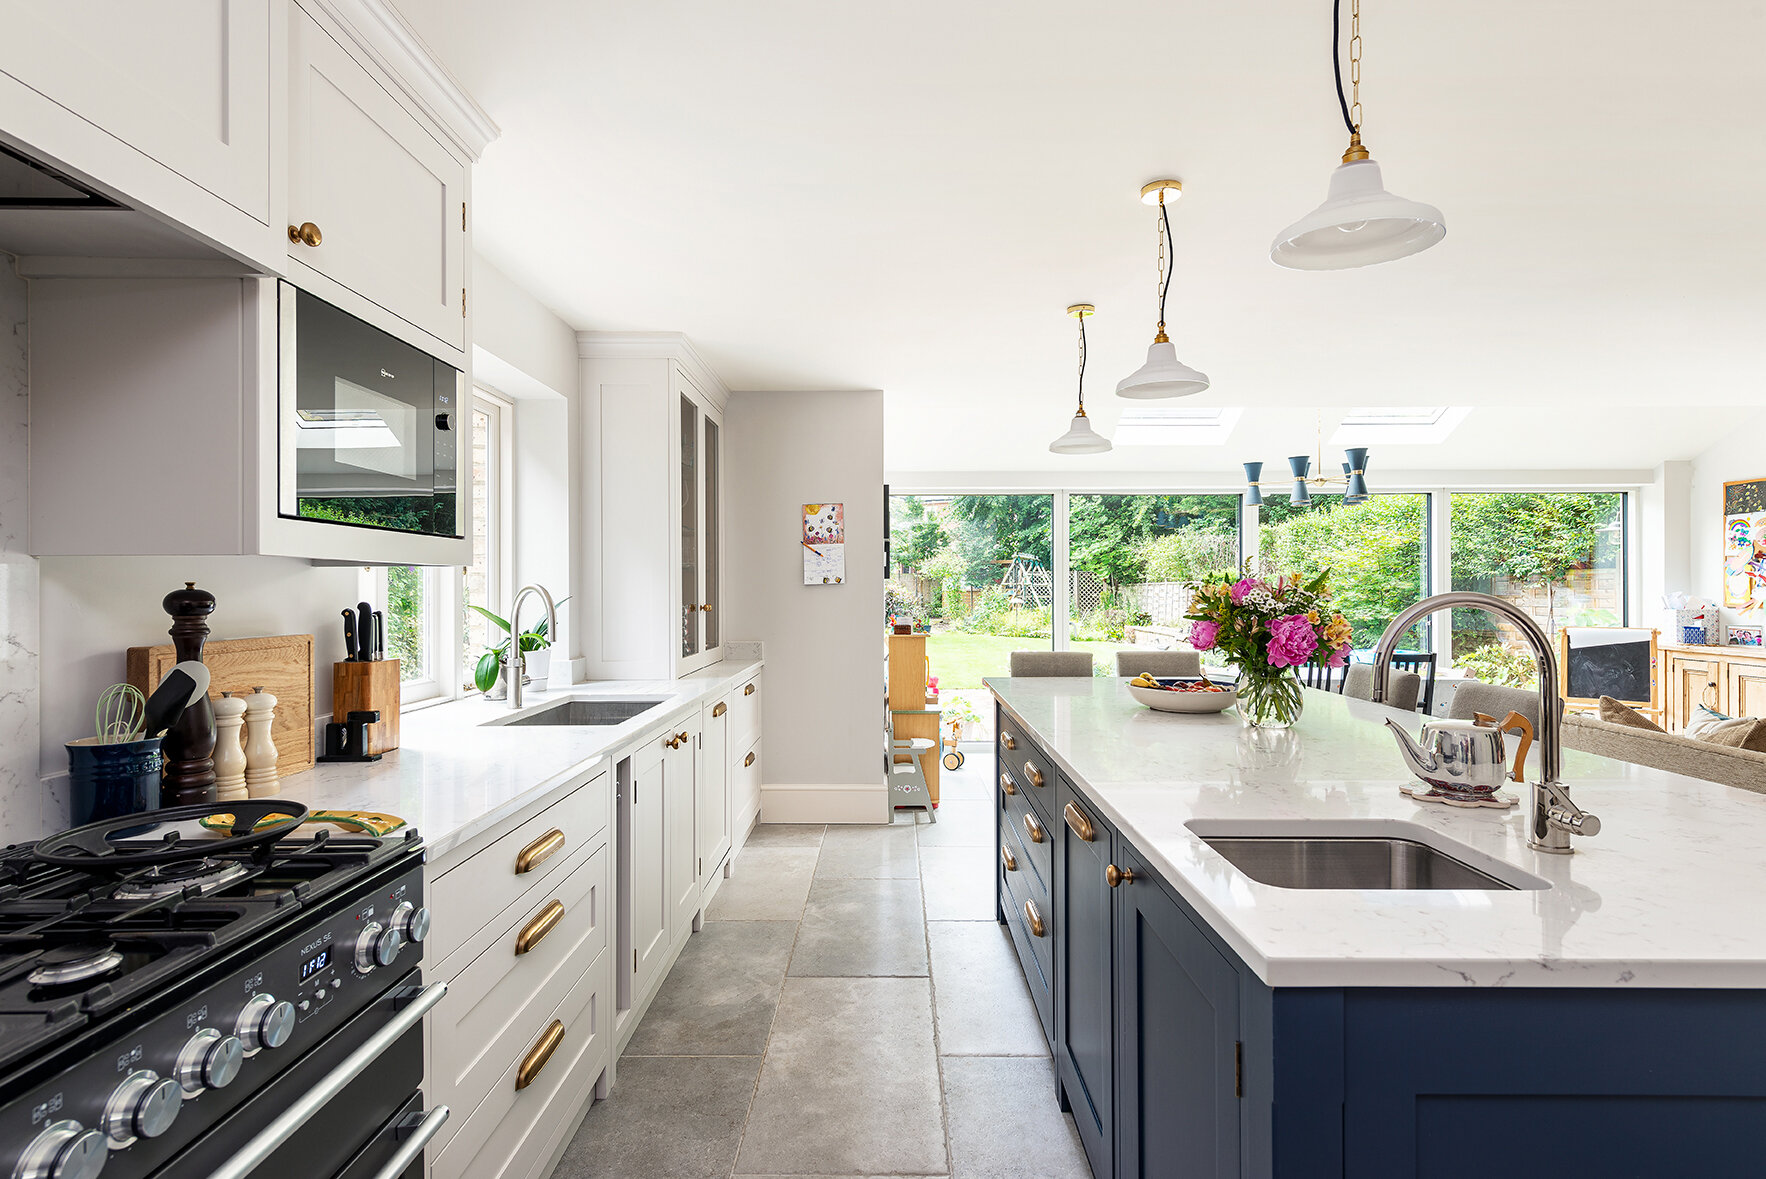
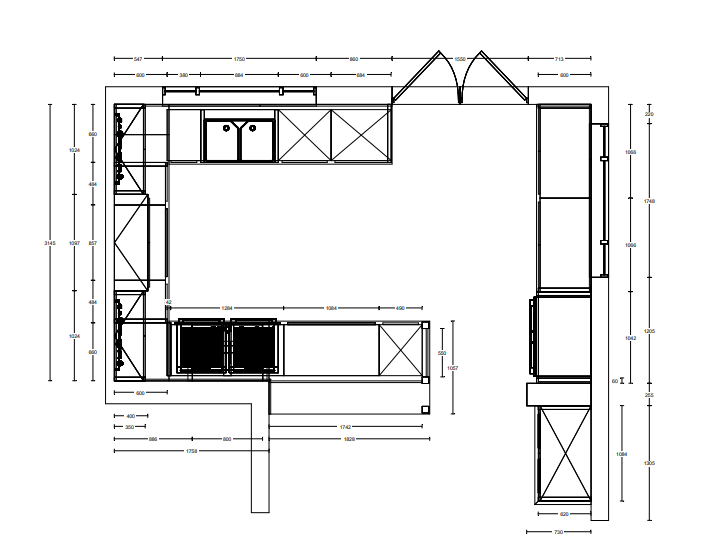
When sitting at the island, you want to face into the kitchen, not out into the living space - it feels more natural to be facing whoever is cooking. The ideal distance between an island and units is 1000mm, but aim to keep it between 900mm and 1200mm.
If you want to have a clear island with no hob/sink, you can put the hob and sink on the same run – but, this can make designing the space difficult. You will need quite a long run and you’ll need space somewhere in the kitchen for your tall units.
Using complimentary colours or materials to link living spaces together will help the design to flow. A well placed island or peninsula can define the separate spaces. Artwork and lighting will also help to add your personal style and character to the space.

Our personal top 5 must-haves for a kitchen/family room extension are:
1. An island/peninsula
2. Large doors (sliding/Crittal /bifold) leading out to the garden. But this does not have to be all the way across, sometimes it’s nice to break it up with a sink run
3. Underfloor heating – this removes the need for radiators which can take up a lot of space and will feel like heaven on cold winter mornings!
4. Skylights or roof lanterns
5. Banquette bench seating area

INSTALLATION & LEAD TIMES
Undertaking a kitchen extension is a big project with lots of moving parts and so there are many things that could potentially delay your project. Careful planning can help to avoid some of these delays but remember that some issues are unavoidable.
Keep in mind the lead times for your kitchen cabinetry (ours is currently around 6 months). It takes time to make a bespoke kitchen as every piece is hand made and finished just for you. This also applies to your handles and taps, especially if you are choosing a special finish like brass, which can take up to 12 weeks! The more you have decided on and ordered beforehand, the better. You don’t want to be disappointed if some products have longer lead times than you are expecting.
To fit some kitchens (like ours) you’ll need a finished room wall to wall, flooring, electrics and plumbing in place and ideally the room would be decorated so you’re not risking getting paint on your new kitchen.
Just like in Grand Designs, most window and doors will be made to order, and they will not make them until the space is measurable. There can be a lull in projects while you wait for windows to arrive, so keep this in mind when booking a date for your kitchen installation. Another common reason for delays to the project, is the drying times for different types of flooring. Concrete screed takes roughly 1 day per mm deep and some wooden floors need time to acclimate to your space which can take 2 weeks.
If you are having solid worktops (e.g. quartz, marble or granite), allow another week or more for this. The stone masons will template once the kitchen units are in place, then go away and cut the stone to the template and come back to fit it a week or so later.
Changing your mind will delay things, for example, adding or changing plug sockets are not always quick jobs. However, it is also the right time to do it if you don’t like something. Speak your mind and have a close relationship with your builders, pop in often and try to enjoy the process together.

Follow Us On Instagram

Book An Appointment
Kitchen Tips: A Guide to Kitchen Extensions
After 6 years of working with clients through the extension process and working on hundreds of kitchen extensions, we have learned some tips along the way. We’ve put together this guide to help clients and others who are thinking about a kitchen extension and have asked for some help. This is by no means an exhaustive list, but an ever growing one!

PLANNING
A brief discussion with your planning department won’t harm as a first step, but in most cases, you will need to consult with an architect to produce initial drawings for planning (planning takes around 8 weeks - if you have cooperative neighbours). Getting a recommendation for an architect is crucial. In some cases, you won’t need an architect and you can work with an architect technician or a surveyor.
The kitchen is normally the reason for the extension, so you want to make sure it can accommodate everything you are dreaming of. It is a good idea to get an initial design and quote from your kitchen company early in the planning process, after you have planning permission ideally. This ensures you won’t run into design limitations further down the line.
It is normal for builders’ quotes to vary massively. It will depend on how busy they are, what else they have in your area, how much they want the job and how well they think you’ll work together. Remember - cheap is not always best! It is important to have a good relationship with your builders and strong communication, this will help during the issues that will inevitably arise during every project.
During the project it is best to move in with family or into rented accommodation if possible. It is much less stressful - especially as it is common to experience delays to the project. If you’re staying at home during the build, think about setting up a temporary kitchen if you can. Lots of builders will do this for you, or there are companies that do this. Or you can set up the fridge, microwave and a camping hob and a slow cooker somewhere in the home.

DESIGN
Having a carefully considered kitchen design that works for you and your lifestyle is key when planning your extension. Your kitchen designer can help to advise with simple things that will make a huge difference to the design of the kitchen - like moving windows/doors, plug sockets and where to put the boiler.
When doing substantial building works like an extension, it’s normally possible to move the waste, so don’t let this worry you about where to put the kitchen. If you’re having under floor heating, think about where your manifold should go (a massive pipe junction that takes up a lot of room).
Your kitchen designer can show you different ways you can design the kitchen/living space, but there is usually one way that will quickly become obvious to your designer once you tell them what you would like in the space.
Our personal top 5 must-haves for a kitchen/family room extension are:
1. An island/peninsular
2. Large doors (sliding/crittal /bifold) leading out to the garden. But this does not have to be all the way across, sometimes it’s nice to break it up with a sink run
3. Underfloor heating – this removes the need for radiators which can take up a lot of space and will feel like heaven on cold winter mornings!
4. Skylights or roof lanterns
5. A larder
When sitting at the island, you want to face into the kitchen, not out into the living space - it feels more natural to be facing whoever is cooking. The ideal distance between an island and units is 1000mm, but aim to keep it between 900mm and 1200mm.
If you want to have a clear island with no hob/sink, you can put the hob and sink on the same run – but, this can make designing the space difficult. You will need quite a long run and you’ll need space somewhere in the kitchen for your tall units.
Using complimentary colours or materials to link living spaces together will help the design to flow. A well placed island or peninsular can define the separate spaces. Artwork and lighting will also help to add your personal style and character to the space.

INSTALLATION & LEAD TIMES
Undertaking a kitchen extension is a big project with lots of moving parts and so there are many things that could potentially delay your project. Careful planning can help to avoid some of these delays but remember that some issues are unavoidable.
Keep in mind the lead times for your kitchen cabinetry (ours is around 12 weeks). It takes time to make a bespoke kitchen as every piece is hand made and finished just for you. This also applies to your handles and taps, especially if you are choosing a special finish like brass, which can take up to 12 weeks! The more you have decided on and ordered beforehand, the better. You don’t want to be disappointed if some products have longer lead times than you are expecting.
To fit some kitchens (like ours) you’ll need a finished room wall to wall, flooring, electrics and plumbing in place and ideally the room would be decorated so you’re not risking getting paint on your new kitchen.
Just like in Grand Designs, most window and doors will be made to order, and they will not make them until the space is measurable. There can be a lull in projects while you wait for windows to arrive, so keep this in mind when booking a date for your kitchen installation. Another common reason for delays to the project, is the drying times for different types of flooring. Concrete screed takes roughly 1 day per mm deep and some wooden floors need time to acclimate to your space which can take 2 weeks.
If you are having solid worktops (e.g. quartz, marble or granite), allow another week or more for this. The stone masons will template once the kitchen units are in place, then go away and cut the stone to the template and come back to fit it a week or so later.
Changing your mind will delay things, for example, adding or changing plug sockets are not always quick jobs. However, it is also the right time to do it if you don’t like something. Speak your mind and have a close relationship with your builders, pop in often and try to enjoy the process together.

Finally, having an extension is messy, disruptive and chaotic (especially if you have children!). The dust never ends. But hang in there, because it will be worth it in the end. It will transform the way you live and socialise as a family. It’s our favourite thing to hear how much the extension has changed the lives of our clients.
Book a Design Consultation
We do require all clients to visit our studio in Canterbury for a full design and quote. In this appointment we will go through everything you want in the design, come up with suggestions and explain the different finishes available. The actual design process will take our Kitchen Designers 4-8 hours to complete and will aim to send you a quote/design within 2 weeks of your appointment.
“Yes going down to Canterbury is a pain, but I’m so glad they insist. We got so many additional ideas from being in the show room. We understood so much better what we would be getting. Having worked in property development I know everyone being clear about what is to be delivered from the outset is key to a harmonious installation. The trip to Canterbury is probably more important then trawling the web looking for ideas.
”
A Guide to Mood Boarding & Colour Combinations
We know renovating or redecorating a space can seem like a daunting task to take on. With endless options of paint colours, decorative tiles and handles in all shapes and finishes; it’s a lot to take in. This is why mood-boarding can be a great way to narrow down your options and help you visualise your space easier. A little visual aid never hurt anyone after all!

Mood Boarding Basics
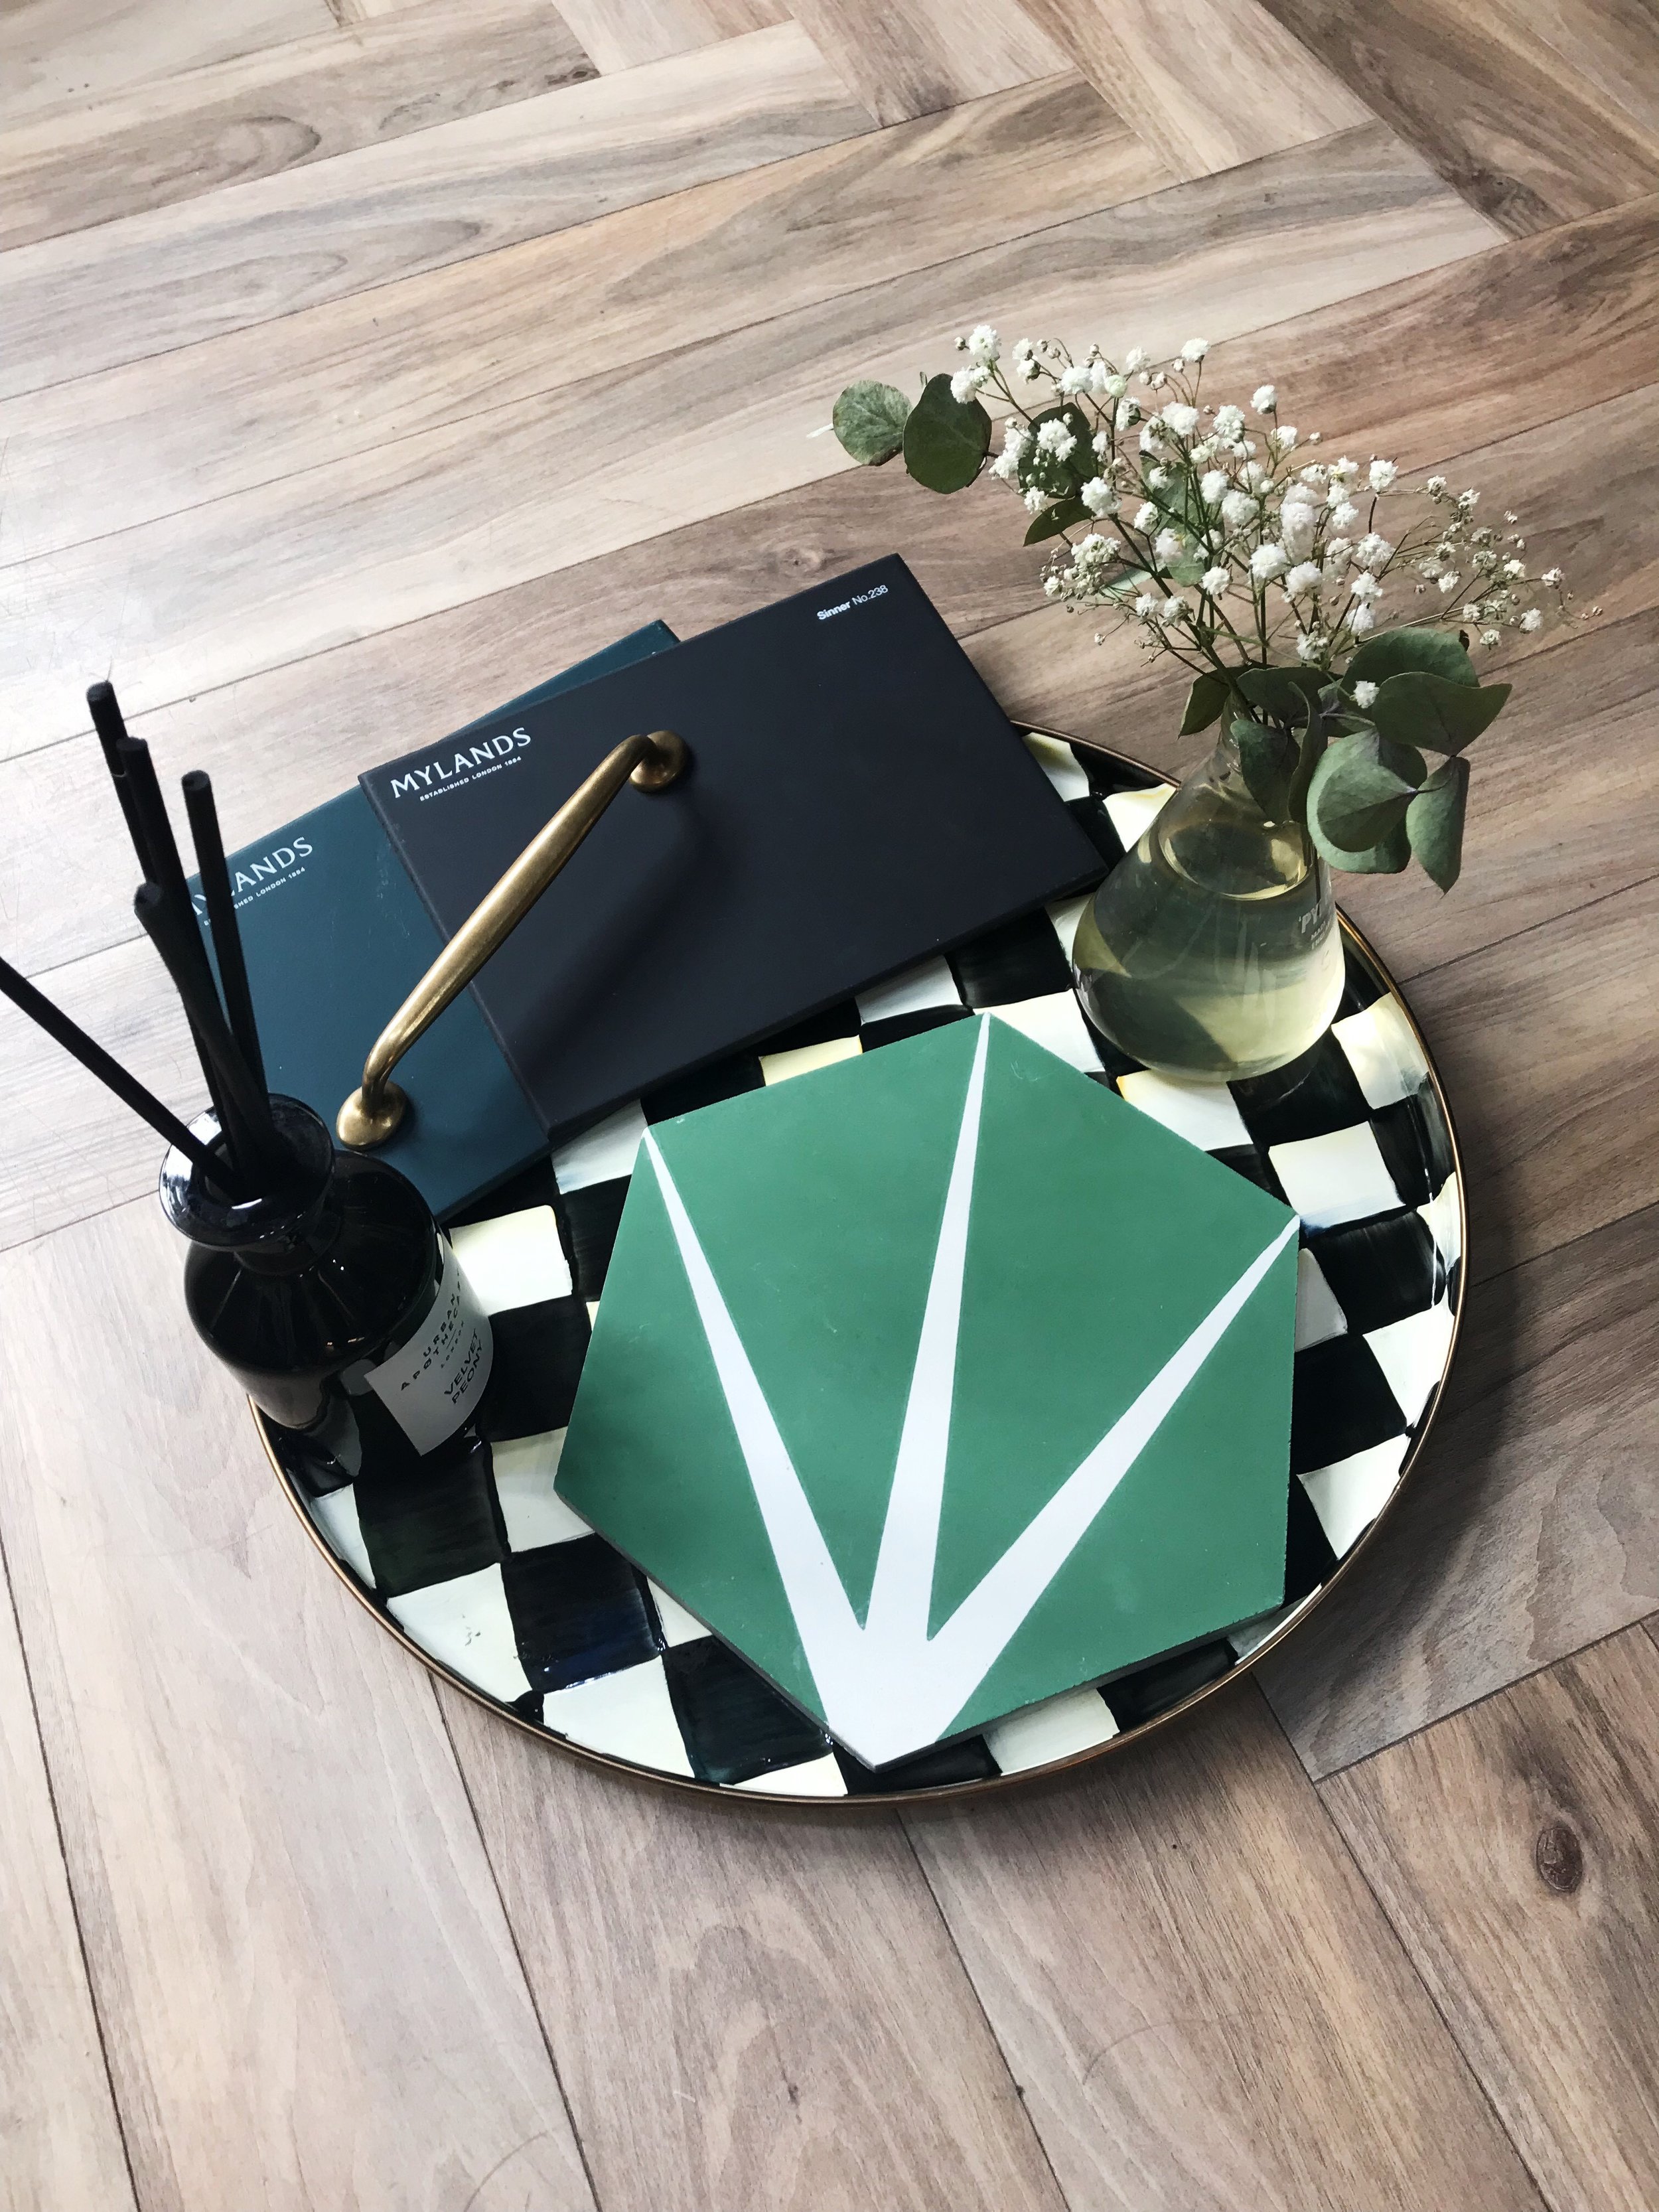
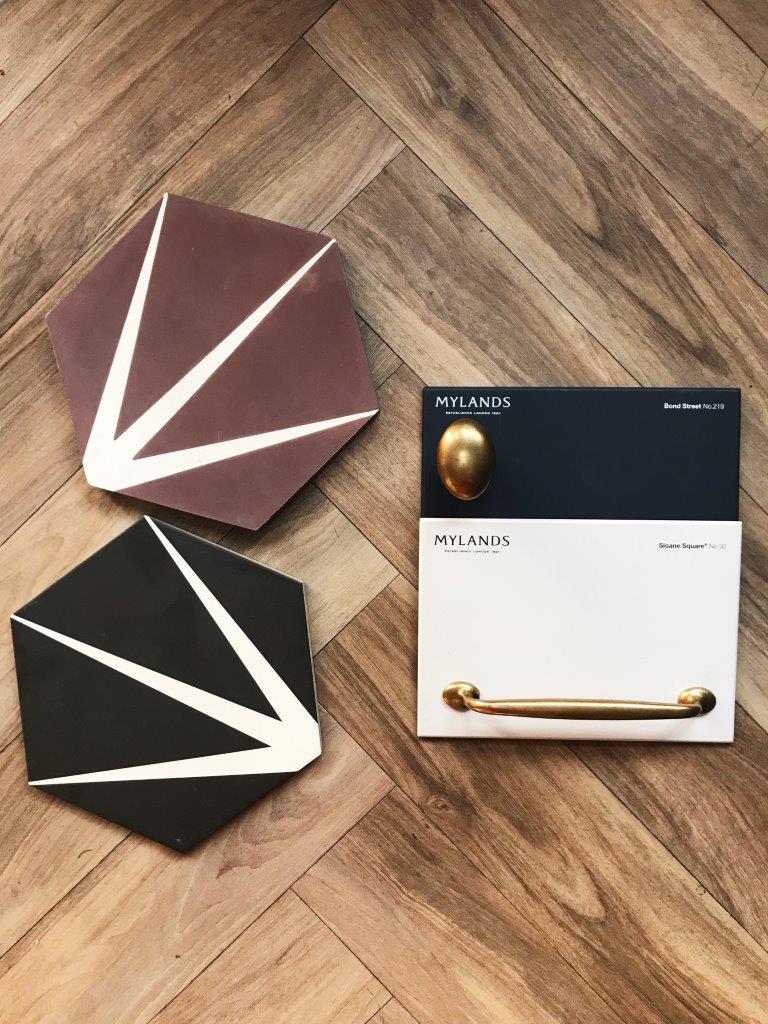
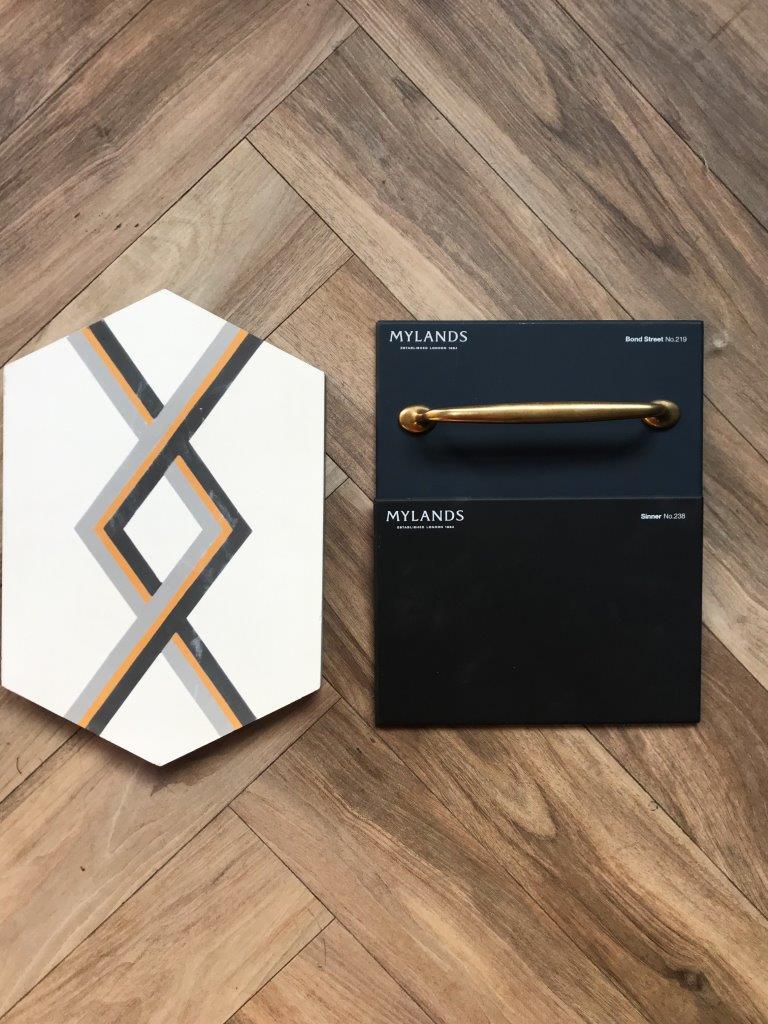
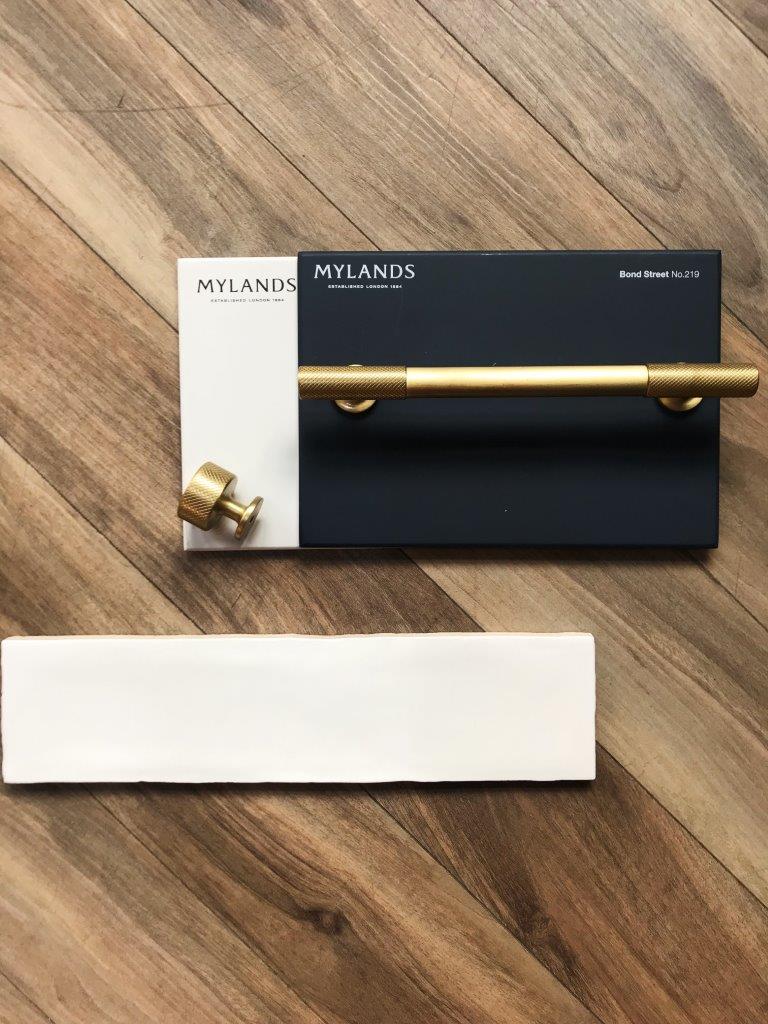
There a few different ways of creating a mood board. Traditionally, a mood board consists of a physical board like a push pin board of foam, where images and textiles can be attached. However nowadays it’s more common to use apps like Pinterest, or photo editing software to create collages full of your inspiration images. More and more clients are using Instagram to help organise their thoughts. You may want to keep things even simpler, by ordering samples of things like paint, handles, tiles and textiles and laying them out in different arrangements. This way you can have a very clear understanding of what works with your scheme.
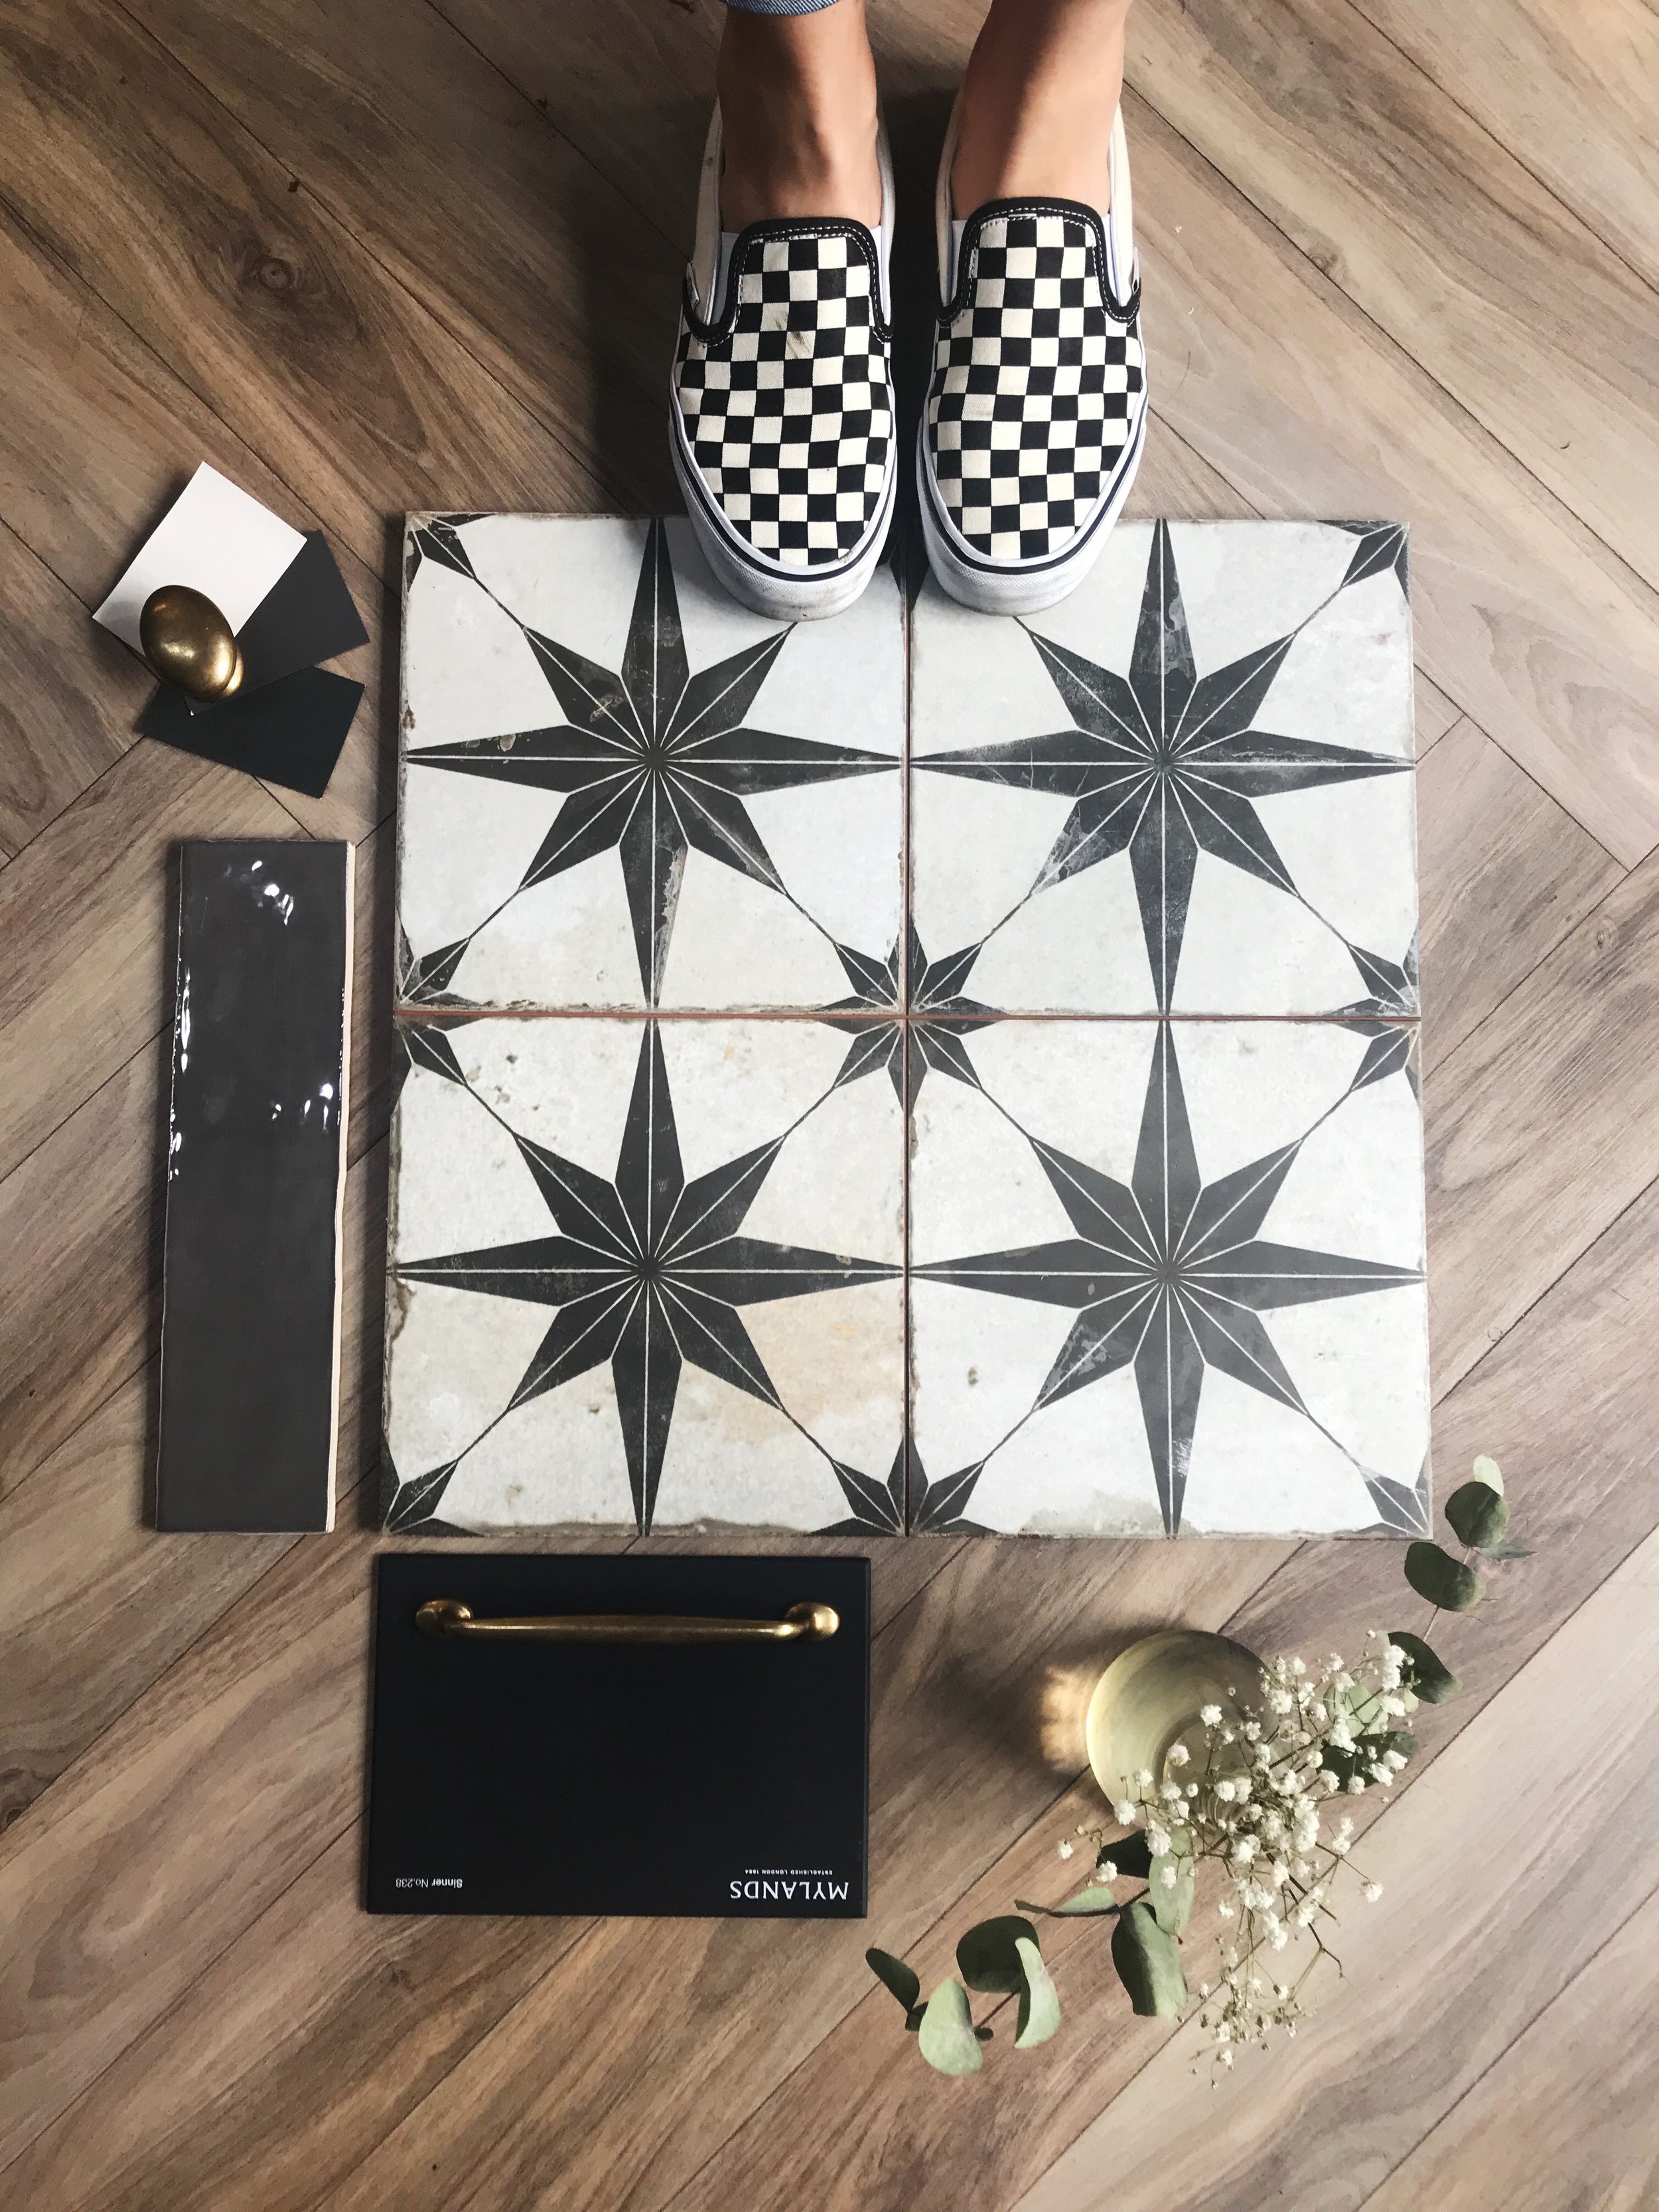


Pinterest to The Rescue
If Pinterest is already something you’re familiar with, there’s no better place to start your mood boarding journey. Start by collecting images of completed spaces you find attractive or that speak to you and evoke the feeling you want your own space to feel like. Then go on to Pinning images of more specific things like taps, patterned tiles, fabrics and paint swatches. Pinterest in particular is a great app to use, as not only can you save inspirational images to your Board, but you can also add images directly from company websites. For example if you have your heart set on that Perrin & Rowe tap, you can Pin that exact tap.
Start by collecting images that speak to you or evoke the feeling you’re after in a space. You can find these anywhere from magazines, company websites, Pinterest or even taking photos yourself when visiting shops or different spaces. Restaurants, galleries and other commercial interiors often serve as great inspiration. Once you have a general idea of what you want in your space, try arranging images around one larger image of a completed space with a similar vibe or similar elements to what you’re after. This can be used as a visual aid througout the project and help you to understand what does and doesn’t work for you and your space.

“What defines whether a colour is stimulating or soothing is not the colour, it’s the intensity. A strong, bright colour will stimulate, and a colour with low saturation will soothe”
Choosing your Colour Combinations

Colour combinations are often a part of design that people have the most trouble with. How to choose different colours and make sure they live harmoniously and above all, are pleasing to the eye. Artists and designers often use the Colour Wheel method. By looking at the wheel, working out which colours, hues and tones work best with each other.
You may well have chosen a colour you absolutely love and have settled it! The best thing to always remember is that in design, it’s all about balance and juxtaposition.
Some examples:
If you’re using a bold and vibrant colour, on your main or island cabinetry, introduce a softer, lighter version of that colour respectively.
If you’re going neutral and inoffensive all the way, why not add a bold and intricate patterned tile to avoid looking clinical.
As with anything, there are exceptions to the “rules” if you may. If it looks and feels right to you go with your instinct. If you’re still unsure, you can always call us and ask for our advice. We love helping you out and making sure you’re as happy as possible with the end product!

One very important thing to remember is, you can follow all the “rules” and trendy colour combinations, but the most crucial part of any design is that you love it. Imagine yourself waking up each morning and making yourself a cup of coffee (or tea) in that kitchen and feeling happy! So get on that Pinterest board, or whack out a scrapbook and have fun!
More Blogs From Herringbone…