
Kitchen Tips: What To Consider With Kitchen Islands

Kitchen islands are one of the most important design elements in a kitchen. An island makes a space work to its full potential and in recent times it’s become all about the multi-use, multi-functional island that does more than just look good.
At Herringbone we get a lot of questions about how to choose the island that is right for your lifestyle, family situation and general daily needs, so we’ve put together a few tips in this blog post to help you out.
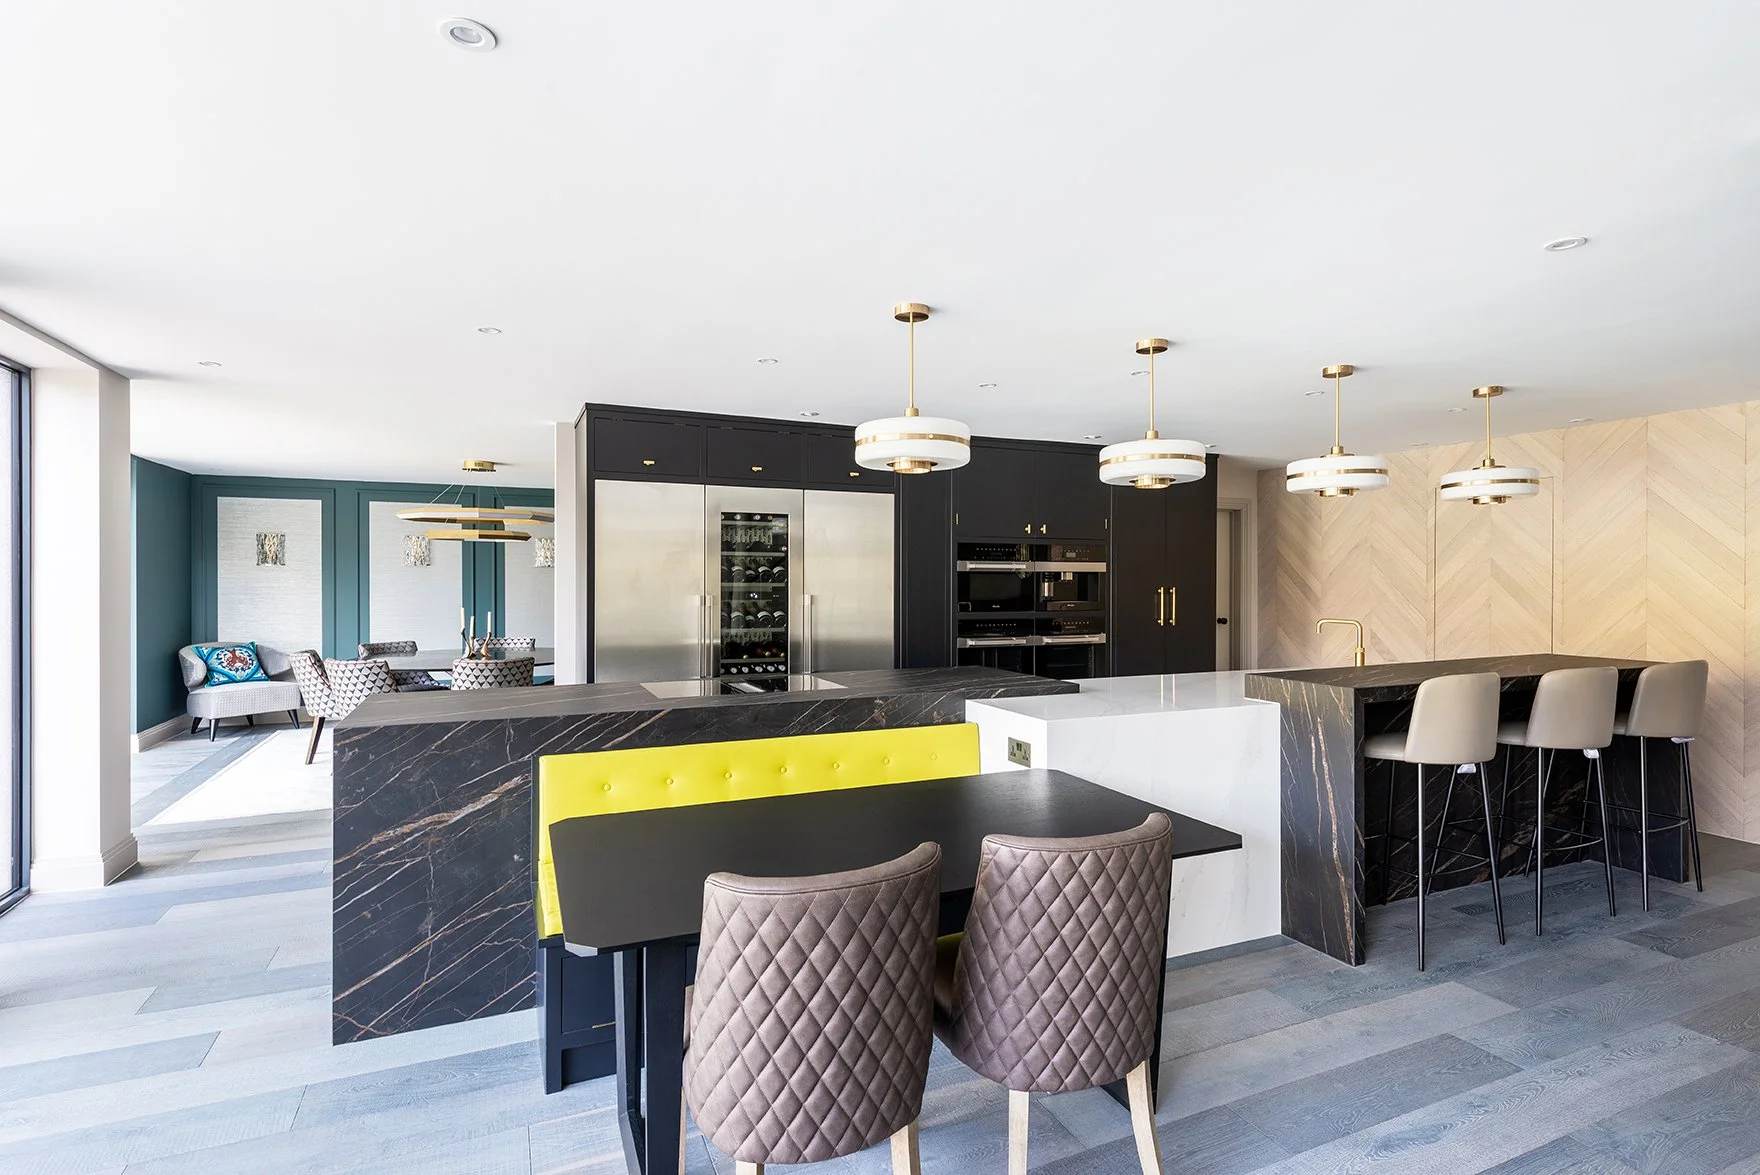
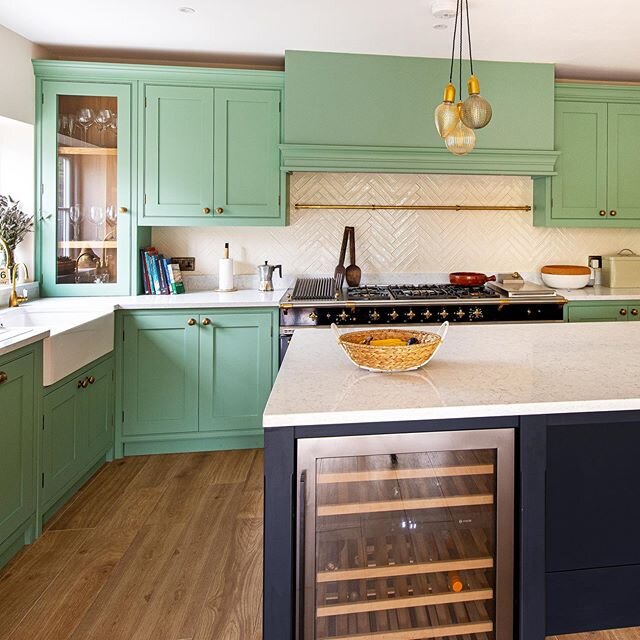
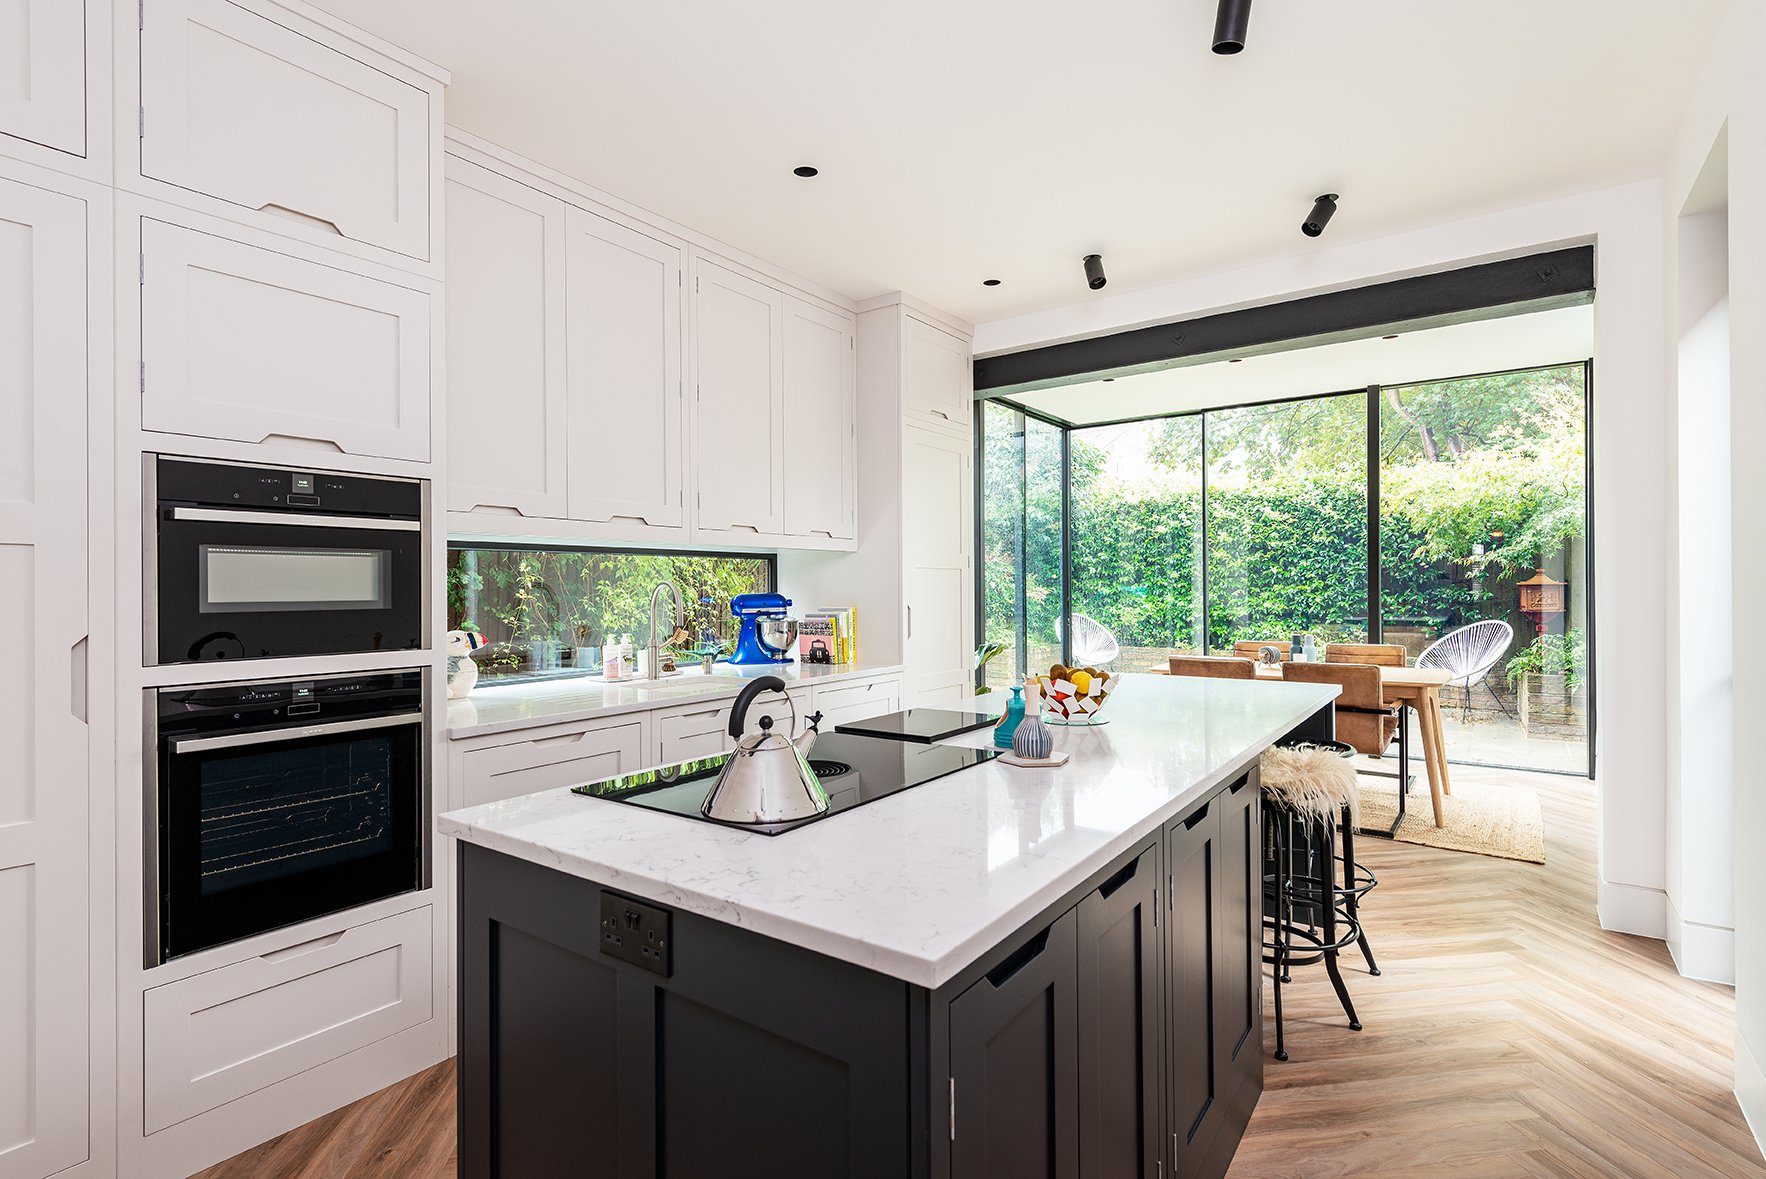
Try a two tone colour palette
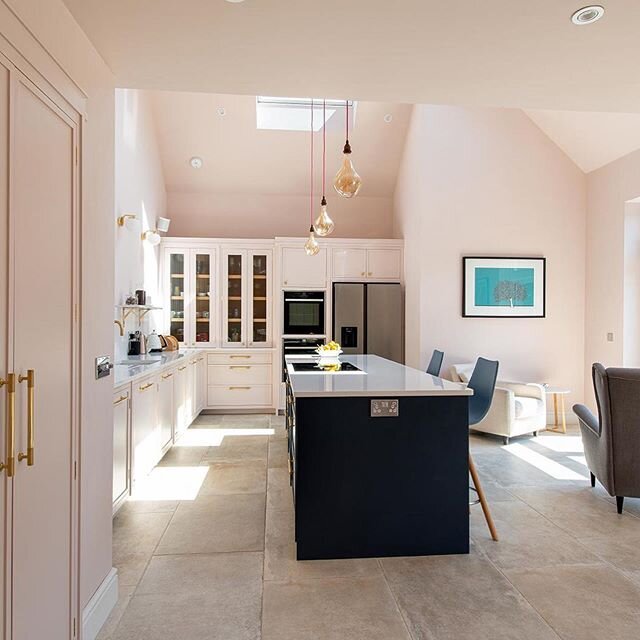
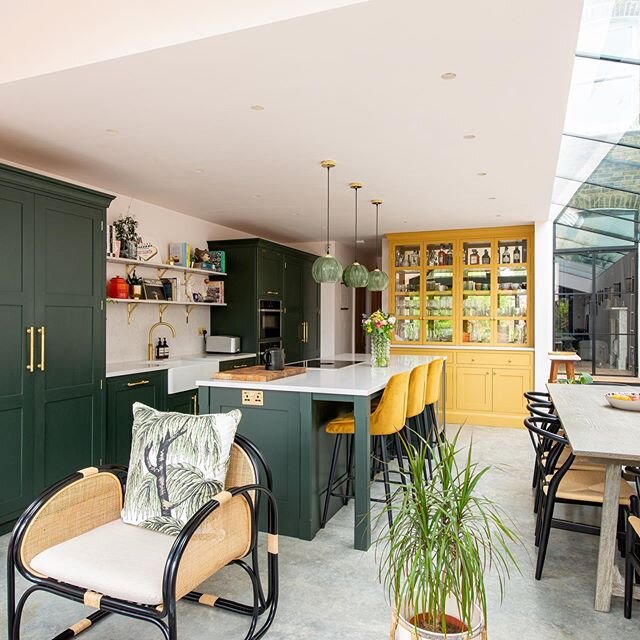
An additional colour used for the island gives the space more dimension and definitely grabs the eye. This doesn’t need to be a new colour as a tone of the main run works well too. You can always bring in a pop of colour or darker cabinetry if the room is lacking light and the main run needs to be a light off-white colour.
·


Make sure the island is in proportion with the rest of the kitchen
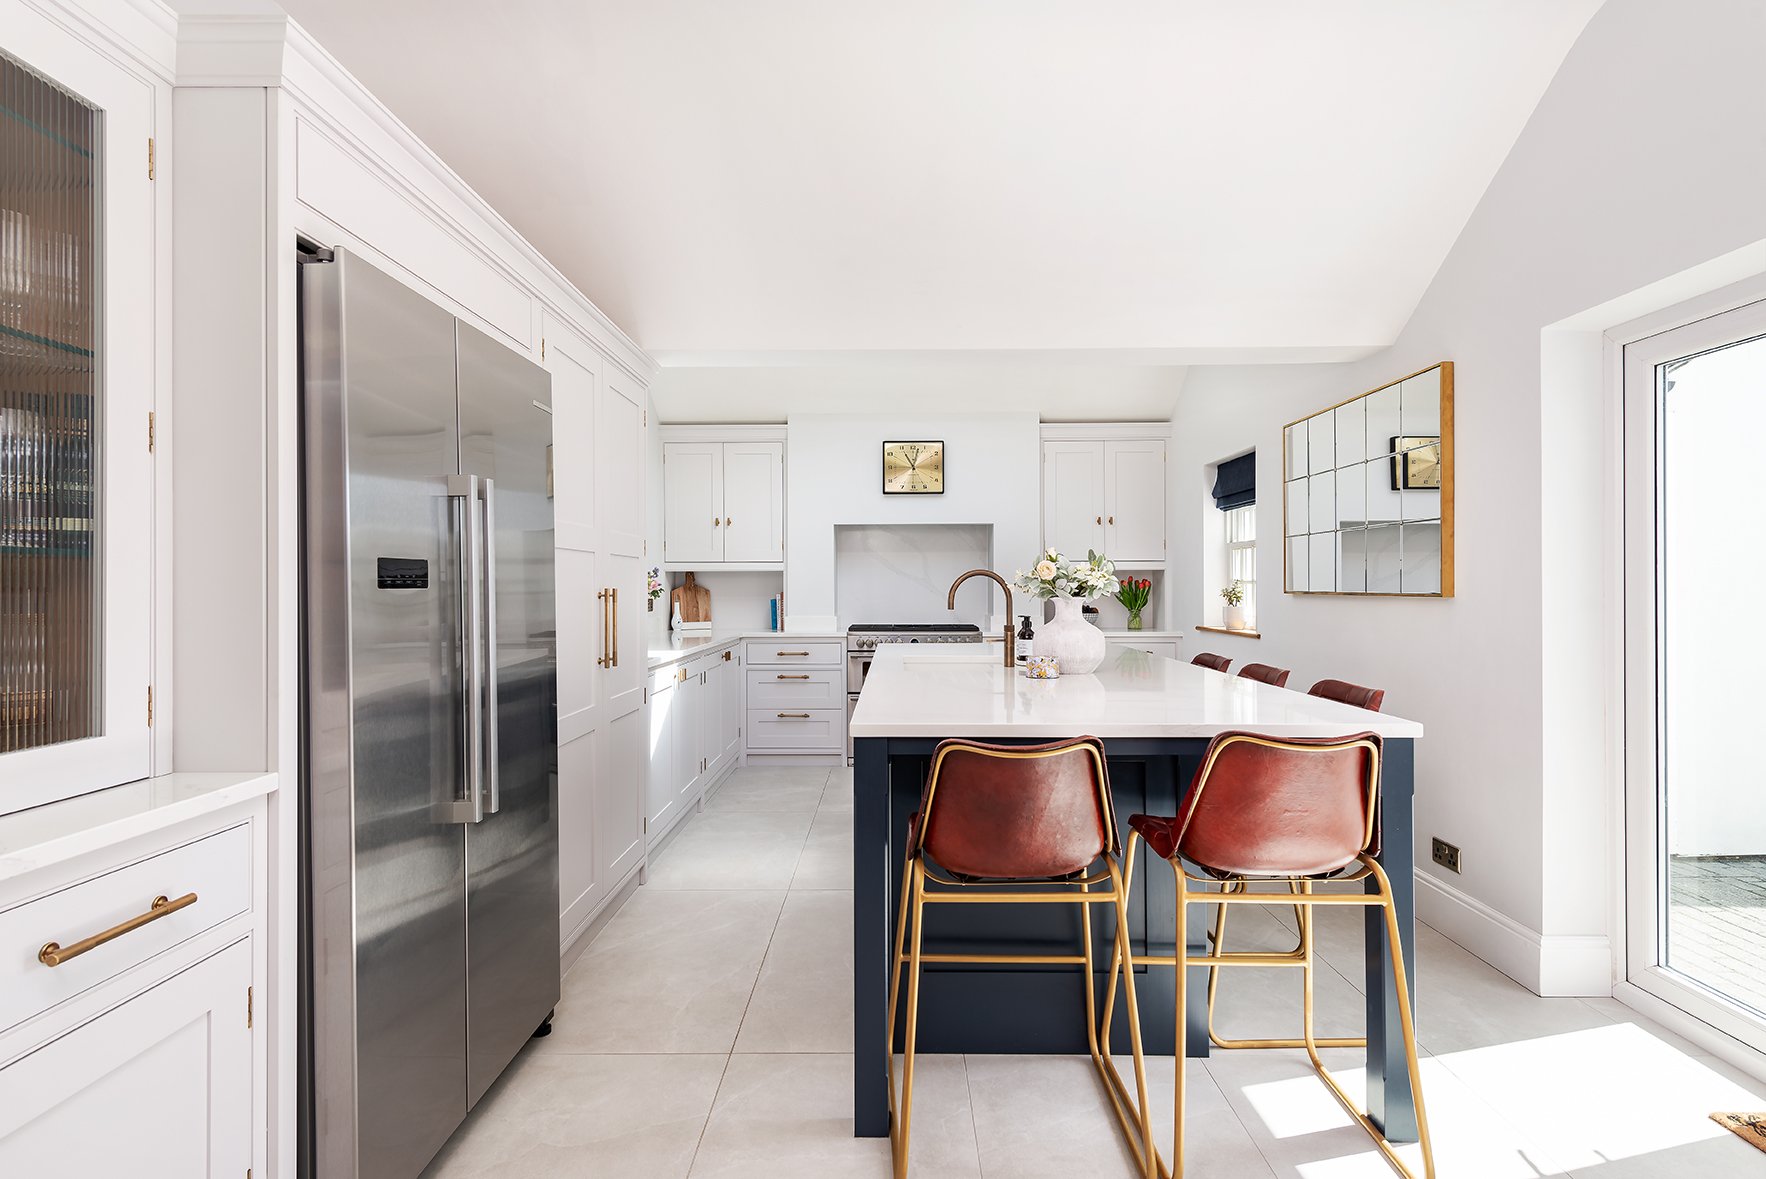
Depending on the size of the room and island, the gapping around the island wants to be a minimum of 900-1000mm walking space. It needs to be more if you have seating at the island and if you have appliances (ovens etc.) Try to increase the space to 1100-1200mm. Always think about how you want to be using the island on a day-to-day basis.


Make it functional
When designing the island make sure you think about how you’d like to be using it on a day-to-day basis. Think about the worktop, the storage and whether you want to use it as your main workspace, even play around with the shape. If you have a smaller run of cabinetry you may want to move the hob on to the island to allow for more surface area etc.

More Kitchen Tips & Trends
Follow Us On Instagram

Book An Appointment
Kitchen Tips: A Guide To Kitchen Extensions Part 2

PLANNING
A brief discussion with your planning department won’t harm as a first step, but in most cases, you will need to consult with an architect to produce initial drawings for planning (planning takes around 8 weeks - if you have cooperative neighbours). Getting a recommendation for an architect is crucial. In some cases, you won’t need an architect and you can work with an architect technician or a surveyor.
The kitchen is normally the reason for the extension, so you want to make sure it can accommodate everything you are dreaming of. It is a good idea to get an initial design and quote from your kitchen company early in the planning process, after you have planning permission ideally. This ensures you won’t run into design limitations further down the line.
It is normal for builders’ quotes to vary massively. It will depend on how busy they are, what else they have in your area, how much they want the job and how well they think you’ll work together. Remember - cheap is not always best! It is important to have a good relationship with your builders and strong communication, this will help during the issues that will inevitably arise during every project.
During the project it is best to move in with family or into rented accommodation if possible. It is much less stressful - especially as it is common to experience delays to the project. If you’re staying at home during the build, think about setting up a temporary kitchen if you can. Lots of builders will do this for you, or there are companies that do this. Or you can set up the fridge, microwave and a camping hob and a slow cooker somewhere in the home.


DESIGN
Having a carefully considered kitchen design that works for you and your lifestyle is key when planning your extension. Your kitchen designer can help to advise with simple things that will make a huge difference to the design of the kitchen - like moving windows/doors, plug sockets and where to put the boiler.
When doing substantial building works like an extension, it’s normally possible to move the waste, so don’t let this worry you about where to put the kitchen. If you’re having under floor heating, think about where your manifold should go (a massive pipe junction that takes up a lot of room).
Your kitchen designer can show you different ways you can design the kitchen/living space, but there is usually one way that will quickly become obvious to your designer once you tell them what you would like in the space.
When sitting at the island, you want to face into the kitchen, not out into the living space - it feels more natural to be facing whoever is cooking. The ideal distance between an island and units is 1000mm, but aim to keep it between 900mm and 1200mm.
If you want to have a clear island with no hob/sink, you can put the hob and sink on the same run – but, this can make designing the space difficult. You will need quite a long run and you’ll need space somewhere in the kitchen for your tall units.
Using complimentary colours or materials to link living spaces together will help the design to flow. A well placed island or peninsula can define the separate spaces. Artwork and lighting will also help to add your personal style and character to the space.

Our personal top 5 must-haves for a kitchen/family room extension are:
1. An island/peninsula
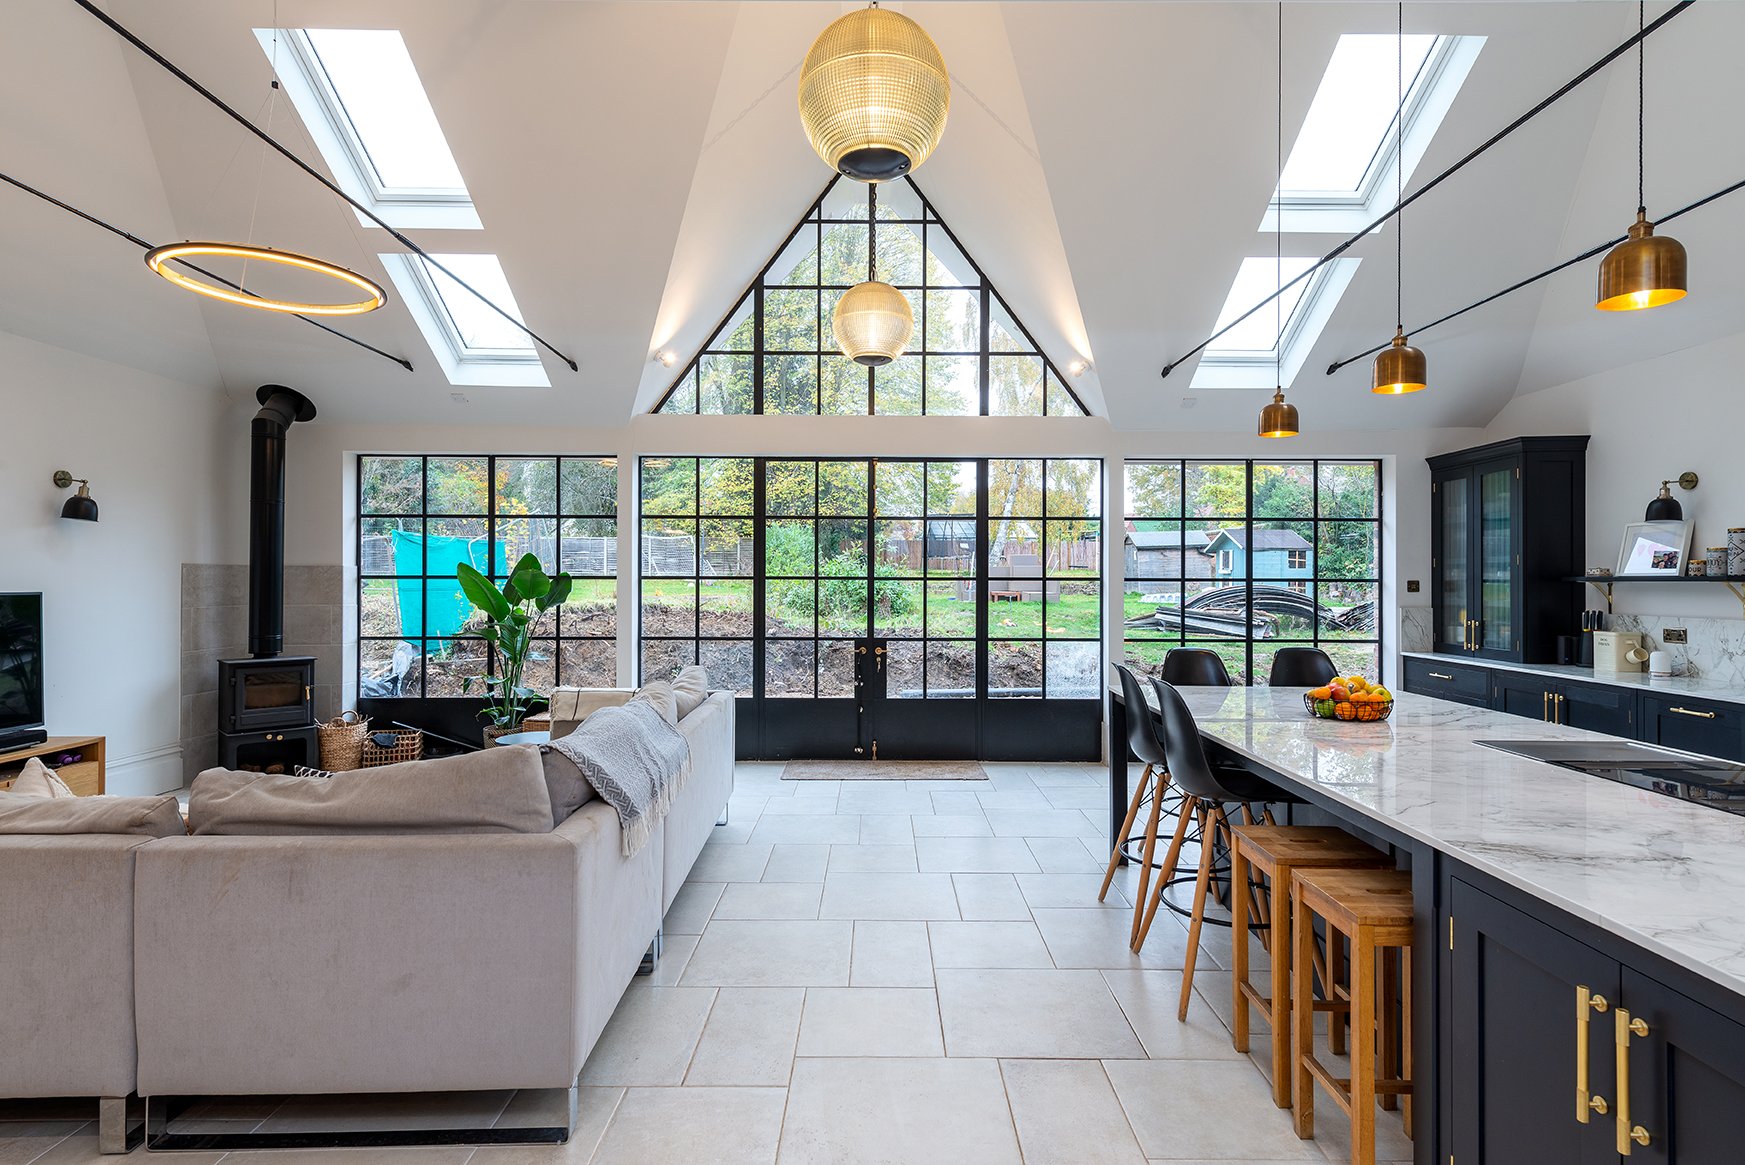
2. Large doors (sliding/Crittal /bifold) leading out to the garden. But this does not have to be all the way across, sometimes it’s nice to break it up with a sink run
3. Underfloor heating – this removes the need for radiators which can take up a lot of space and will feel like heaven on cold winter mornings!
4. Skylights or roof lanterns
5. Banquette bench seating area

INSTALLATION & LEAD TIMES
Undertaking a kitchen extension is a big project with lots of moving parts and so there are many things that could potentially delay your project. Careful planning can help to avoid some of these delays but remember that some issues are unavoidable.
Keep in mind the lead times for your kitchen cabinetry (ours is currently around 6 months). It takes time to make a bespoke kitchen as every piece is hand made and finished just for you. This also applies to your handles and taps, especially if you are choosing a special finish like brass, which can take up to 12 weeks! The more you have decided on and ordered beforehand, the better. You don’t want to be disappointed if some products have longer lead times than you are expecting.
To fit some kitchens (like ours) you’ll need a finished room wall to wall, flooring, electrics and plumbing in place and ideally the room would be decorated so you’re not risking getting paint on your new kitchen.
Just like in Grand Designs, most window and doors will be made to order, and they will not make them until the space is measurable. There can be a lull in projects while you wait for windows to arrive, so keep this in mind when booking a date for your kitchen installation. Another common reason for delays to the project, is the drying times for different types of flooring. Concrete screed takes roughly 1 day per mm deep and some wooden floors need time to acclimate to your space which can take 2 weeks.
If you are having solid worktops (e.g. quartz, marble or granite), allow another week or more for this. The stone masons will template once the kitchen units are in place, then go away and cut the stone to the template and come back to fit it a week or so later.
Changing your mind will delay things, for example, adding or changing plug sockets are not always quick jobs. However, it is also the right time to do it if you don’t like something. Speak your mind and have a close relationship with your builders, pop in often and try to enjoy the process together.

Follow Us On Instagram
Book An Appointment
Kitchen Trends (& Tipples!): Welcome To Your Bar!
We have seen a great influx of bar unit and drinks storage requests when designing our client's’ kitchens in the past couple of years and there’s no sign of this trend slowing down!
Countertop Bars
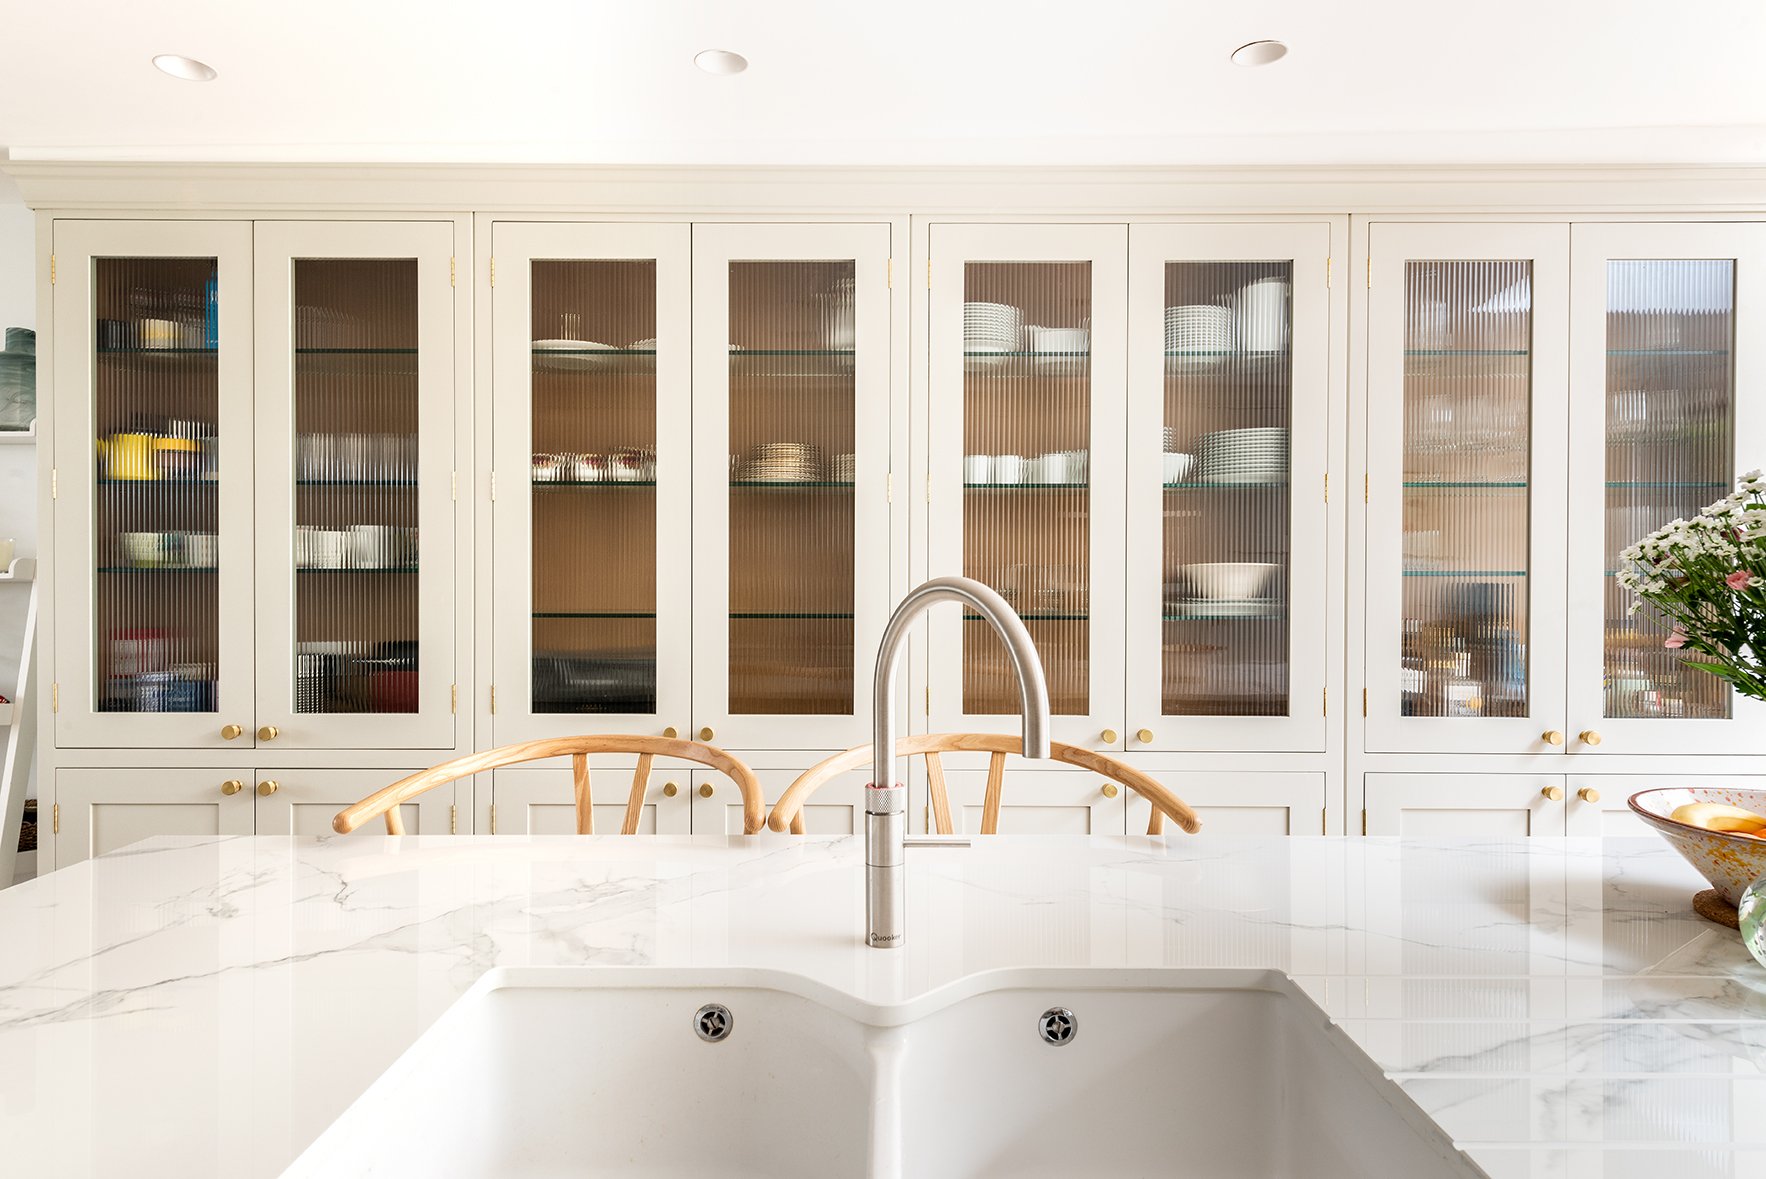
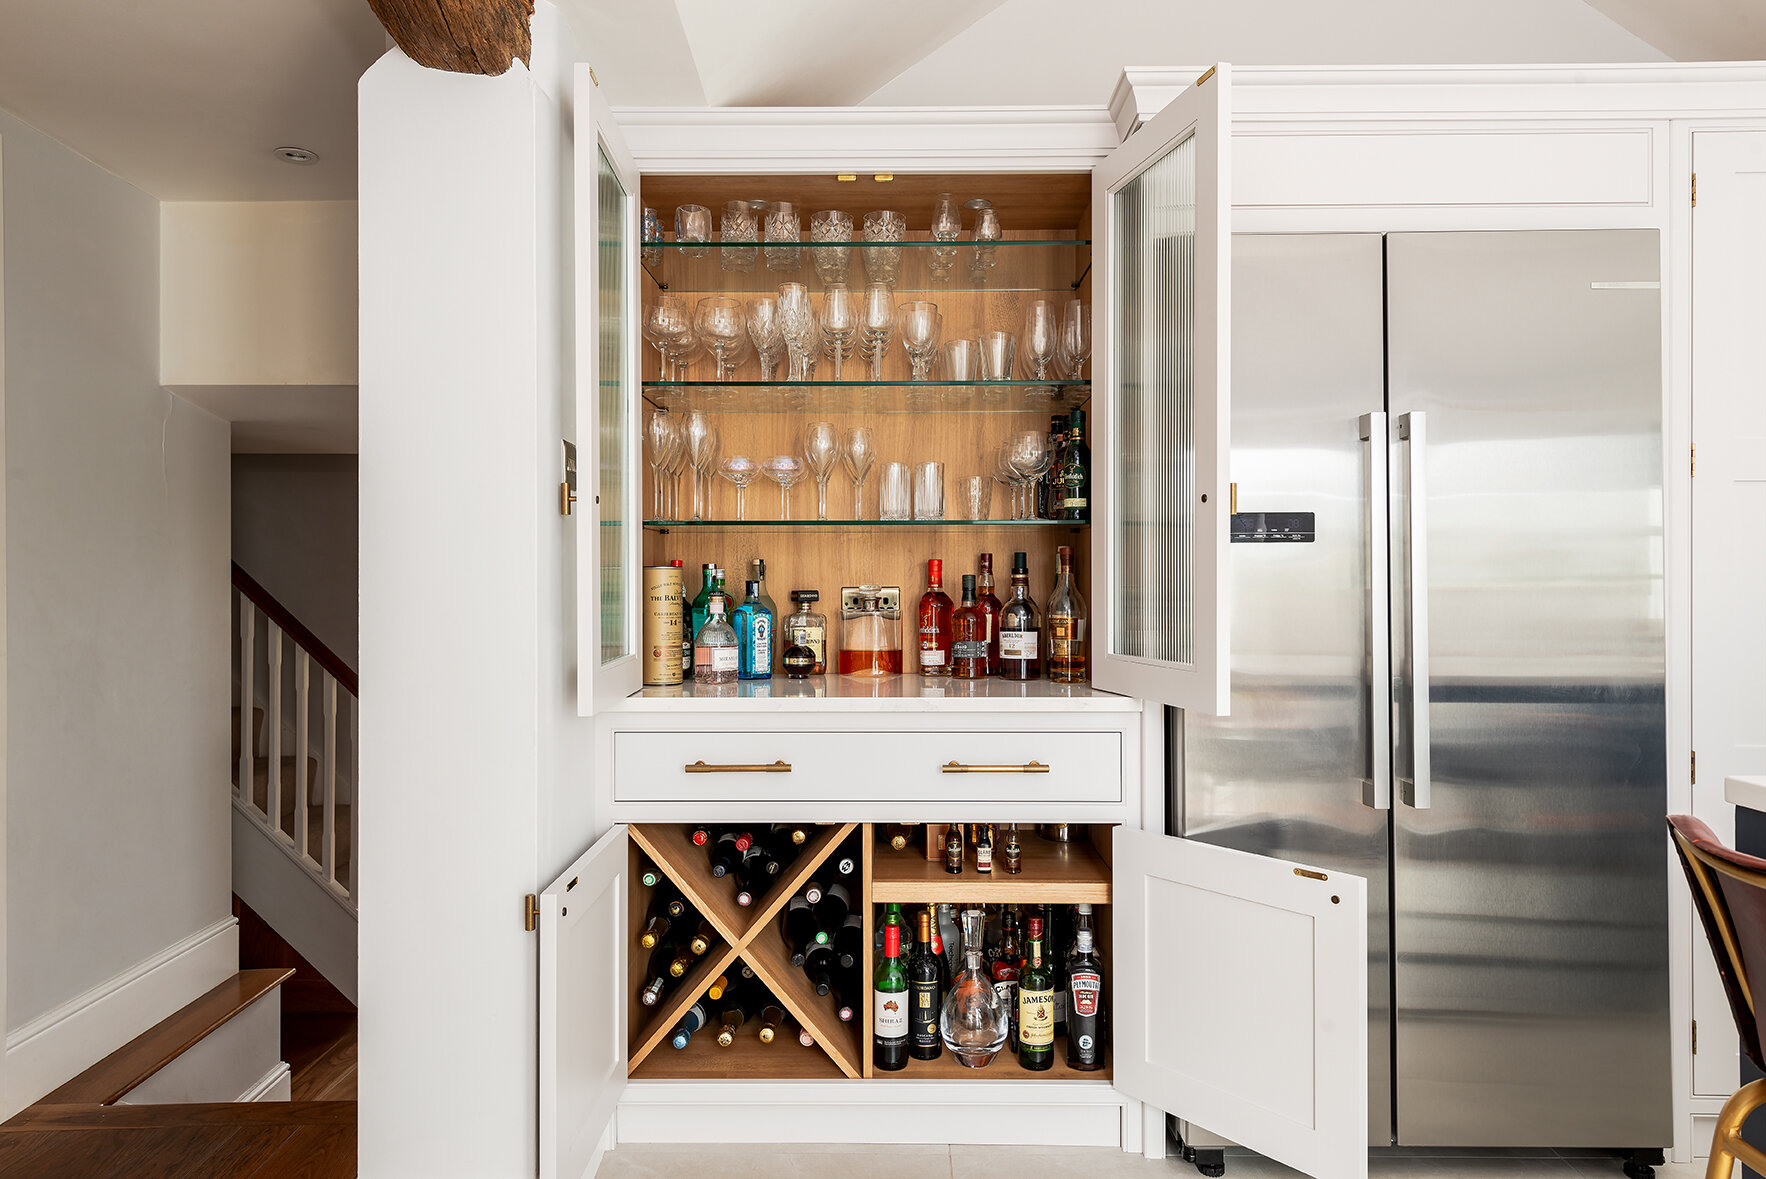
One great way to incorporate a bar cabinet into your new kitchen is to design it as a countertop unit. This is perfect if you have a smaller space or don’t want an entire tall unit dedicated to your favourite hooch. If you’re installing quartz worktops in your kitchen; even better, as the non-porous material is so easy to clean and wipe away any sticky, spilt liquors and mixers! Add reeded glass doors to add a bit of flare or keep it simple with standard timber and keep the inside a pleasant surprise.




Wine Storage
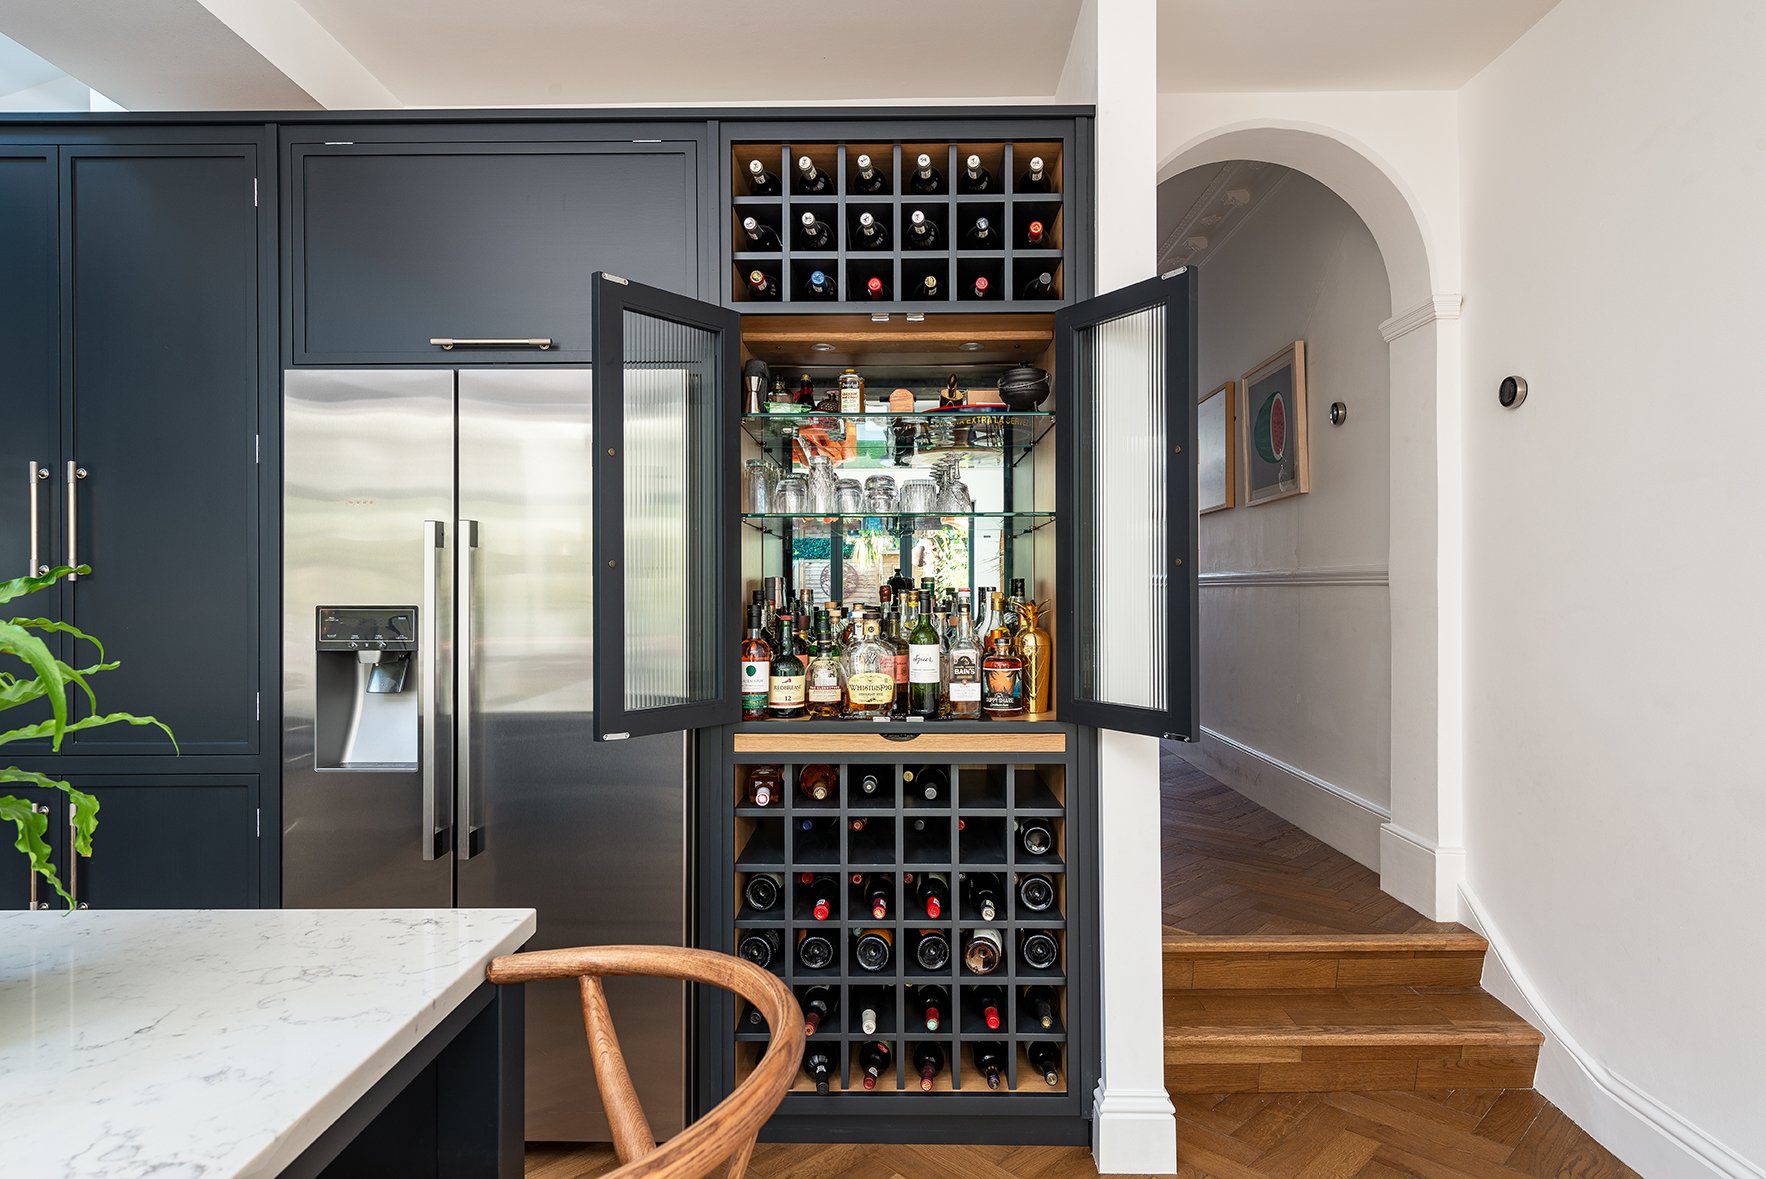
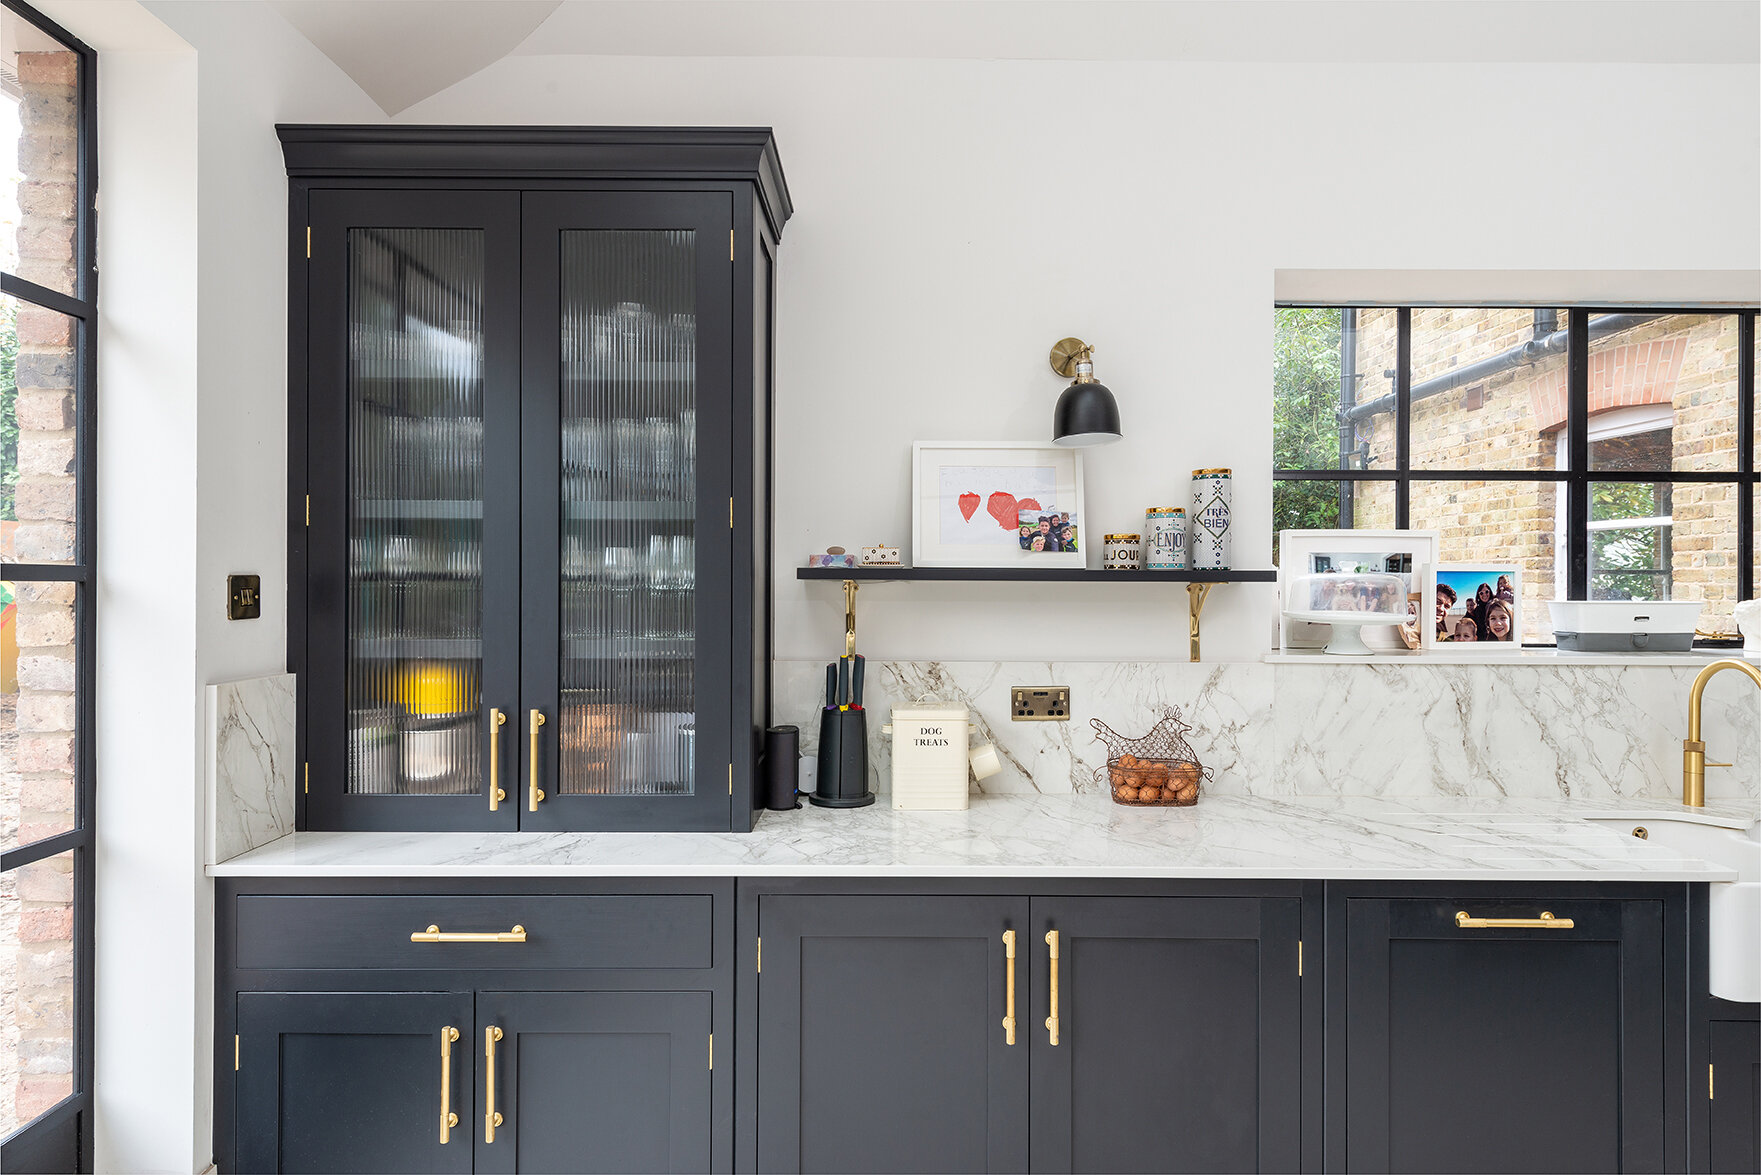
Want to organie your wine? Make it a feature. Whether you’re a wine connoisseur or just know you like ‘the red one’, whether it’s a full cellar under the stairs or shelving above your fridge; nothing looks more lavish and sophisticated than your very own wine / champagne area. Now, where’s my feather boa and crystal coupe?


Stand-Alone Bar Units
If countertops just aren’t your thing and maybe you have some more space to play with; a free standing bar unit will have your friends and family ‘ooh’ & ‘aah’ing. A cold shelf to match your kitchen countertops will give that clean and cohesive look, cupboards underneath will help with storage of extra glasses or even larger kitchen gadgets you don’t need or want on display constantly. Add a drawer for things formal cloth napkins, bottle openers, bar spoons, cocktail strainers, and wine stoppers.


Fun, Bespoke Details
The best part of designing and making bespoke cabinetry, is that we get to come up with fun new ideas for your units, as well as executing your ideas! Hanging glass shelving, internal wine racks and shelves as tall or as short as your moonshines require. The world is your oyster! (Or the bar in this case.)


Kick back and pour yourself a drink; you deserve it!

More Blogs From Herringbone..,


